


Table of Contents
The key to choosing the best FDM 3D printer is aligning your usage scenarios, material needs, and tinkering tolerance with the right speed, platform, and automation level. This 2026 buying guide systematically breaks down the differences between FDM and resin 3D printers. We provide an actionable selection framework for everyone from beginners to small studios. We also use real world cases to show how Flashforge 3D printers can solve common pain points for schools, families, and makers.
FDM 3D Printer Buying Basics for First-Time and Experienced Users
This section explains the logic of FDM technology. It clarifies the boundary between entry-level and advanced machines. This helps you build a clear mental model before looking at spec sheets. Only by understanding these fundamentals can we discuss speed, quality, and hardware structure.

Core Principles of FDM Printing
FDM stands for Fused Deposition Modeling. At its core, it involves heating thermoplastic filament to a near-molten state. A nozzle then stacks the material layer by layer following a specific path. Cooling and solidification form the three-dimensional structure. Success does not come from one single parameter. It is the result of precision in temperature control, motion system rigidity, cooling, and the heat bed temperature field.
From a temperature perspective, the hotend must stay stable. For PLA, this is between 190 and 220°C. For ABS or ASA, it must reach over 250°C. Fluctuations should stay within one or two degrees. Otherwise, interlaminar bonding will drop, leading to delamination or brittleness. The heat bed generally stays between 60 and 100°C. A more uniform temperature field reduces the chance of warping on the edges of large parts.
Motion system rigidity and path control determine if ringing artifacts appear on side walls. It also affects dimensional reliability. Current CoreXY metal desktop machines have a repeat positioning accuracy of about 0.012mm on the XY plane. Layer height control on the Z-axis stays between 0.1 and 0.4mm. This is enough for most prototypes and functional parts.
Cooling and airflow directly affect bridging and overhang performance. During high-speed printing, parts can lose detail without a well-designed air duct. This also impacts the consistency of material shrinkage.
If you view FDM printing as a craft, any instability in temperature, motion, cooling, or the platform has a cost. You will see that cost directly in your failed prints.
Key Differences Between Entry-Level and Advanced Machines
Entry-level and advanced FDM printers have different core capabilities. The gap is mainly in speed, structure, and material compatibility.
Entry-level models usually use a bed-slinger structure with a single nozzle. Default print speeds are around 60 to 100 mm/s. Acceleration is about 5000 mm/s². These are better for easy materials like PLA. The advantage of these machines is the friendly price and simple structure. The downside is limited stability at high speeds or with engineering materials. Mechanical vibration and thermal stress often cause issues during long prints of large parts.
Advanced and professional models more commonly use CoreXY or other lightweight motion platforms. Target operating speeds are between 300 and 600 mm/s. They support accelerations of 20,000 or even 30,000 mm/s². These machines often have fully enclosed metal frames. They include features like auto-leveling and vibration compensation to reduce artifacts at high speeds. For materials, high-temperature hotends and 120°C heat beds combined with heated chambers make ABS, ASA, carbon fiber, and some nylon materials sustainable options.
You can see the technical boundaries for different segments in this table.
|
Segment
|
Typical speed range
|
Build volume range
|
Materials focus
|
Typical users
|
|
Entry FDM
|
60 to 120 mm/s
|
Around 200mm side length
|
Primarily PLA, some PETG
|
Schools, home beginners, light hobbyists
|
|
Advanced FDM
|
200 to 300 mm/s actual speed
|
Around 250mm cube
|
PLA, PETG, TPU, ABS, ASA, some CF
|
Advanced makers, design studios, print farms
|
|
Professional FDM
|
300 to 600 mm/s rated max
|
300mm+ or multi-machine arrays
|
Engineering composites and continuous production
|
Small-batch production, engineering departments
|
For individuals and small teams, do not just chase high specs. It is vital to accurately judge which of these three categories you actually fit into.
Typical Use Scenarios Across User Groups
Based on user feedback, FDM 3D printers need to fall into several categories.
The first category is home and education users. Teachers want students to see a finished project within a single class period. Parents want children to safely watch their toys printed in the living room. These users do not need extreme performance. They care about quick setup, safety, low failure rates, and available software or teaching resources.
The second category is makers and hobbyists. They like to tinker and will change air ducts, nozzles, and materials. They care about detail quality and printing efficiency but do not want to spend every night repairing the machine. These users want to push performance within a controllable tuning space. They also need a solid hardware foundation and mature firmware for support.
The third category is small teams targeting prototypes and small-batch production. This includes industrial design studios, board game studios, or e-commerce sellers. To them, the machine is a productivity tool. They focus on stability across shifts, queue efficiency, multi-material capabilities, and unit cost per part. High-speed FDM and high-detail resin are often used together.
Understanding which group you belong to is the starting point for every decision.
Best 3D Printer for Beginners, Kids, and Makers
Once you identify the user type, you must look at specific selection criteria. Beginners and children need FDM 3D printers that are as automated and safe as possible. Advanced makers prioritize performance and customization. Their priorities are completely different. Below is a breakdown by user level with specific configuration advice.
Beginner-Friendly 3D Printers with Easy Setup
For those new to FDM, the biggest hurdle is usually not the slicing software. It is the initial leveling and the first roll of filament. Many people buy an FDM 3D printer and spend a weekend leveling the bed. They often end up with a flattened first layer or a print that will not stick at all. It might take a week before they successfully print their first part.
Key features for a beginner-oriented FDM 3D printer include:
-
Fully Automatic Leveling: Uses pressure or touch sensors to measure the distance between the nozzle and the bed. It automatically corrects the Z-axis height. This removes the need for complex manual adjustments.
-
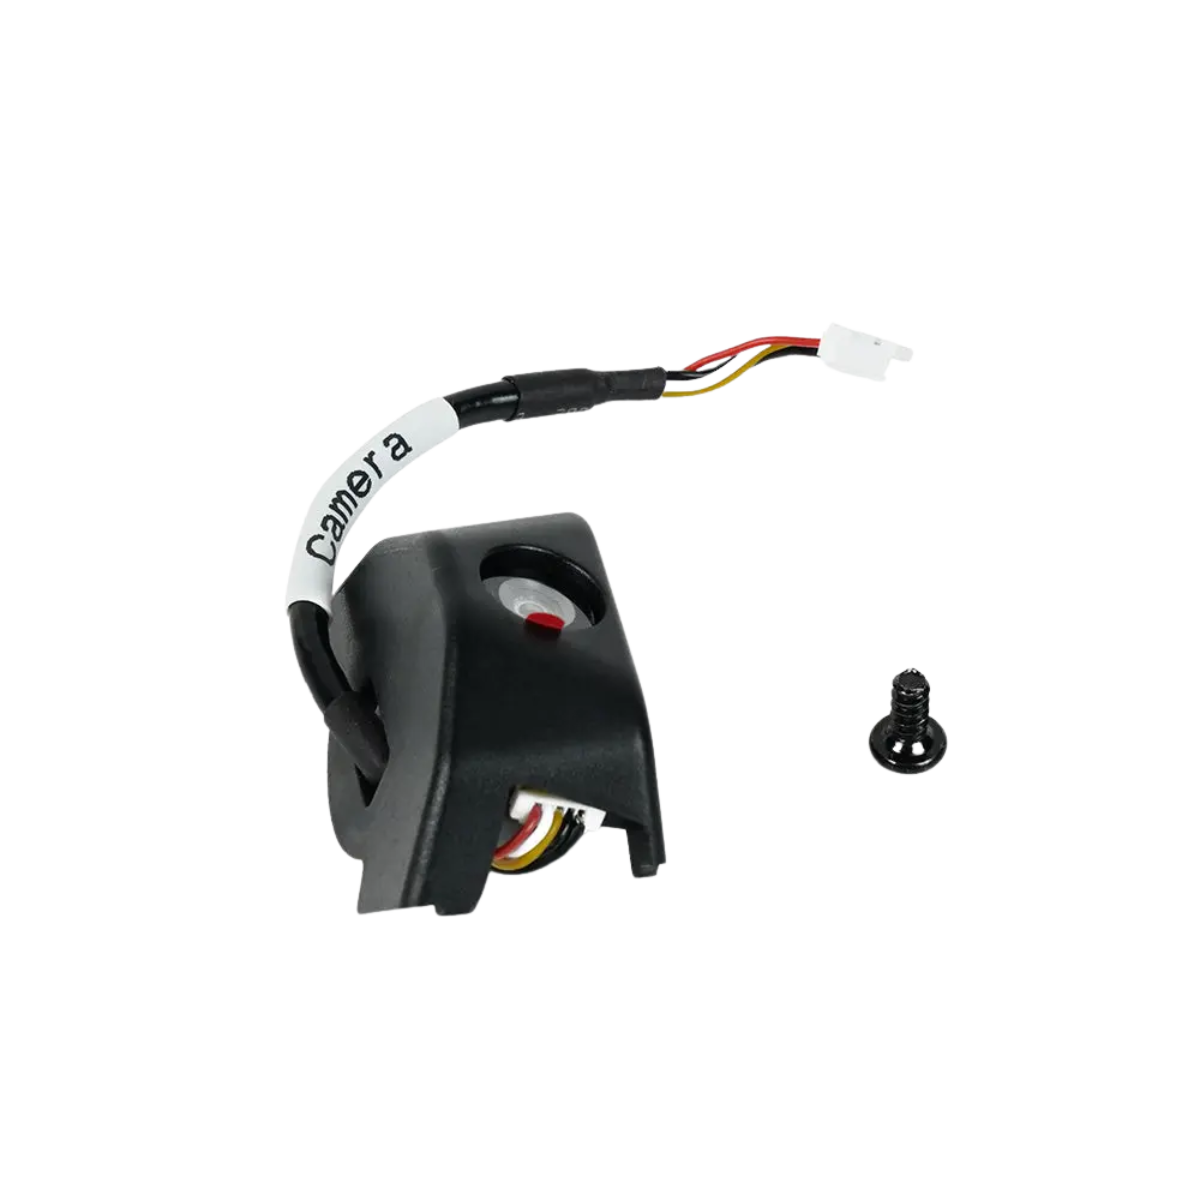
Built-in Camera and Connectivity: Allows users to monitor progress via phone from another room and share results easily.
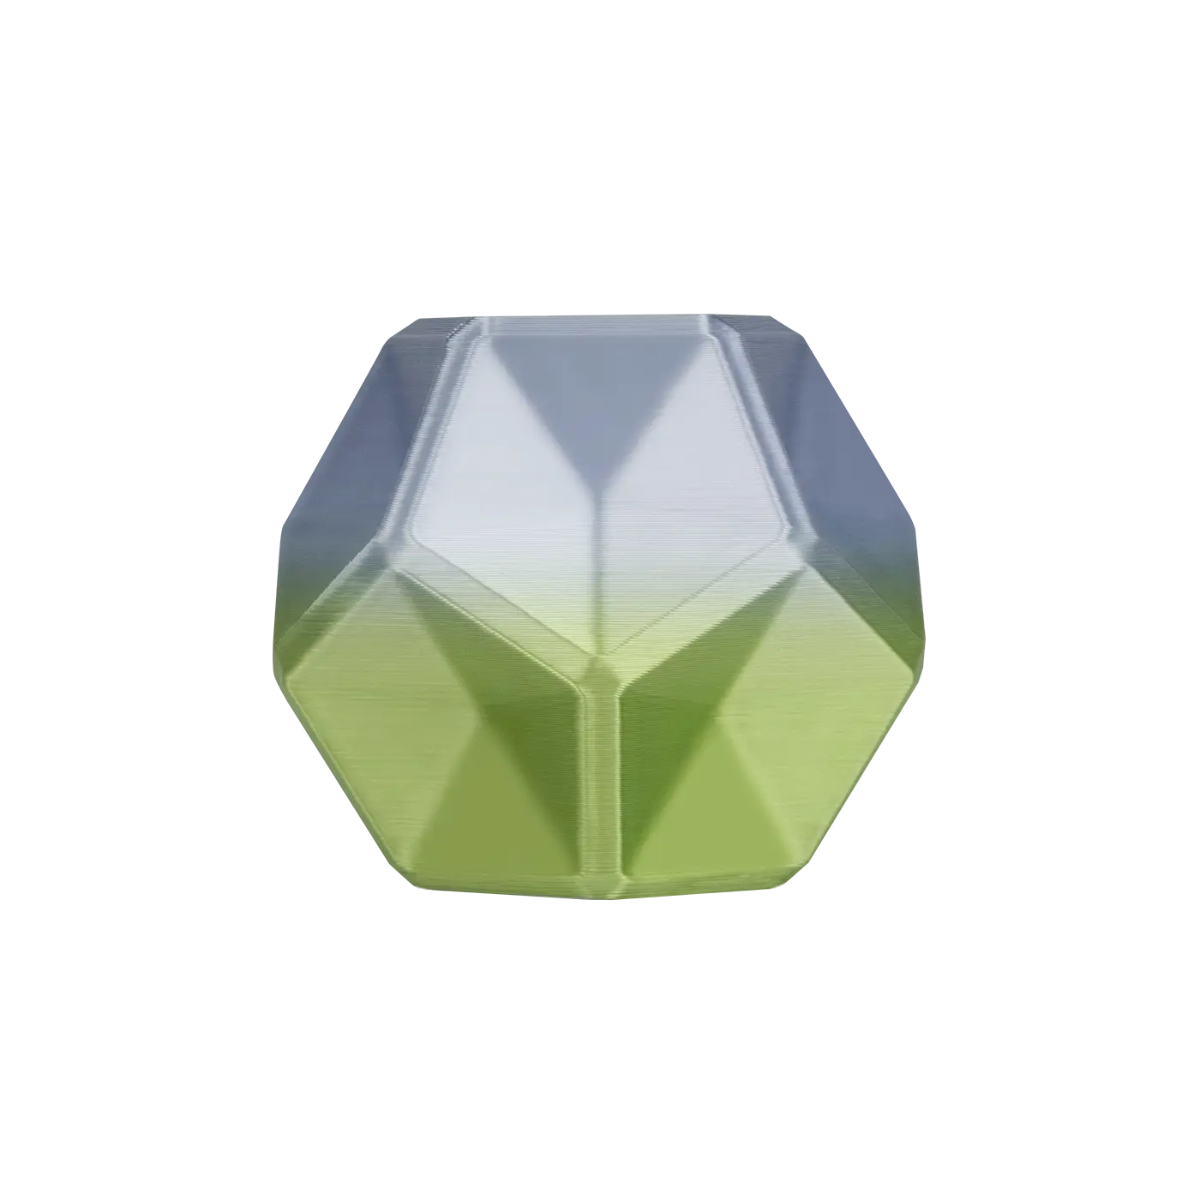
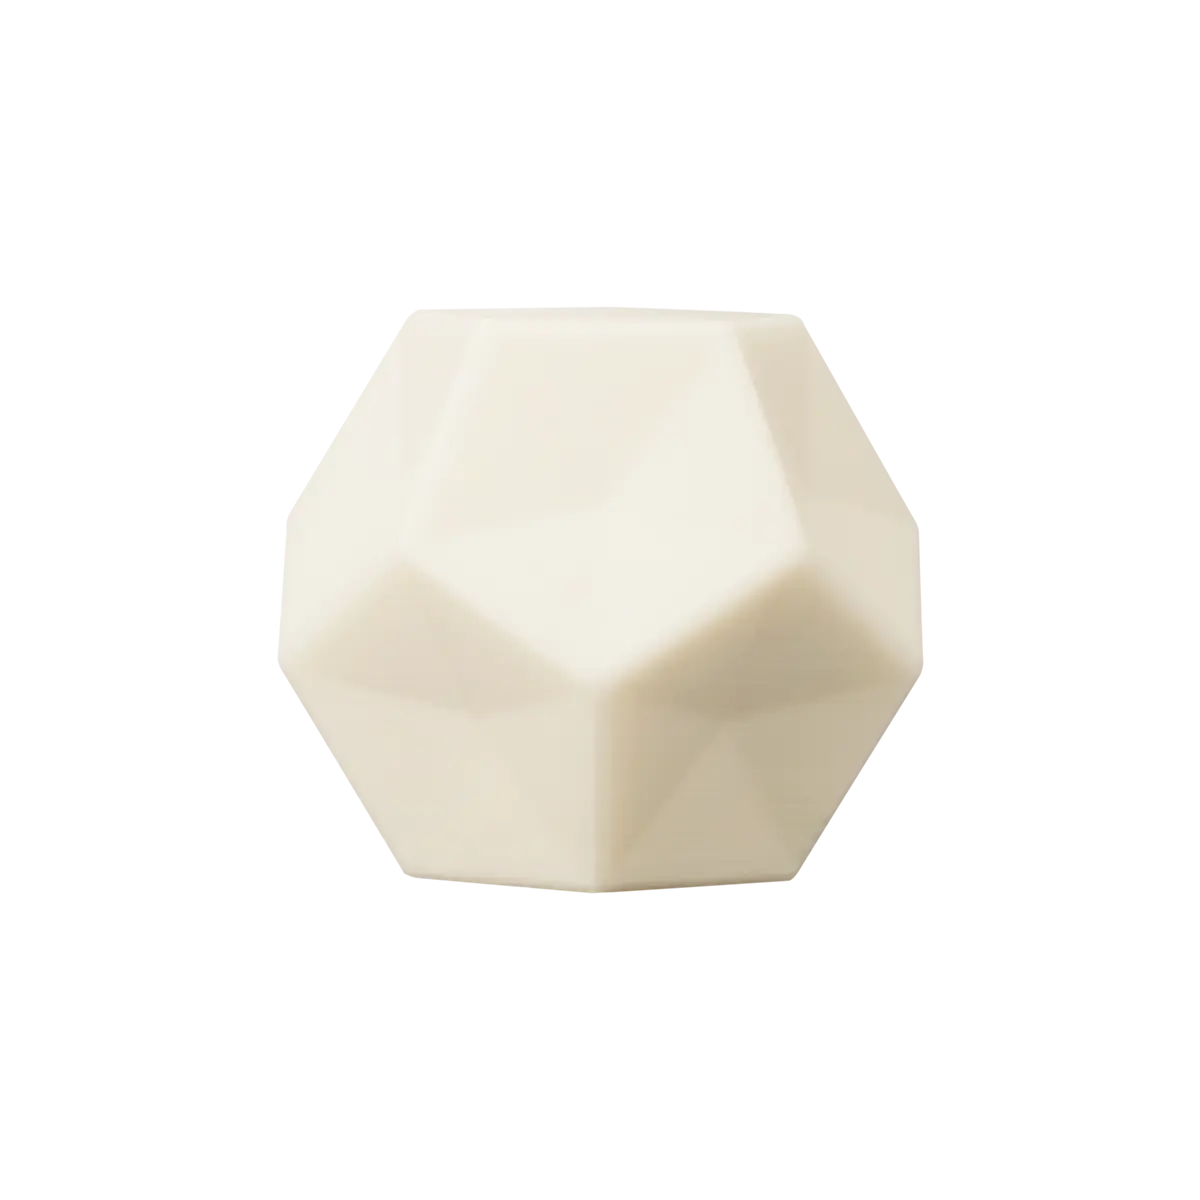
In school projects, a rigid, enclosed CoreXY FDM 3D printer reduces the uncertainty of the first experience. A typical entry-level FDM 3D printer with auto-leveling, vibration compensation, and a dual-filter enclosed chamber usually has a build volume of about 220 mm. It supports nozzle temperatures up to 280°C and bed temperatures up to 100°C. Noise levels stay near 50 dB in low-speed mode. For home users, setup takes about fifteen minutes. This is much better than spending two days calibrating a complex FDM 3D printer.
The Flashforge AD5M perfectly represents this out-of-the-box philosophy. It uses a stable CoreXY structure for high speeds. Its core advantage is a true one-click automatic leveling system. Users spend about ten minutes on assembly and self-checks. There is no need to turn screws or test gaps manually. The FDM 3D printer calculates and completes the bed compensation automatically. This high level of automation reduces first-layer failures. It lets beginners focus on the joy of creating rather than technical hurdles.
Safe and Simple 3D Printers for Kids
For children and teenagers, safety and quiet operation are the primary concerns. Parents usually worry about two things: isolation from hot and moving parts, and the control of odors and particles during heating.
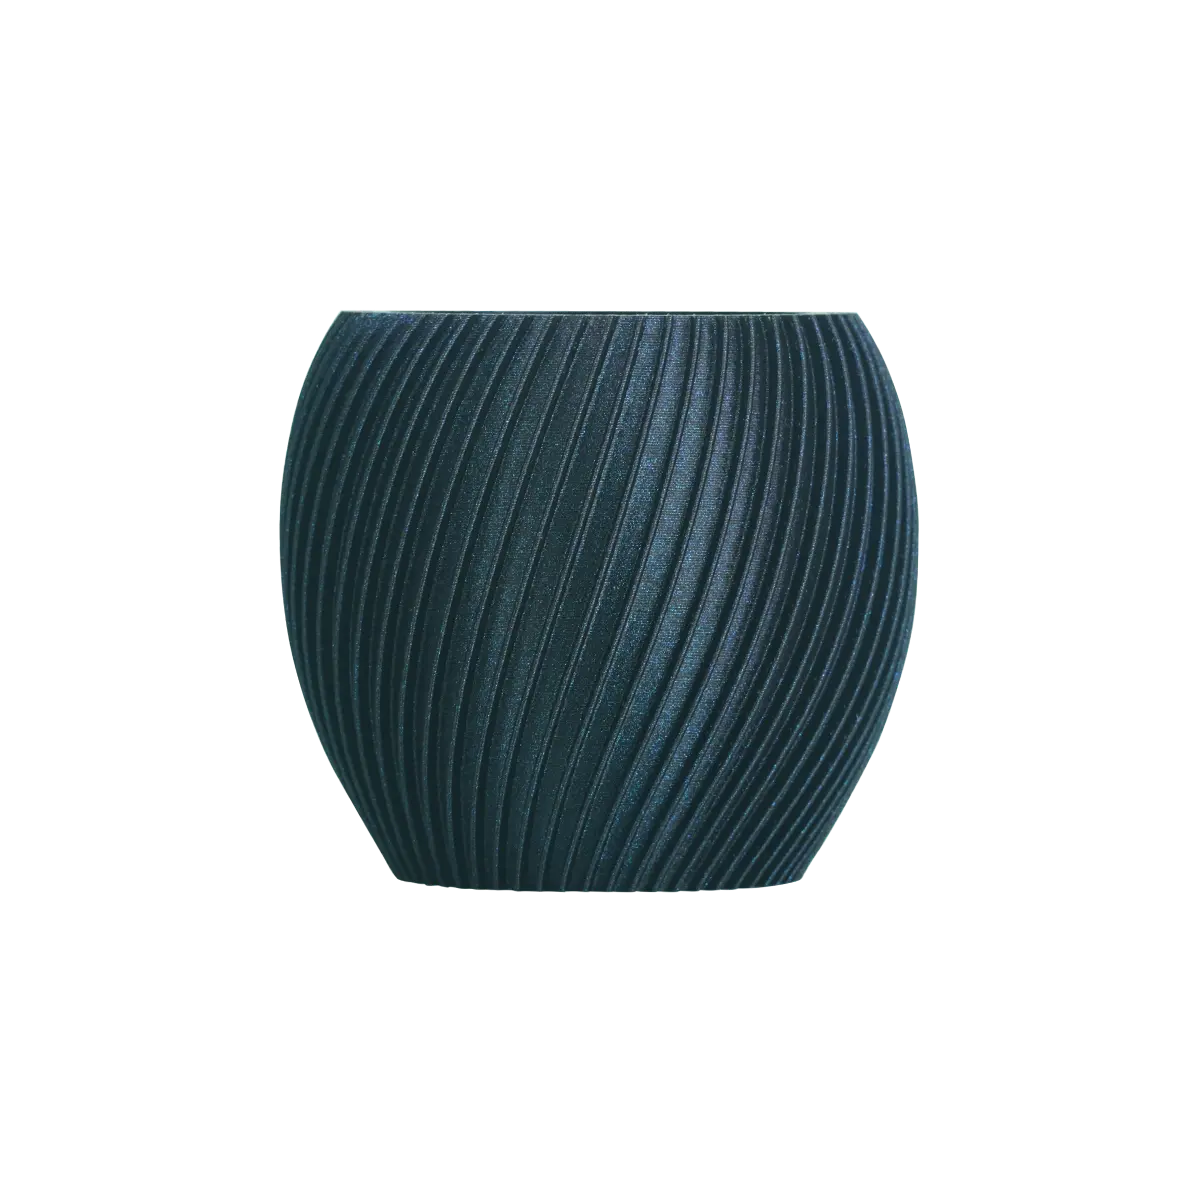
These scenarios call for a fully enclosed FDM 3D printer with door locks or an auto-pause feature when the door opens. The enclosure physically blocks the nozzle and moving parts. This prevents curious children from touching them. It also lowers noise, ensuring the fan sound does not disrupt a bedroom or study. From an air quality perspective, a system with HEPA and activated carbon filtration captures most particles and VOCs. This is critical when printing materials like ABS and ASA over the long term.
Simplified operation is also important. An FDM 3D printer for kids should minimize manual settings. It should use material presets for temperature, offer touchscreen guides for loading or cleaning, and include built-in example models. This lets children experience success before they learn complex modeling software.
For families with strict safety and air quality needs, the Flashforge Adventurer 5M Pro 3D printer is an ideal upgrade. It builds on the performance of the 5M but uses a fully enclosed structure. It isolates high-temperature nozzles and high-speed parts completely. The AD5MPro features a HEPA 13 and activated carbon dual-filtration system. This effectively blocks particles and odors, ensuring a non-toxic home environment. With its monitoring camera, low-noise mode, and intuitive touchscreen, it is a safe gateway for children to explore 3D creativity.
High-Performance 3D Printers for Makers and Enthusiasts
Makers and enthusiasts who understand slicing parameters and mechanics have different needs. They want surface quality at high speeds, the ability to print materials like TPU or PLA-CF, and options for multi-color or multi-material 3D prints.
At this level, a CoreXY structure and an all-metal frame are priorities. These designs handle the inertia and vibration of high acceleration without deforming. High-temperature hot ends should reach 320°C or higher. Heat beds should hit 120°C. An actively heated chamber that maintains 65°C provides a better environment for engineering plastics.
Multi-material capability is another key factor. Traditional single-nozzle systems rely on filament switching. This requires retracting, reloading, and long purge cycles, which wastes material. Newer tool-changing architectures use independent extrusion components to switch heads in seconds. This reduces wait times and waste while allowing a mix of flexible, support, and rigid materials in one 3D print.
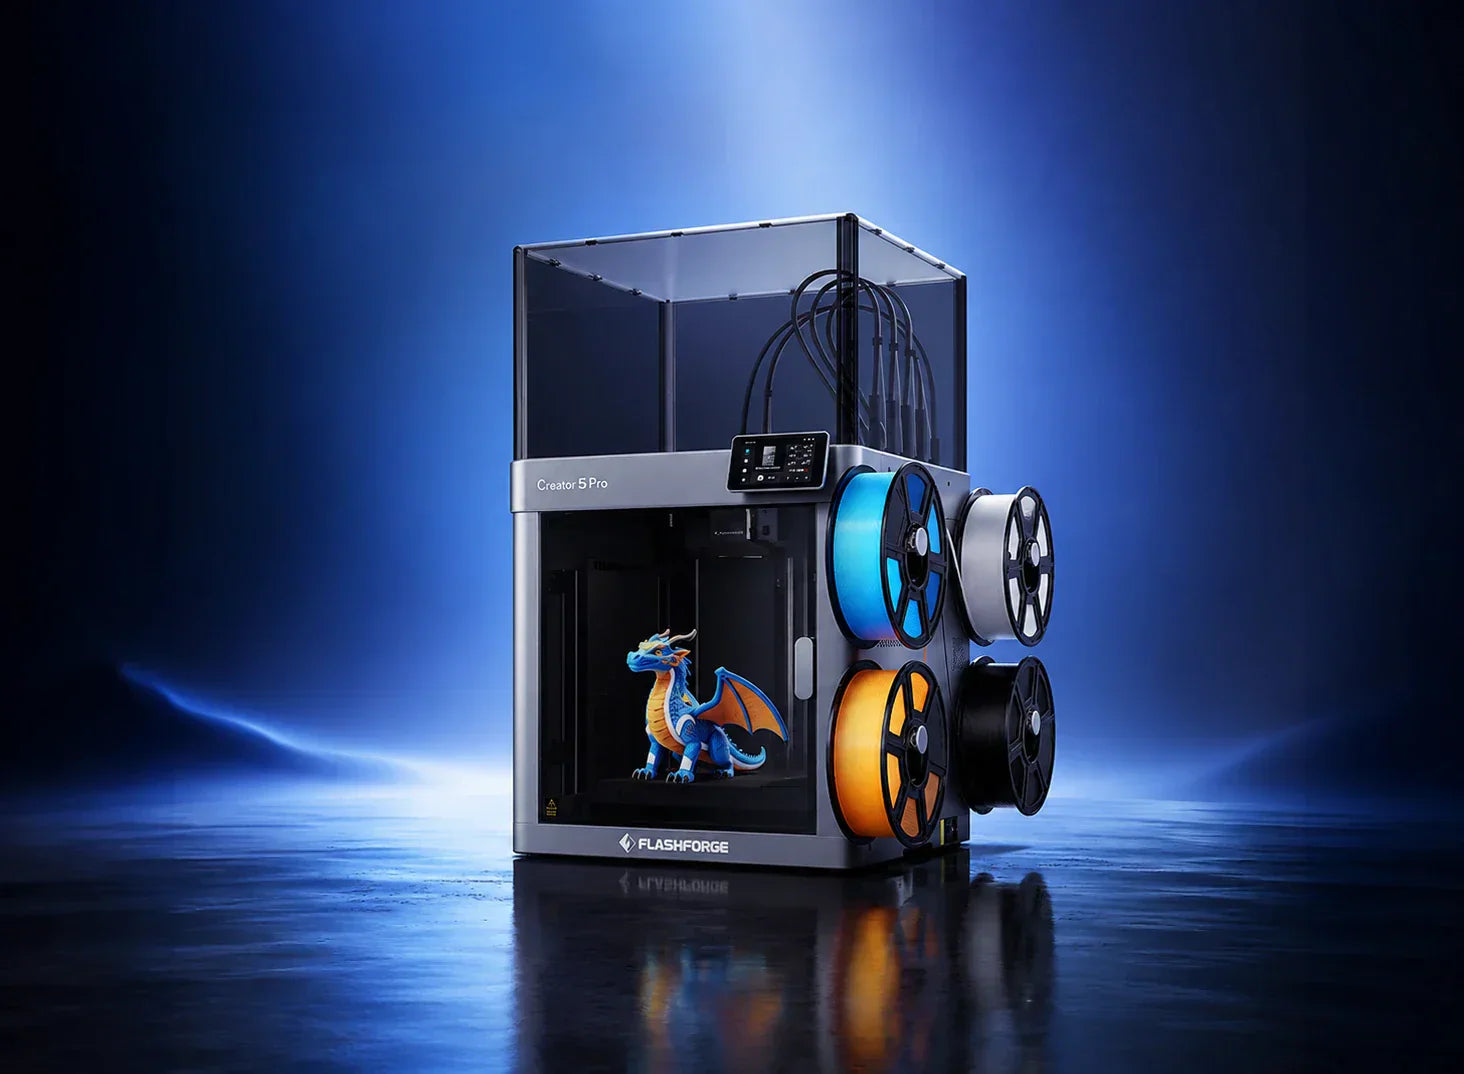
For maker studios, the Flashforge Creator 5 Pro is a strong choice. This FDM 3D printer features four independent tool heads, a heated enclosed chamber, and high-temperature extrusion. It offers a 256 mm cubic build space and travel speeds up to 600 mm/s. Recommended printing speeds are around 300 mm/s with acceleration up to 30,000 mm/s². It supports materials from PLA and PETG to TPU, PLA-CF, ABS, and ASA. For users producing functional parts with multiple colors, this FDM 3D printer significantly improves productivity.

Matching Printer Capabilities to User Skill Levels
The ideal purchase matches the equipment to the user skill level. A common mistake is buying a highly customizable FDM 3D printer with extreme specs as a first machine. Users then spend more time fixing the FDM 3D printer than creating models.
Beginners should choose an FDM 3D printer with auto-leveling, material presets, and a reliable ecosystem. As they gain experience, they can move to faster, larger FDM 3D printers with multi-nozzle capabilities.
The following table serves as a quick reference:
|
User Level
|
Recommended Build Volume
|
Recommended Speed Focus
|
Automation Level
|
|
First-time beginner
|
About 200 mm; fits most daily models
|
Under 150 mm/s; focus on success rate
|
Full auto-leveling, one-click loading, presets
|
|
Experienced hobbyist
|
220 mm to 256 mm
|
200–300 mm/s; supports up to 600 mm/s
|
Auto-leveling and vibration compensation
|
|
Small studio or farm
|
256 mm+ or multi-unit setups
|
Near 300 mm/s; focus on remote management
|
Multi-nozzle calibration and fleet management
|
Key Performance Factors That Impact Printing Results
After understanding budget tiers and user types, you need to interpret the numbers and acronyms on a spec sheet. This section breaks down speed, quality, reliability, and noise. We will map these to specific experiences to help you decide which features are essential and which are optional.
Speed, Acceleration, and Workflow Efficiency
In the last two years, desktop FDM 3D printers have shifted from a standard speed of 100 mm/s to 300 mm/s or even 600 mm/s. However, numbers alone are misleading. You must consider acceleration, nozzle flow rate, and vibration control together.
Print speed is the linear velocity of the toolhead. Acceleration determines the distance needed to reach that target speed from a standstill. High acceleration allows the FDM 3D printer to approach its rated speed even on short lines. For models with many fine details or text, this significantly cuts down total time. Additionally, the volumetric flow rate of the nozzle must keep up. A flow rate of 32 cubic millimeters per second is necessary to maintain proper extrusion at high speeds. Otherwise, you will face under-extrusion and weak parts.
Users generally find that moving from 100 mm/s to 200 mm/s offers a noticeable improvement. Jumping to 300 mm/s or 600 mm/s requires excellent vibration compensation and a metal CoreXY frame. These features turn an overnight job for a 20 cm model into an afternoon task. This efficiency is critical for classrooms, studios, and design teams on tight deadlines. In the current market, the value of high-speed capability depends on how many hours you print annually.
Print Quality and Layer Consistency
Print quality is often simplified as layer line visibility. From an engineering perspective, layer adhesion strength and dimensional consistency are more important.
Layer height determines vertical detail. Most desktop FDM 3D printers offer a range between 0.1 mm and 0.3 mm.
-
0.1 mm: Best for display models and fine text.
-
0.2 mm to 0.25 mm: A balanced choice for strength and efficiency.
Mechanical structure and stepper motor precision determine XY plane accuracy. Current high-precision CoreXY FDM 3D printers can reach an XY accuracy of about 0.012 mm and a Z-axis repeatability of 0.0025 mm. This ensures that threads, clips, and joints remain consistent across multiple 3D prints.
Cooling ducts and vibration compensation also impact surface quality. High-quality FDM 3D printers perform a vibration test during initial setup to measure resonance. The firmware then actively cancels out these vibrations. This reduces ghosting and ringing at high speeds. For users printing large flat surfaces or embossed text, this feature allows for both speed and aesthetics.
Reliability and Failure Rate Reduction
In long-term use, a good FDM 3D printer should be hassle-free. This reliability comes from three areas.
First, automation handles daily maintenance. Full auto-leveling reduces first-layer failures caused by bed tilt. Filament detection and power loss recovery prevent wasted prints during material shortages or outages. Active vibration compensation reduces mechanical stress from high speeds.
Second, the build quality must support heavy workloads. An all-metal frame, linear rails, high-quality bearings, and organized wiring determine if the FDM 3D printer remains reliable over time. These details are rarely on a marketing banner but appear constantly in user reviews.
Third, software and remote monitoring are essential. Modern FDM 3D printers emphasize queue management and status alerts via desktop and mobile apps. Some FDM 3D printers even use AI image recognition to detect spaghetti or detached parts. The system automatically pauses when it detects an error, which is vital for unattended overnight printing.
Noise Levels and Daily Usability
Noise is often ignored during purchase but heavily affects daily experience. For home and office settings, constant noise above 60 dB interferes with work and rest.
An enclosed structure paired with optimized ducts and silent stepper drivers can keep noise around 55 dB. Some FDM 3D printers even drop to 50 dB in silent mode, which is quieter than a normal conversation. The enclosure acts as a sound barrier, preventing the FDM 3D printer from disturbing adjacent rooms during night prints. If you plan to keep your FDM 3D printer in a living room or a study near a bedroom, 55 dB is a realistic and necessary goal.
Hardware and Design Features That Matter Most
After understanding performance metrics, the next step is identifying the fundamental differences in hardware architecture. Familiarizing yourself with the various parts of a 3D printer—such as the motion system, extrusion and hotend, build plate, and enclosure—will help determine how far an FDM 3D printer can go. These factors also dictate whether you will need to replace your hardware in the future.
Motion Systems and Structural Stability
The two main motion architectures for desktop FDM are bed-slingers and CoreXY systems. A bed-slinger moves the platform in one direction while the toolhead handles the other. This design is simple and cost-effective, performing reliably at lower speeds. However, as speed and acceleration increase, moving a heavy platform back and forth creates significant inertia. This leads to vibrations or skipped steps, which is problematic for large or tall 3D prints.
A CoreXY architecture keeps all fast movements concentrated on a lightweight toolhead assembly. The platform only moves slowly in the Z direction. When paired with an all-metal frame and reinforced bracing, this setup maintains stability during high acceleration. This is why current high-speed FDM 3D printers typically use this structure. For the user, it means maintaining sharp contours and consistent dimensions even at higher speeds.
Stability also depends on the choice of rails and rods. Linear rails and thickened aluminum profiles resist wear better than standard rods and plastic parts. In a 3D printing farm with continuous shifts, this directly impacts your long-term maintenance costs.
Extruder and Hotend Capabilities
The extrusion system is the part of an FDM 3D printer that handles the material directly. Direct-drive extruders have largely replaced long-distance Bowden tubes in modern desktop 3D printers. They offer better control over flexible filaments, shorter retraction paths, and more precise extrusion for fine details.
The maximum temperature of the hotend determines your material options.
-
Beginners: A 240°C limit is enough for PLA-focused workflows.
-
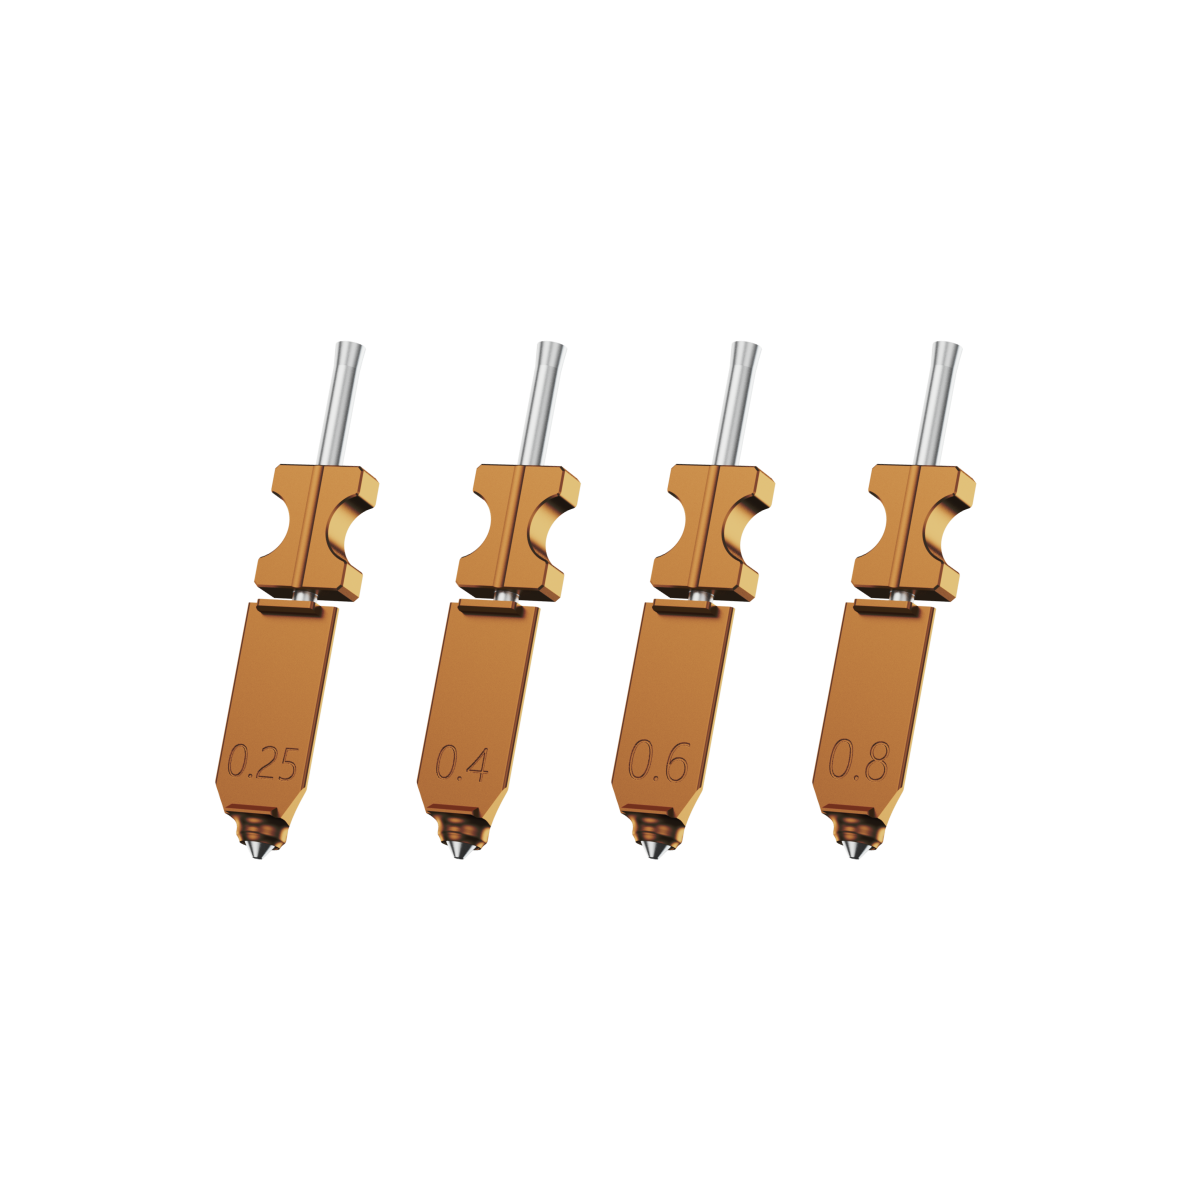
Advanced Users: A 300°C hotend is necessary for stable printing with PETG, ABS, ASA, and carbon-fiber-filled materials. Professional platforms often include hardened steel nozzles by default. They offer multiple diameters like 0.25, 0.4, 0.6, and 0.8 mm to give you freedom between fine detail and high-speed production.
Quick-swap nozzles are also a priority for many users. Modular hotend designs allow you to change the entire toolhead assembly in minutes without tearing down the extruder. This significantly reduces downtime for studios that frequently switch material types.
Build Plate and Adhesion Systems
The build plate design directly affects first-layer success and the ease of part removal. Textured spring steel plates, such as PEI-coated sheets, are the current standard. They provide good adhesion while printing. Once cooled, a slight flex of the plate lets the model pop off naturally. This reduces the need for scrapers and prevents damage to the bottom of the 3D print.
Heat bed power and maximum temperature determine support for engineering materials.
-
Standard Materials: 80°C is sufficient for PLA and PETG.
-
Engineering Materials: 100°C is safer for ABS and ASA. High-end FDM 3D printers offer beds that reach 120°C to work with heated chambers for high-temp nylon and composites.
Automatic first-layer calibration uses sensors to touch several points on the plate. The FDM 3D printer collects height data and generates a plane compensation map to fix minor plate warping. This turns the most frustrating part of maintenance into a repeatable, predictable process.
Enclosed vs Open Frame Considerations
The choice between an enclosed or an open-frame FDM 3D printer is vital.
Enclosed FDM 3D printers isolate the chamber from the environment, offering several advantages:
-
Safety and Noise: The shell blocks high-temperature parts from children or pets and acts as a sound muffler.
-
Material Support: Enclosures with active heat management slow down cooling for ABS, ASA, and nylon, reducing warping.
-
Air Quality: Systems with HEPA and activated carbon filtration trap particles and gases, which is essential for classrooms and homes.
Open-frame FDM 3D printers are easier to observe and access. They are simple and offer great cooling for PLA. However, they are vulnerable to drafts and room temperature changes. This often leads to higher failure rates for large or tall 3D prints when using engineering materials.
For users seeking extreme detail, resin 3D printers are an option, but they require strict ventilation and handling protocols for liquid resins and solvents. Most users should view resin systems as a supplement rather than their first FDM 3D printer.
Conclusion
Choosing the best FDM 3D printer in 2026 requires a clear strategy. Instead of chasing a famous brand, identify if you are at the beginner, advanced, or production stage. Align your needs for speed, material, volume, safety, and automation before selecting a specific model.
At Flashforge, we design for real-world scenarios. We offer high-speed enclosed FDM 3D printers for schools and homes, as well as multi-toolhead platforms for makers and studios. We want you to feel a sense of reliability when you turn on the machine. Hope this buying guide helps you turn your next FDM 3D printer into a stable investment for years to come.