Since 3D printing Lunar lamp came out, its heat never gets cool down, and it was beloved by publics, even the film publicity will bring it. Because of the movie The Wandering Earth showed at the beginning of this year, the 3D printing Jupiter lamp trend derived from Lunar lamp was widely popular as well.
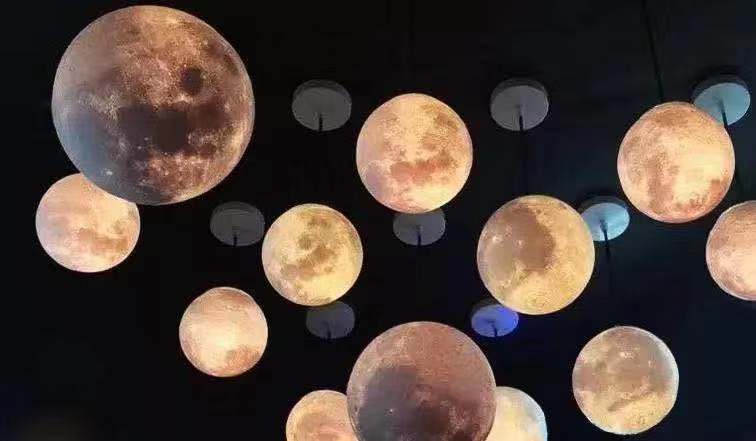
So, with the help of Oliver, now we offer a guide to make your own Lunar lamp! Wish you guys can make a Lunar lamp yourselves.
In short, the manufacturing method of Lunar lamp is to use software to transfer 2D image into 3D sphere.
So now you need to prepare one image and use software to transfer it. If you use normal 3D software, usually it will cost more time, but if you use FlashPrint, it will be much easier. Use “Add converting image to sphere stl. Function. ” in FlashPrint 3.25.0 and after version, then you can easily handle the manufacturing of Lunar lamp 3D Printing.
And so on, since any type of 2D image can be “transferred” into Lunar lamp, so it means if you want, you can own all the other planets or even the whole galaxy.
Next, let us tell you guys all these steps in detail.
Notification
When you are modelling, notice these two points:
1.The clearness of image matters, you can find several images which are similar, modelling separately, choose the best model.
2.Aware of the model’s size and the layer’s thickness. The bigger lamp got better details. On the contrary, the small bulb won’t perform well in big lamp. The thickness of lamp affects the details and light transformation effect.
Choose 2D image
The simple first step:
You guys can google your favorite image, and you guys can use photoshop to process the picture if you want, like add some words.
The following three example image is moon, Earth and Mars’ surface map, feel free to take and use.
Modeling
The simple and key second step, FlashPrint will help you complete it easily.
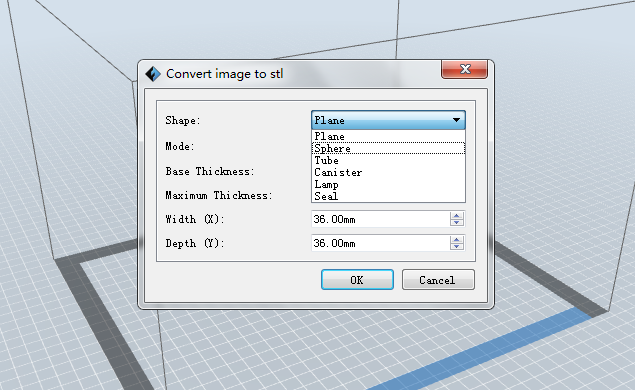
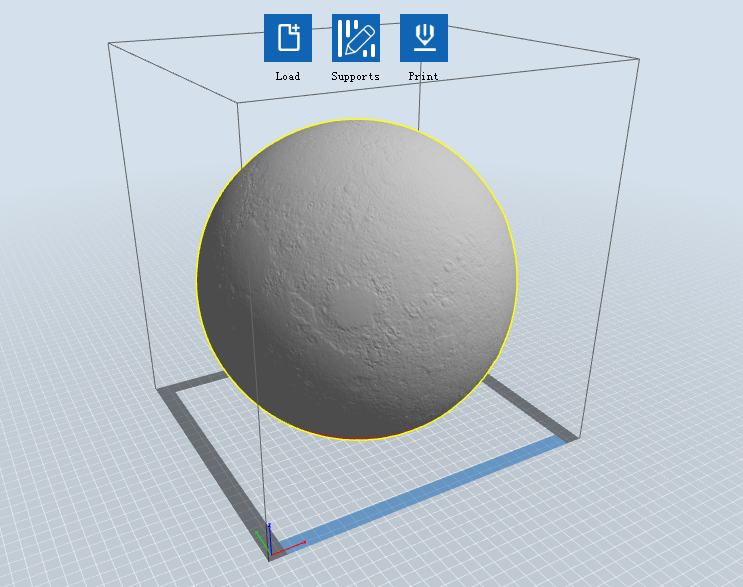
Click to load or drag your image directly, the menu dock will come out immediately.(Choose sphere shape and thicker in deeper part of mode)
The equatorial diameter is the diameter of the sphere. It is recommended that we start with 150 mm and increase or decrease the size by 50 mm. The thickness of the base is 0.1 mm. The maximum thickness is 2.4 mm. Don’t choose ellipse.
After modeling, you will get a whole hollow sphere, now we need to slice it into lamp cover and base, it will be more easier to print, and more easier to fix the bulb inside.
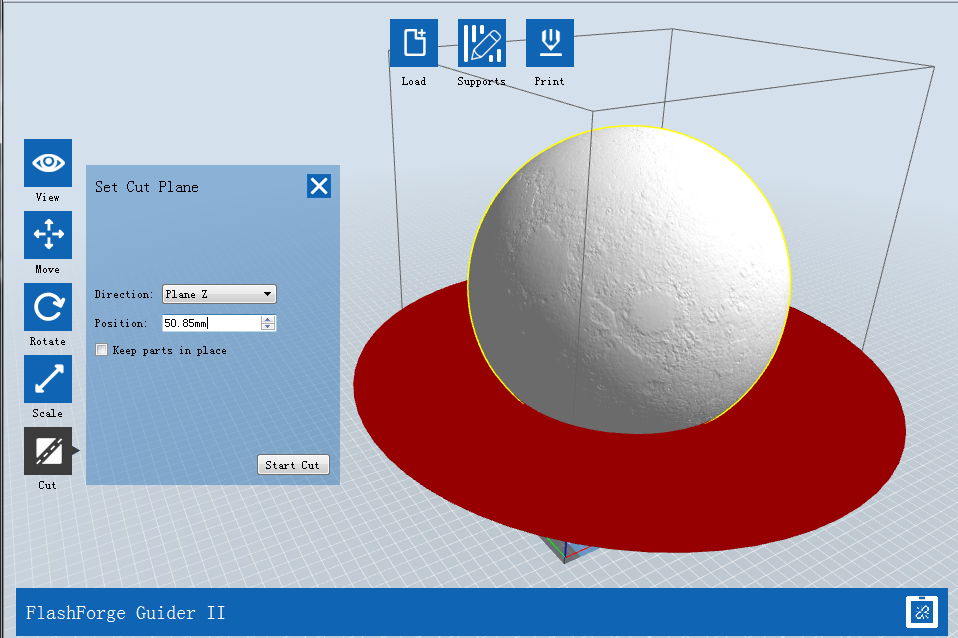
Click on the model. Then click on the slice, the direction selects z-plane, and the slicing position is just one to two centimeters above the bottom of the model, don’t need to be very accurate.
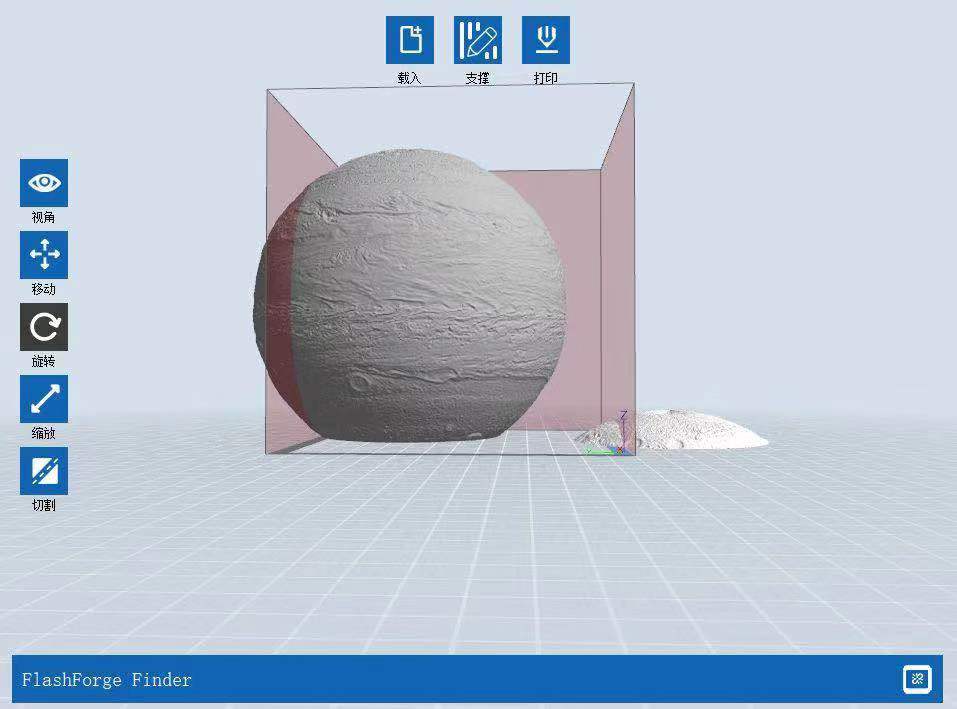
After slicing, click on the bottom of the moon and rotate it to the illustration as shown.
Since the lamp body is composed of two parts, especially the base part needs to be separately processed, so it need to be saved respectively, after deleting one of them as a stl file, ctrl+z to restore the two models and saves them as another part.
Of course, if you are a pro and you have the correct print size, you can only save the base part and print the lamp cover directly.
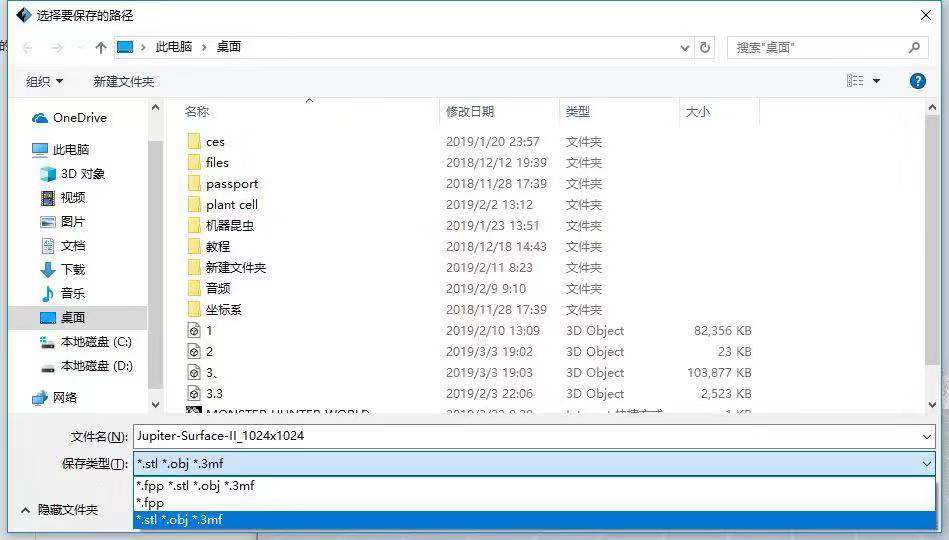
Pay attention to the format when saving as another file, save it as stl format, just as shown in the image below.
For those guys who choose to do the magnetic levitation lamp can skip this step. Making ordinary lunar lamp need to punch the model. If you have the electric drill, you can drill the hole after you finish it. Well, If you don't have it, you can make a hole with the meshmixer.
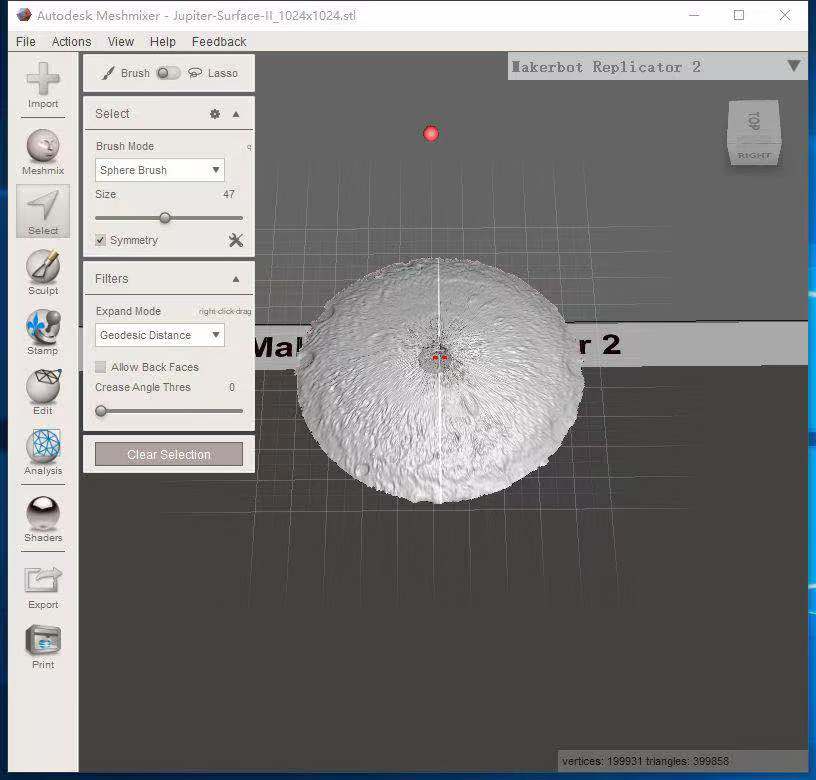
Open the meshmixer and load the model file, click Select, change size to 47, and then click on the center of the model.
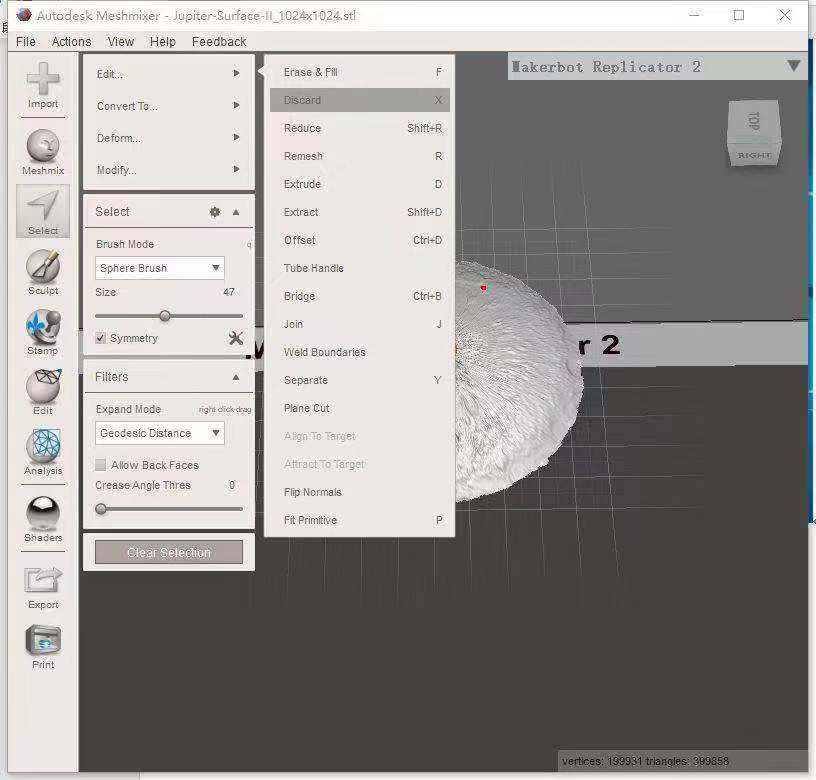
Select edit, click on discard and then the hole is ready.
The internal lamp holders can be designed by yourselves or by looking for other resources and then merging them together:
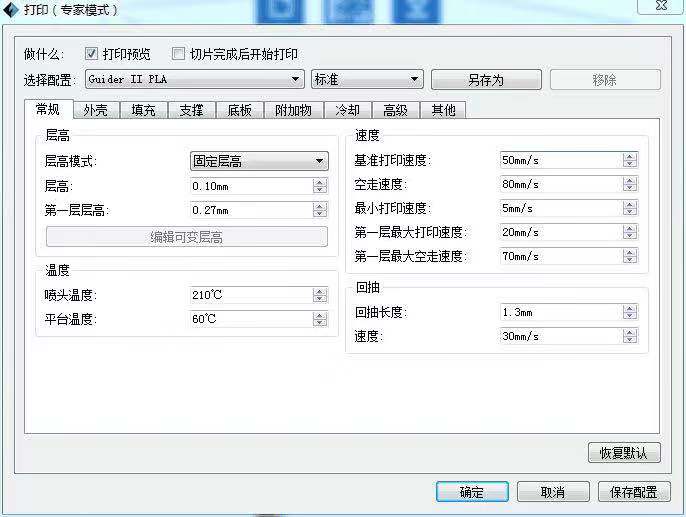
Load the finished model into FlashPrint, what need to be aware is that the print density must be set to 100%, and other parameters can be kept as default.
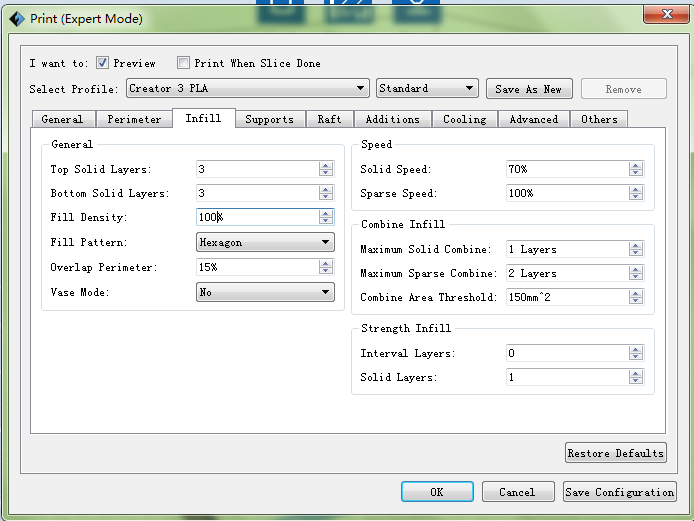
Of course, you can adjust the parameters yourself for better results.
The default layer height is 0.18, 0.1 or 0.2 are also optional. The surface of 0.1 layer height will be smoother as well as the effect will be better, 0.2 layer height’s effect will be worse but the printing process will be quicker.
What is shown above is a reference for everyone based on our printing experience, but there may be differences depending on the difference of the machine. So it means everyone can try more times.
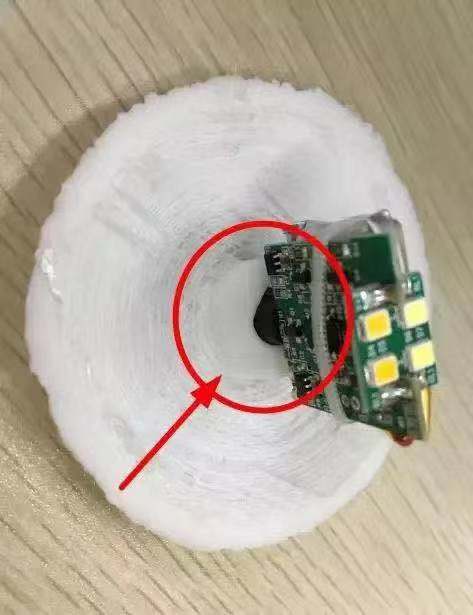
After the printing process is completed, fix the bulb to the base with hot melt adhesive, and then fix the base and the lamp body with glue such as 502.
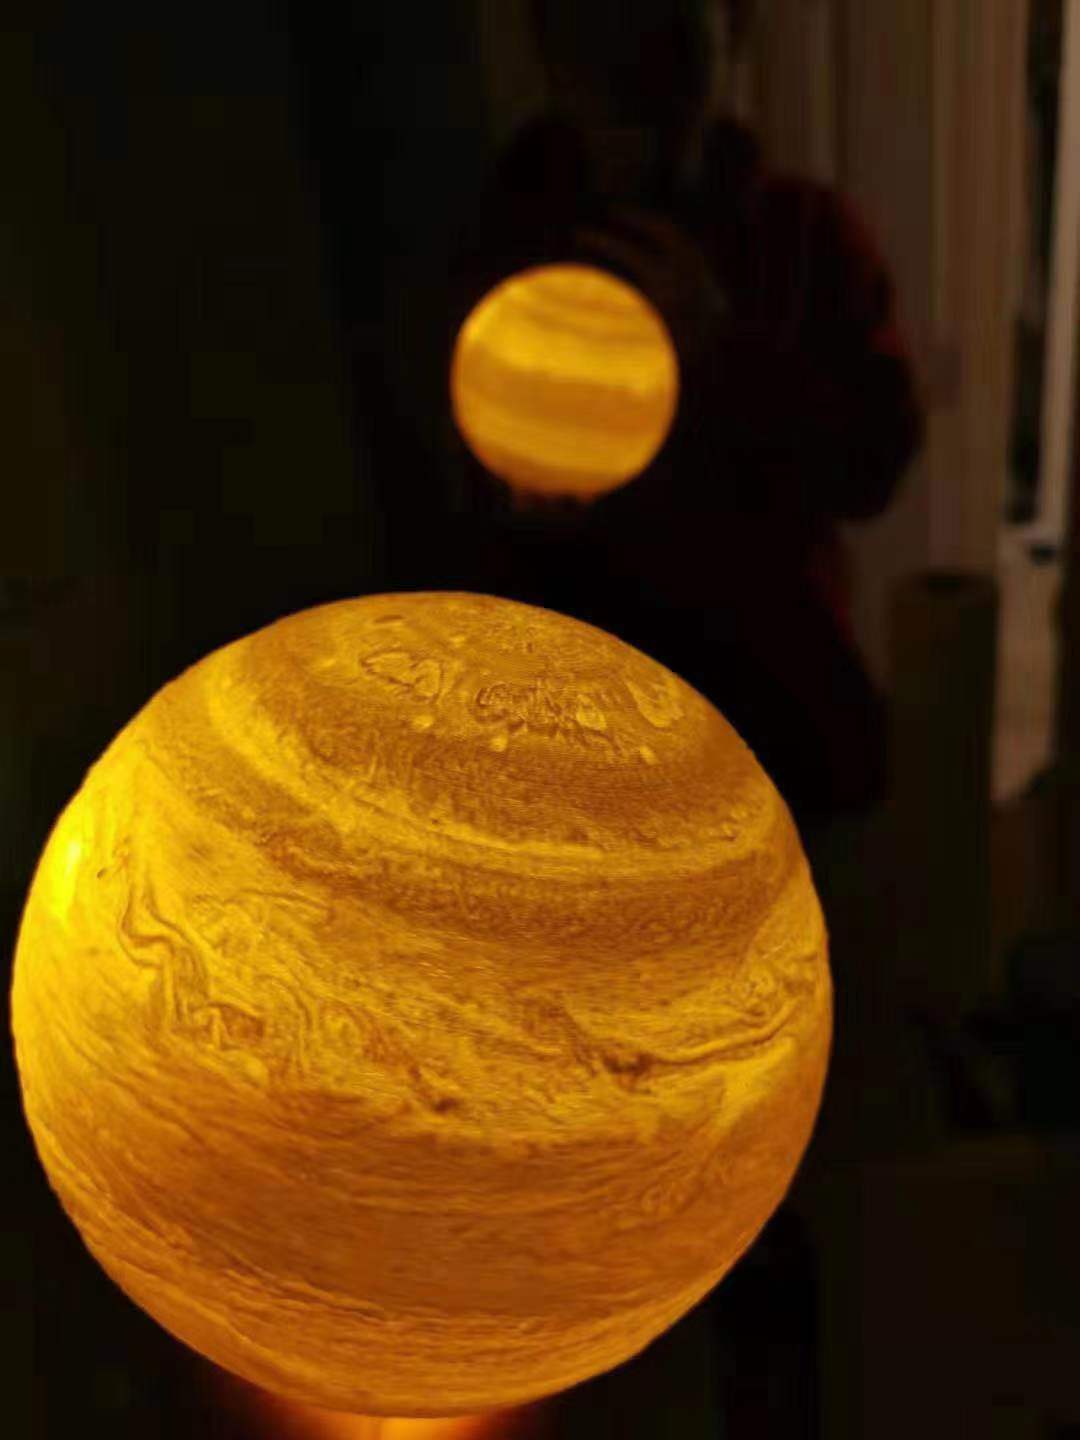
The final result.
All on the above is the manufacturing guide of lunar lamp, you guys who are interested in it can quickly follow the guide make one by yourselves