"Wait.... we are supposed to customize them? That's a whole other hobby I hadn't even considered," a netfriend commented.
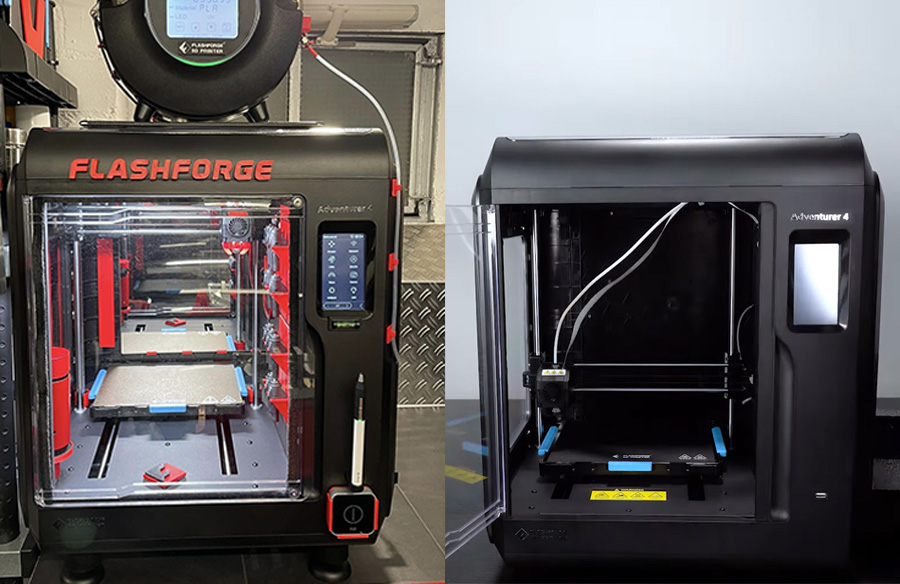
Yes, Danny Mayer has custom pimped his Flashforge Adventurer 4 3D printer. He posted those refreshed setup images of Flashforge Adventurer 4 in Flashforge Official User Group and aroused high spirits of members in there!
▲ AD4 3D printer modded by Danny ▲Original AD4 3D printer
What inspired Danny to pimp his 3D printer? What kind of 3D print fun are Danny and his netfriends discussing from 3D printer refitting? Feeling like to learn Danny’s 3D printer adaptions in details and start decorating your 3D printers? Keep on reading!
How did the idea of refitting a 3D printer occur to Danny?
“My 3D printing and CAD journey started in 2021 after I had the idea to create various spare parts and accessories for the household myself in the future. My first 3D printer was a Flashforge Adventurer 3 and it was on this printer that I gained my first experience. I have to say that the entry into the topic of 3D printing was very simplified for me by the easy and uncomplicated operation of the Adventurer 3. It really is a printer that works right out of the box. It requires little basic knowledge and is a good device for beginners. Additionally, I think the quick nozzle change system of AD3 is a great thing.
▲ Danny's Adventuerer 3 3D printer
I realized early on that I was really enjoying this hobby. Unfortunately, with growing experience, the space and possibilities of the Adventure 3 became too small. Fortunately, Flashforge introduced the new Adventurer 4 3D printer later. Since the Adventurer 3 had already convinced me as described above, I decided without much thought to give the big brother a place in my home.
I have not regretted on Adventurer 4 until today. I must admit that Flashforge has managed to improve all the things that made Adventurer 3 good in Adventurer 4. Nevertheless, some things were still missing in Adventurer 4, despite the numerous improvements.”
Danny narrated so. We easily read among word lines Danny’s affection on his Flashforge 3D printers, as well as his unique thoughts on making the Adventuerer 4 3D printer of his own style. Let’s see how Danny mod the 3D printer Flashforge Adventurer 4 to his own taste and what technical things he added and optimized on the 3D printer.
Detailed introduction to Danny’s adaptions on Adventurer 4 3D printer
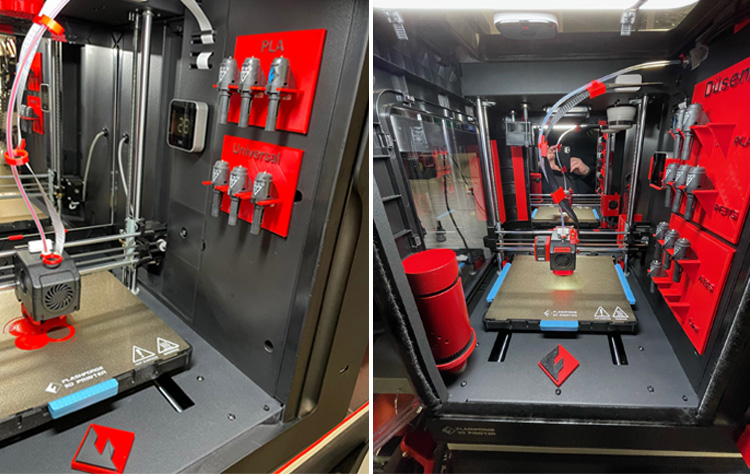
1. Nozzle holders mounted in the 3D printer chamber
Danny 3D designed and 3D printed holders to mount different nozzles on the chamber. “The holder for the nozzles was my first self-designed component. It took me quite a few tries to get them to fit exactly as I imagined. After I had printed them perfectly with PLA, I had to realize that the PLA holders have bent due to the high heat in the chamber space. Therefore, I had to reprint the nozzle holder with ABS, another filament with better heat tolerance. Actually, all future parts for my Adventurer 4 then I printed after then were in ABS to be heat resistant.” said Danny.
▲Red holders mounting on the chamber wall
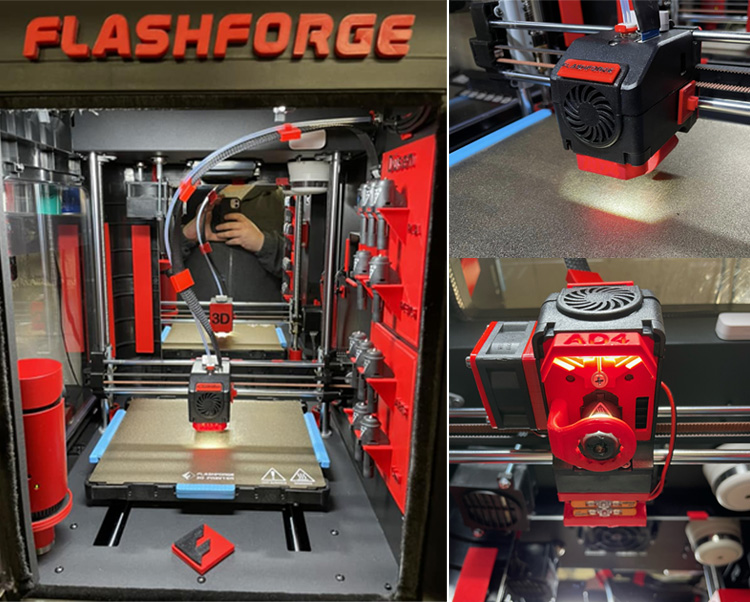
2. 3D print fun: lettering and logo 3D printed and added
There are FLASHFORGE lettering on the printer’s external frame as well as on the print head. The AD4 lettering on the printhead is designed as a light shield for the built-in LEDs (the original LED light on the nozzle head to light up printing even in the night), so that the light is wide spread and do not dazzle the cameras in the dark.
▲ Lettering added
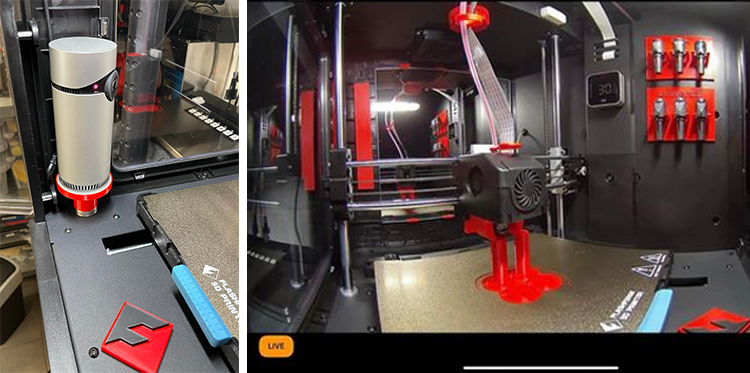
3. Installing a camera and fixing it with a 3D printed stand
Danny bought a D-Link Omna camera( a smart household camera) with a wide-angle lens. The camera was added at the front left corner of the 3D printer chamber. To prevent the camera from being hit by the moving parts, Danny designed a stand himself and fixed up the camera with 3D printed stand.
▲Added camera on AD4 ▲A picture of the camera view
The smart camera, connected via a USB cable leading to the outside, runs independently of the printer and is integrated into the Apple Homekit. Seems that Danny is adapting the 3D printer to be a part of his smart home life!
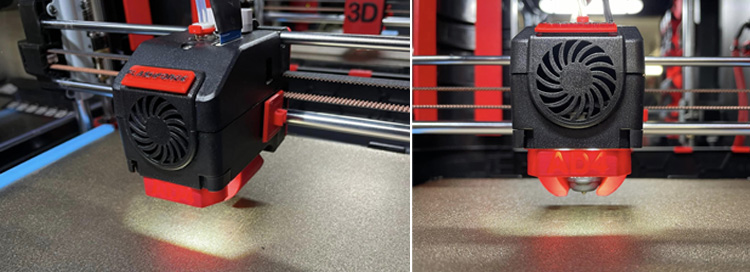
4. 3D print fun: Print head being upgraded
Danny installed an additional air duct on the extruder component so that the extruder could be cooled from both sides. He designed the air duct himself and the 3D printed part can be exchanged for other models such as a ring duct.
▲Upgraded print head of AD4
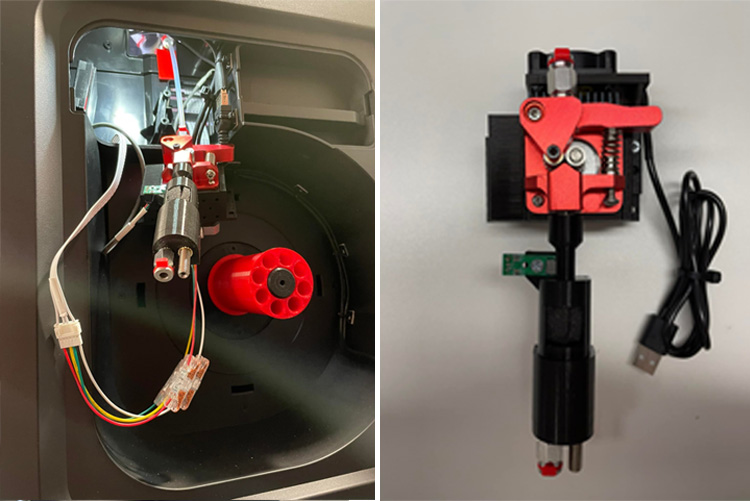
5. 3D print fun: adapted filament feeder
In addition, Danny has created the opportunity to deliver the plastic printer filament internally and externally to the printer through the newly developed filament feeder. This allows for a faster and better change of the filament without much effort. Danny replaced the original AD4 filament feeder with a Dual Gear Full Metal feeder. This one has a reinforced step engine (0.46Nm) instead of (0.26Nm) as well as two propelled conveyor wheels and a longer drive rod. This makes more than enough power available in any situation for filament promotion. The spring force of the feeder can be individually adjusted so that the filament is always firmly held. Besides, Danny 3D printed 2 red collect clips to make the bowden coupling under tension. This makes the filament feed much more stable and smoother. No knocking or similar things.
▲Danny Adapted filament feeder
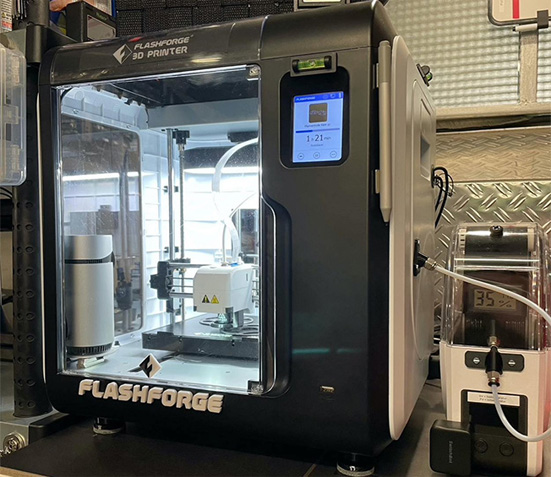
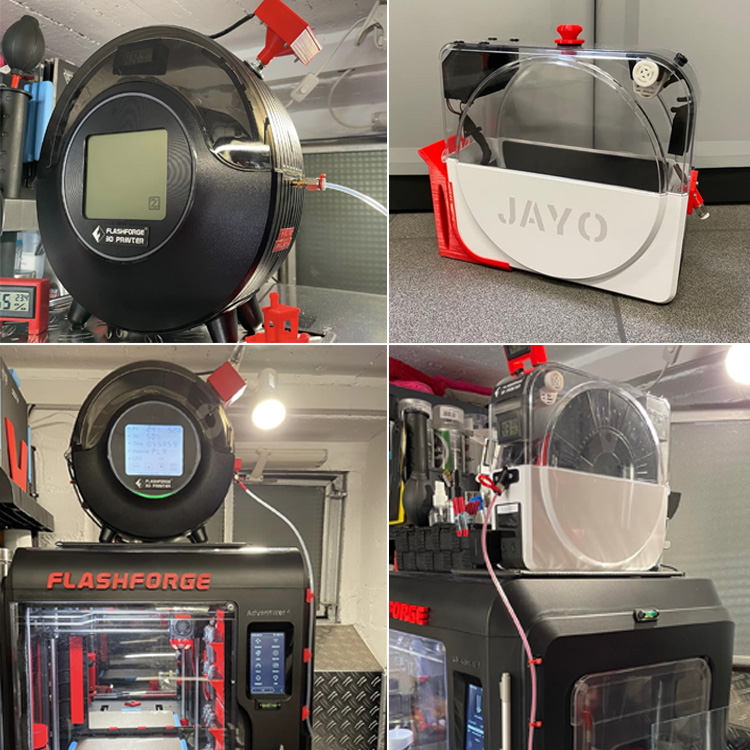
6. 3D print fun: mounting self-customized filament dryers
On the printer is a Sunlu filament dryer. Is it necessary to purchase a filament dryer? The ready-on-rack filament dryer products may be not fit for your demand, but you can refit the dryer as your needs. Let's see wat Danny did. Danny installed a USB fan at the original opening (6mm) on the lid, which was supposed to suck the air from the inside and transport the moisture generated during filament drying from the inside to the outside and keep the inside humidity constantly low. And, as the original opening was connected with the fan, Danny drilled an additional opening in front of the dryer to better conduct the filament downwards. Also, this fan also be turned on automatically with the printer through Apple Homekit.
Experienced peers in the Flashforge group saw Danny’s post and professionally discussed with Danny on how to make it more perfect. Here is another filament dryer of Danny’s for Adventurer 4. Of course, Danny 3D printed racks for good holding of the dryers.
▲Added filament dryer boxes
Wrapping it up
Danny Mayer was inspired to decorate his 3D printer by his love for design and his idea to create a unique and personalized look. Beyond the above mentioned, more other refitting parts were there in Danny’s personal account and that will not be covered in this article. People who are interested in more can go to Danny’s personal posts. All in all, the end result was a refreshed 3D printer that not only functioned well but also reflected Danny’s style of red elements. The process was both challenging and rewarding, as Danny had to think creatively and be resourceful to get the results he wanted.
3D print fun not only comes from 3D printing cool things with a 3D printer, but also from making his 3D printer look much cooler with 3D printed things. 3D print fun also comes from sharing creative accomplishments with peers of alike interests and minds. Danny has his 3D printer modded with red splash and what style do you want yours to be, yellow or purple? Purchase Flashforge 3D printers.