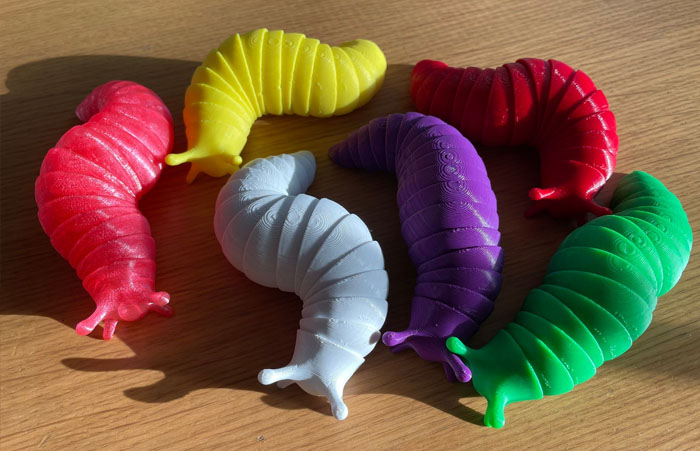
Did you ever see such interesting videos in TikTok showing an articulated false slug with flexibly movable joints? Have a real itch to create such a slug by yourself while don't know how to build it or always fail in building it? See this article! See this article! Step by step to teach you how to 3D print slugs and how to avoid issues of slug joints pasted together and breaking when making it flexible!
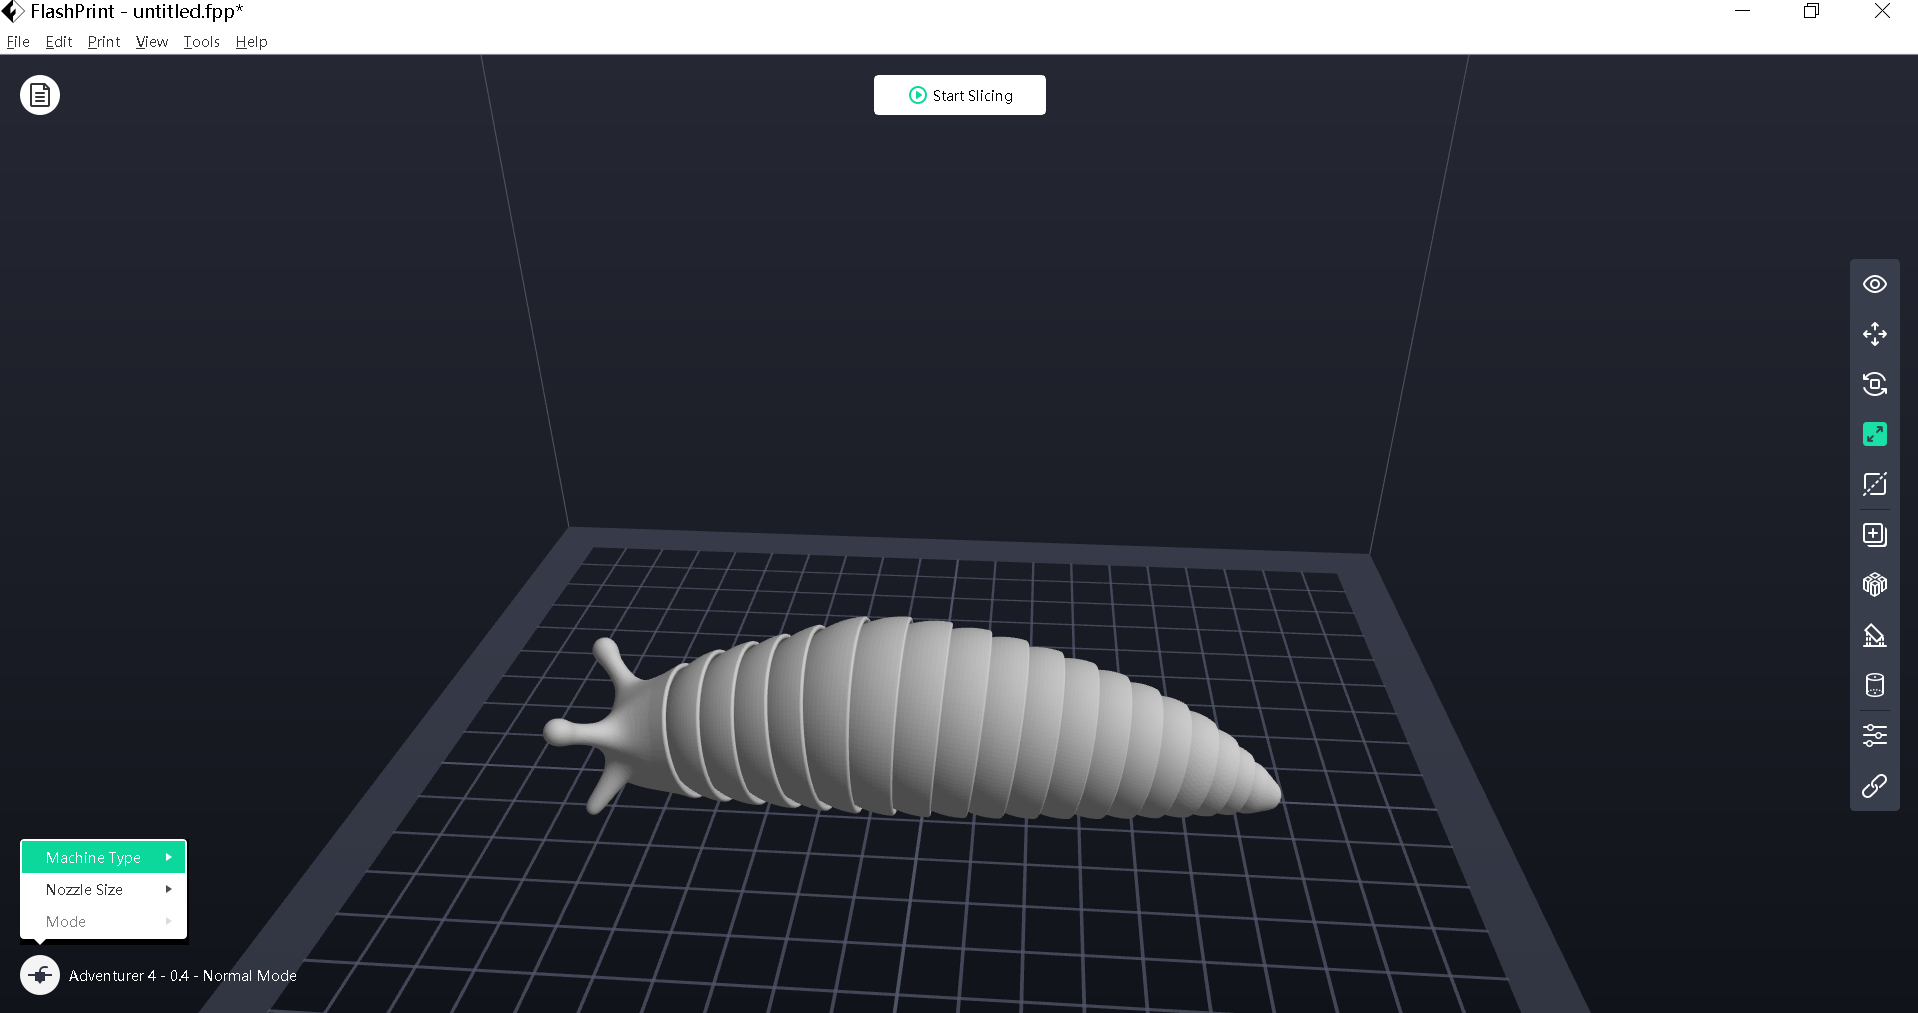
Part 1: Online search and free download the slug model file
Search the articulated slug 3D print file online, the first link you see is thingiverse.com. Yes, thingiverse is a big website of 3D models for free download. Here is the 3D printed slug file link: https://www.thingiverse.com/thing:4727448
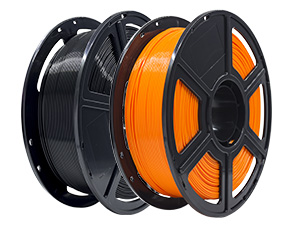
Sometimes after downloading your desired model folder, you’ll see various model files with formats like .stl, .obj, .blend, .3ds, .dae, and .dxf. Different formats are supported by different 3D modeling software, and here for 3D print slicer software please select .stl format.
Part 2: Online search and free download slicer software
What is slicer and why should you use it? Put it simple, as you just now downloaded the .stl slug model file, 3D printer’s brain could not understand this format. You need to use a slicing APP to process it a little bit so that the file gets into a new format that is readable by 3D printers. This is an indispensable step before real printing on a 3D printer.
From the name “slicer”, we get it that the main operation in the slicer software is slicing the model layer by layer. As the principle of FDM 3D printing shows, FDM 3D printer prints an object layer by layer.
Different 3D printer brands have different matched slicers, even though most operations within the slicer APPs are similar. Just search them online and they are free to download. The matched slicer for Flashforge FDM 3D printers is FlashPrint. Click here to download FlashPrint:
Read this if you want more understanding of FlashPrint5:
7 Updates of FlashPrint5 Slicer: Detailed Introduction Coming!
Part 3: Step by step operations in slicer software
I’ve been using a Flashforge Adventurer 4, so in the following content of 3d printed slugs tiktok, I’ll take the operations in FlashPrint slicer as instance.
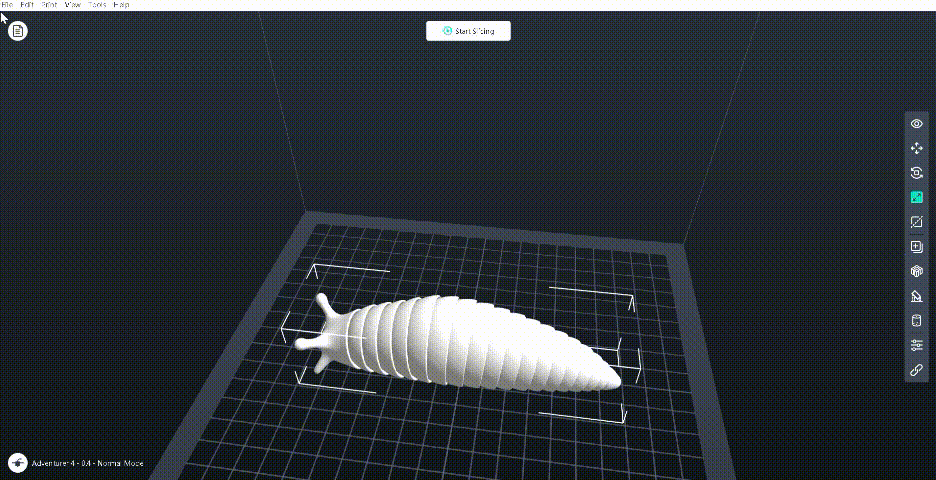
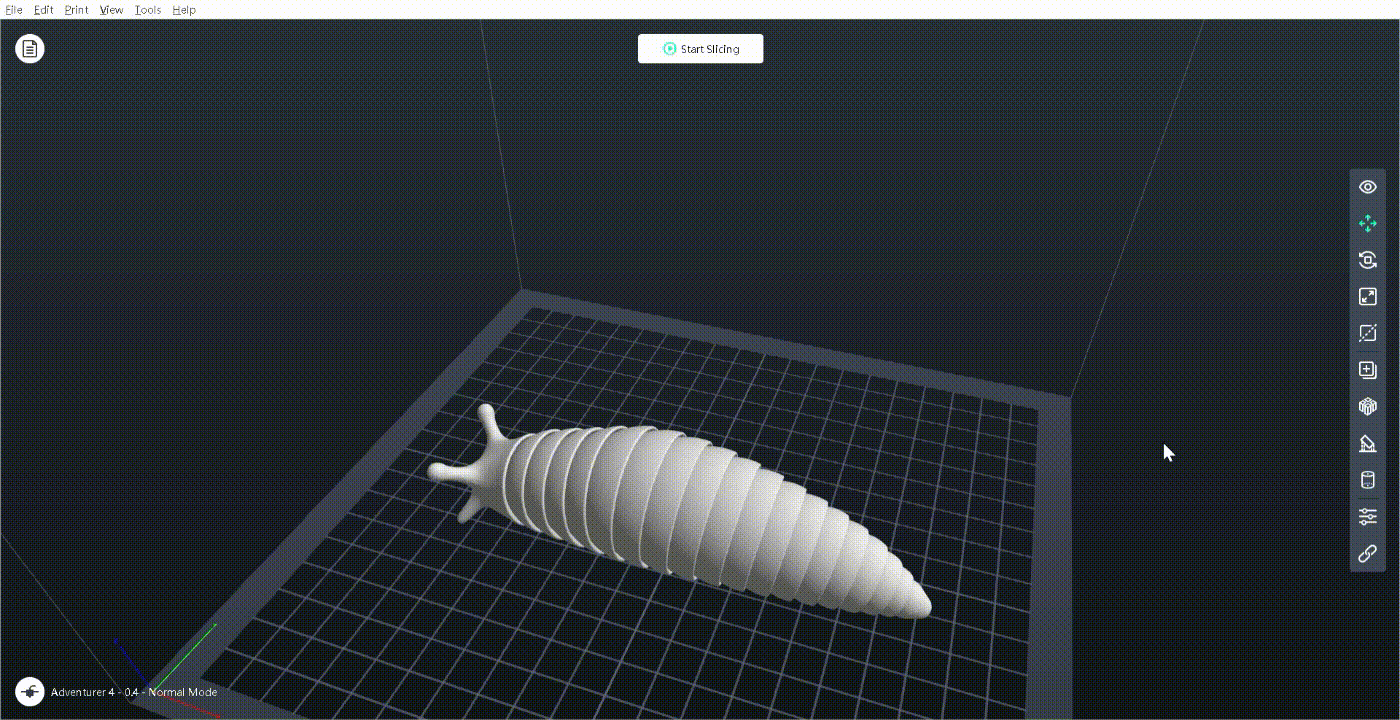
1. Drag the .stl slug model file to the FlashPrint interface.
Open the slicer and import the .stl slug model. You can drag it directly from your folder or click “File” on the upper menu bar and load the file.
Computer mouse scrolling up and down, you’ll get the 3D model interface zoom in and out; Long press the right click and move the mouse, you’ll turn the model interface all-around 360℃ in any direction.
2. Select the machine type.
At the left bottom corner of the UI, set the Machine Type and Nozzle Size in accordance to your own 3D printer. We know different types of 3D printers have different build volumes, which determine how much space your model could occupy in the slicer. Here my printer is Flashforge Adventurer 4 with a 0.4mm-265℃ nozzle, so I selected “Adventurer 4” and “0.4mm”.
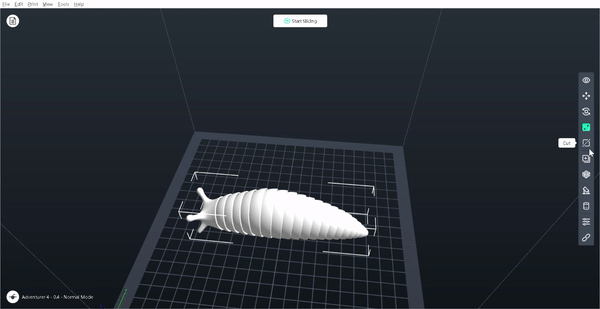
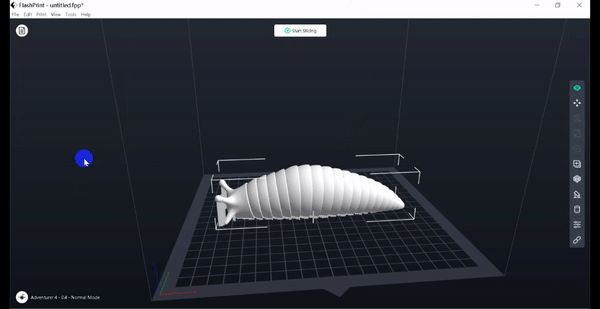
3. Adjust the slug model’s position.
Here at the right-column tool bar, “Move”, “Rotate” and “Scale” are mostly used for position and layout setting.
Sometimes when a model is firstly imported to the slicer, part of its body is protruding outside the build volume. Click “Move”, and then you can drag the slug model to move it to a proper position. “Scale” means enlarging or minifying the model. If your model is large it may extend outside your build space. Please scale it accordingly.
4. Add support for the slug model
After well adjusting the model’s print position and print size, we start adding support for it. “Support” is also at the right tool bar. We need supports as long as the model has dangling parts, because it’s impossible to raise the dangling parts out of air. Adding support is an important operation assuring successful printing.
In most cases, I don’t do any changes on the default setting. Just click “Auto Supports”, FlashPrint slicer adds supports to the model automatically then. As to the slug model, it does not have much dangling part so not much support is added to it.
5. Slicing the model
Slicing is the key operation in the slicer APP. Still, the defaulted setting is drawing you nearly there. You just need to change three key parameters.
Click “Start Slicing”, and the pop up appears. At the Printer tab, select your material type. Will you use PLA, PETG, or ABS for your slug printing? Select it accordingly. You see the extruder temperature and platform temperature will change automatically.
At the General tab, scroll down to the bottom, you see “Only Retract When Crossing Outline”, change it to “No”. This operation avoids stringing perfectly. You’ll get a slug model with more smooth finish surface.
At the Raft tab, you see the Space to Model (Z) option, change it to 0.25mm. The defaulted 0.15mm would cause it hard to tear the raft down from the printed model. 0.25mm would be perfect.
All right, nothing else needed. Click “Slice” to do the slicing. Save the .gx format articulated slug 3d print file to your U-disk and start printing a slug on your 3D printer now!
Part 4: Practical Printing on a 3D printer
What slug color do you want? It decides what filament color you’ll use. I saw the TikTok videos show slugs of rainbow, gold, green, pink, purple, yellow, red… Since they are articulated slugs with flexibly removable body joints, you can even patch the red slug’s body up with the green slug’s tail to get a red and green slug.
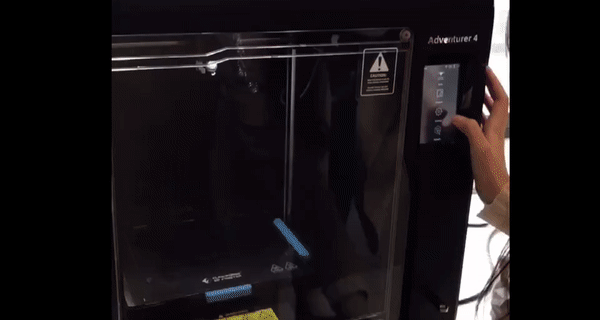
1. Changing filament.
Select a proper colror and filament type, just tap the touch screen of the 3D printer and follow the prompts on the screen to finish filament changing.
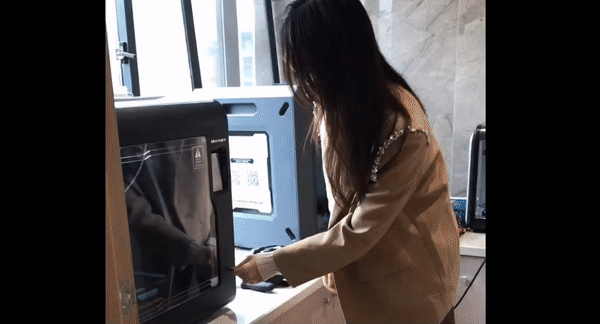
2. Start printing!
Last step, plug in the U-disk, select the .gx format of the articulated slug 3d print file on your U-disk, and tap Build on the touch screen to make your printer start working!
Part 5: Shooting slug printing problems
“When I 3d printed slugs, the joints never worked?” I saw on the video comments some people asked related question. Why your 3D printed slugs have no flexible joints? Why is it pasted together and hard to move it flexible? Why my slugs are easily breaking?
My tips:
1. Lower your extruder temperature. Filament extruded too hot causes it hard to cool down so that the slug joints are pasted together.
2. Change a nozzle with smaller mouth. I used 0.3mm and 0.4mm nozzles to print the slug. They both performed well.
3. Ensure your filament quality. If your filament is exposed to air for a long time and gets moist, it will affect the print effects.
People who read this article also read:
3D Printing In Personalized Medicine: Making Patient-Specific Implants
3D printing in dentistry: use 3D printers to make wax dentures
3D printer for jewelry debuts on JCK Jewelry show 2023
How Investment Casting Benefits from 3D Printing Technology
Hard to Get a Bing Dwen Dwen? Let’s 3D Print One!