The global 3D printing market reached a valuation of $29 billion in 2024 and is projected to expand to $35.8 billion by 2030, boasting a compound annual growth rate (CAGR) of over 18.5%. This trajectory highlights the technology's strategic importance in modern manufacturing. This growth is driven not only by the maturation of the technology itself but, more importantly, by the increasing recognition across industries of the unique value 3D printing brings to prototyping, custom production, and on-demand manufacturing. In this article, we will provide a deep dive into how 3D printing works, covering the processes, materials, and printer types involved.
What is 3D Printing?
3D printing, also known as additive manufacturing, operates on a principle that is fundamentally opposite to traditional subtractive manufacturing.
In subtractive manufacturing, engineers begin with a solid block of material and remove material through cutting, drilling, and grinding to create the final product. 3D printing adopts the inverse approach, building objects by stacking material layer by layer, making it an inherently more efficient method of manufacturing.
The 3D Printing Process: Step-by-Step Workflow
Step 1: Design Your Creation with the Magic of AI
The first step in any modern 3D printing workflow—the digital design phase—is undergoing a profound, AI-driven transformation. This shift is unfolding across two distinct tiers: industrial-grade performance optimization and consumer-level generative creation.
-
Industrial Engineering: Automated Optimization.
In the realm of professional engineering, where CAD (Computer-Aided Design) software is used to craft precise digital models, the latest trend is the deep integration of generative AI. Industry standards like Autodesk Netfabb and advanced slicing platforms like Ultimaker Cura are increasingly leveraging algorithms to automatically optimize part strength, weight, and overall performance based on specific design constraints.
This AI-assisted workflow allows machines to handle
60–80% of the preliminary design legwork. For instance, with our own slicer software,
Orca-Flashforge, users can now effortlessly transform simple text inputs into creative 3D models, bridging the gap between imagination and engineering.
-
Personal Creators: The "Magic" of Generative Modelling.
Simultaneously, AI tools are democratizing design for individual creators and rapid prototyping enthusiasts by pulling down traditional barriers. A prime example of this workflow is the recent Flashforge and Meshy AI collaboration, showing how creators can now materialize complex ideas in mere seconds through two core mechanisms:
-
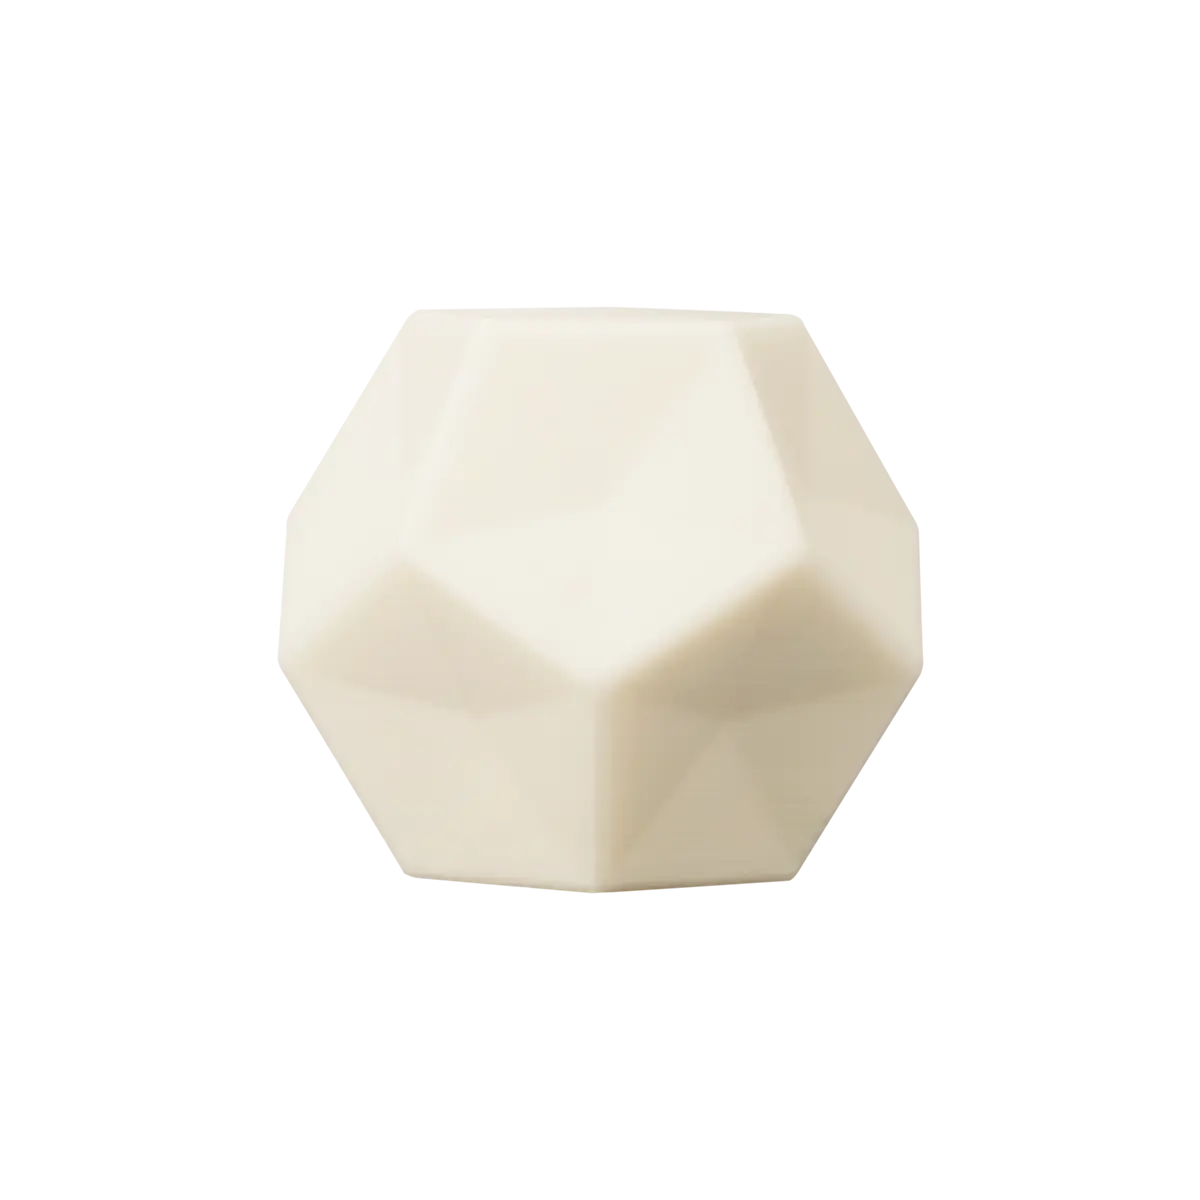
Text-to-3D: Users simply input a prompt, such as a skull wearing a top hat, and the AI rapidly generates the corresponding 3D geometry.
-
Image-to-3D: This is key for achieving greater creative control. Creators can generate 2D reference images using tools like Ideogram or Adobe Firefly, or simply upload a rough hand-drawn sketch. The AI interprets these lines and converts them into detailed, high-quality 3D meshes in under a minute.
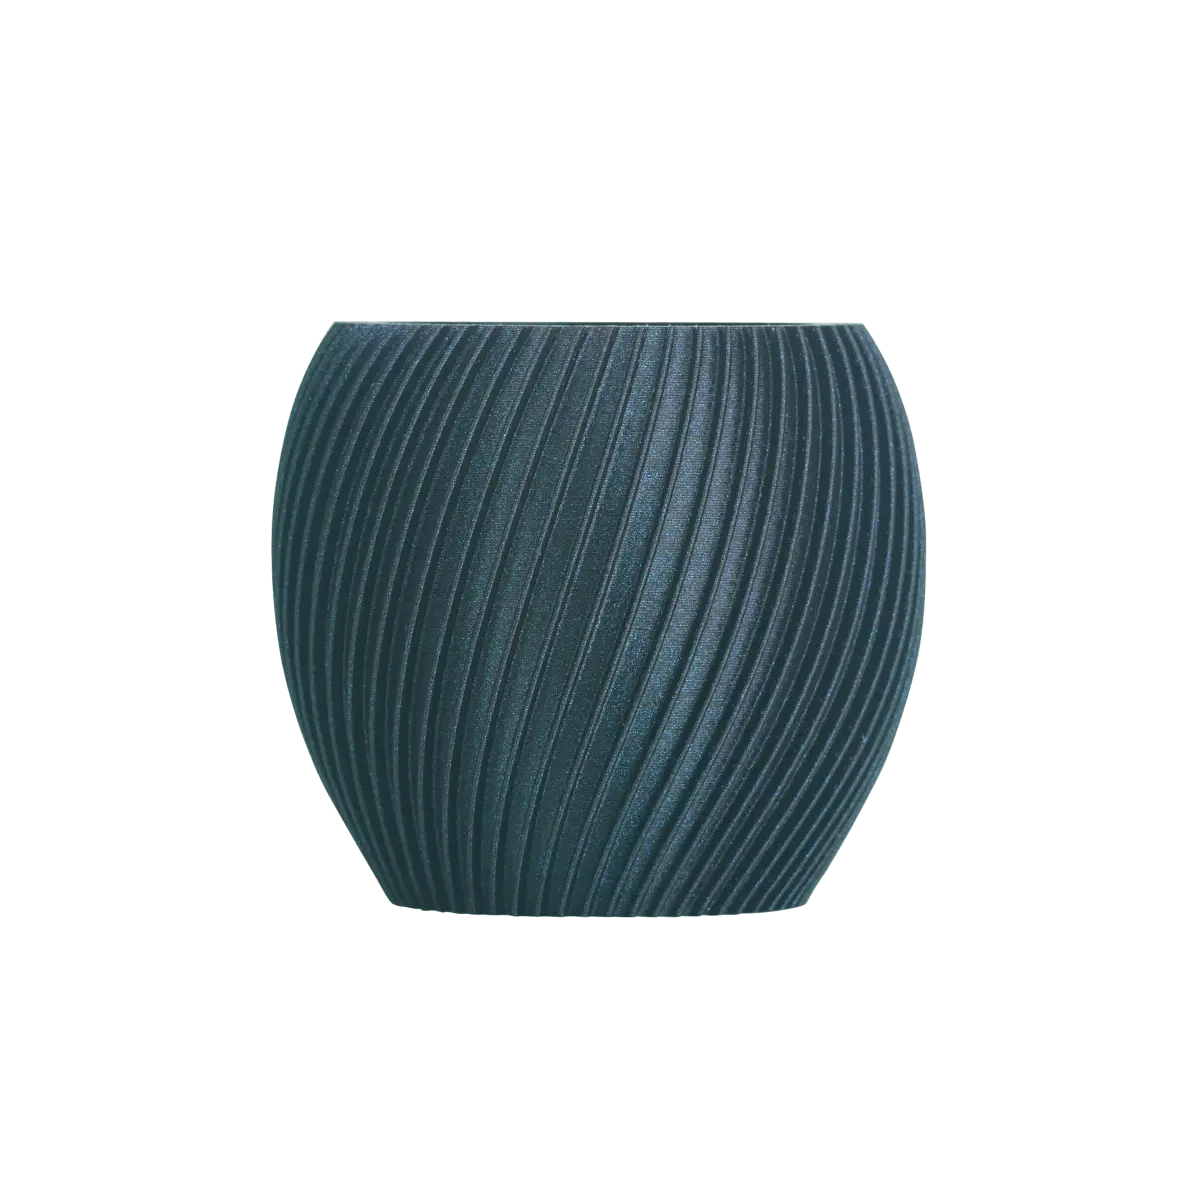
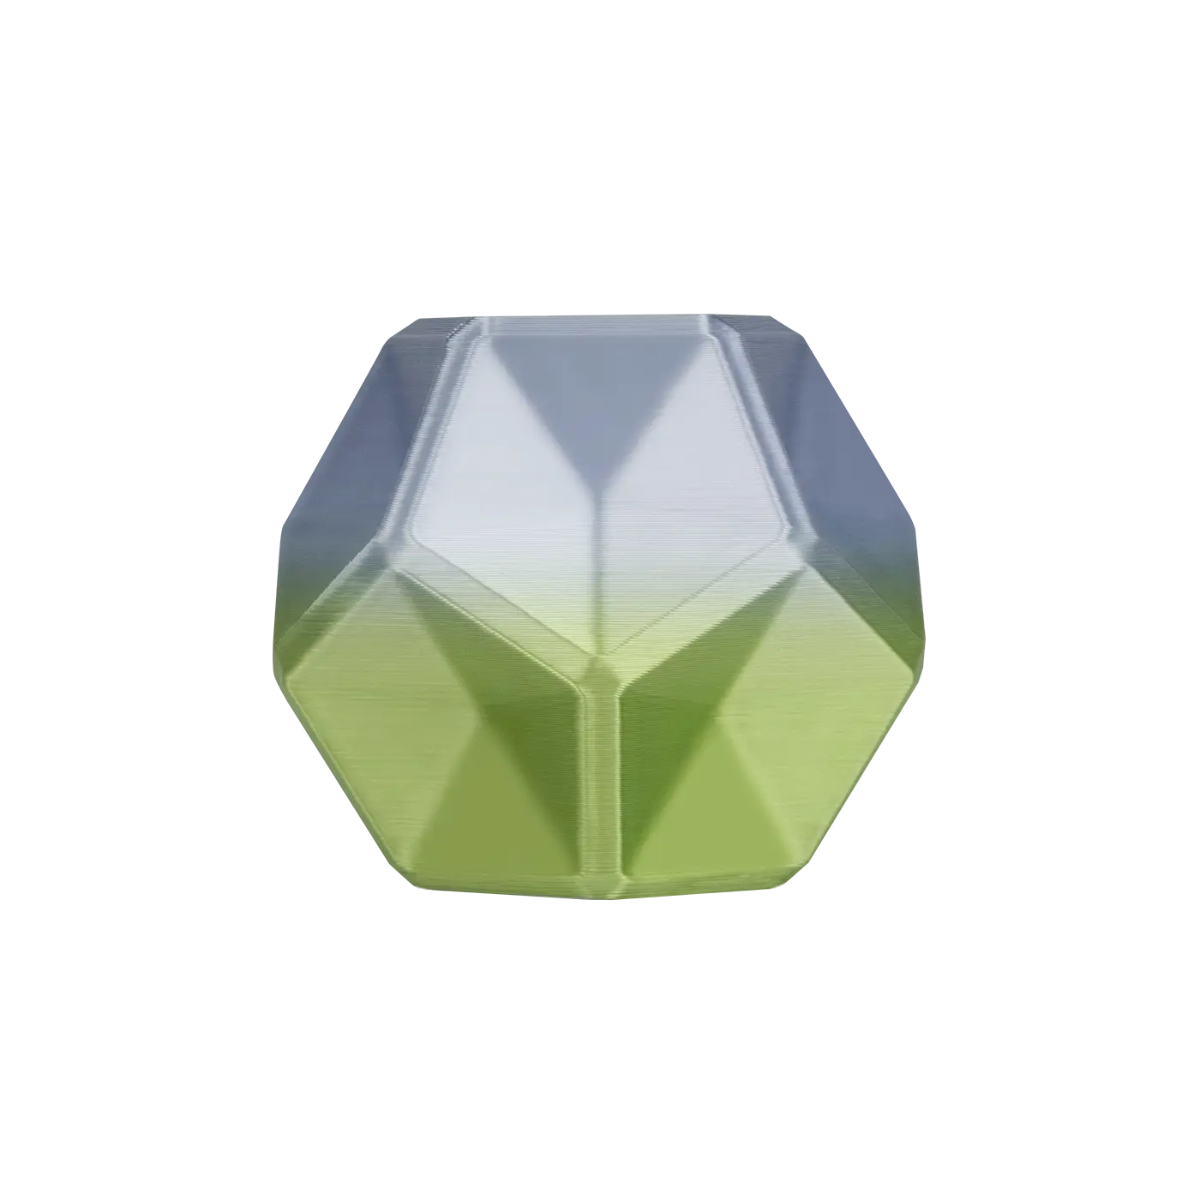
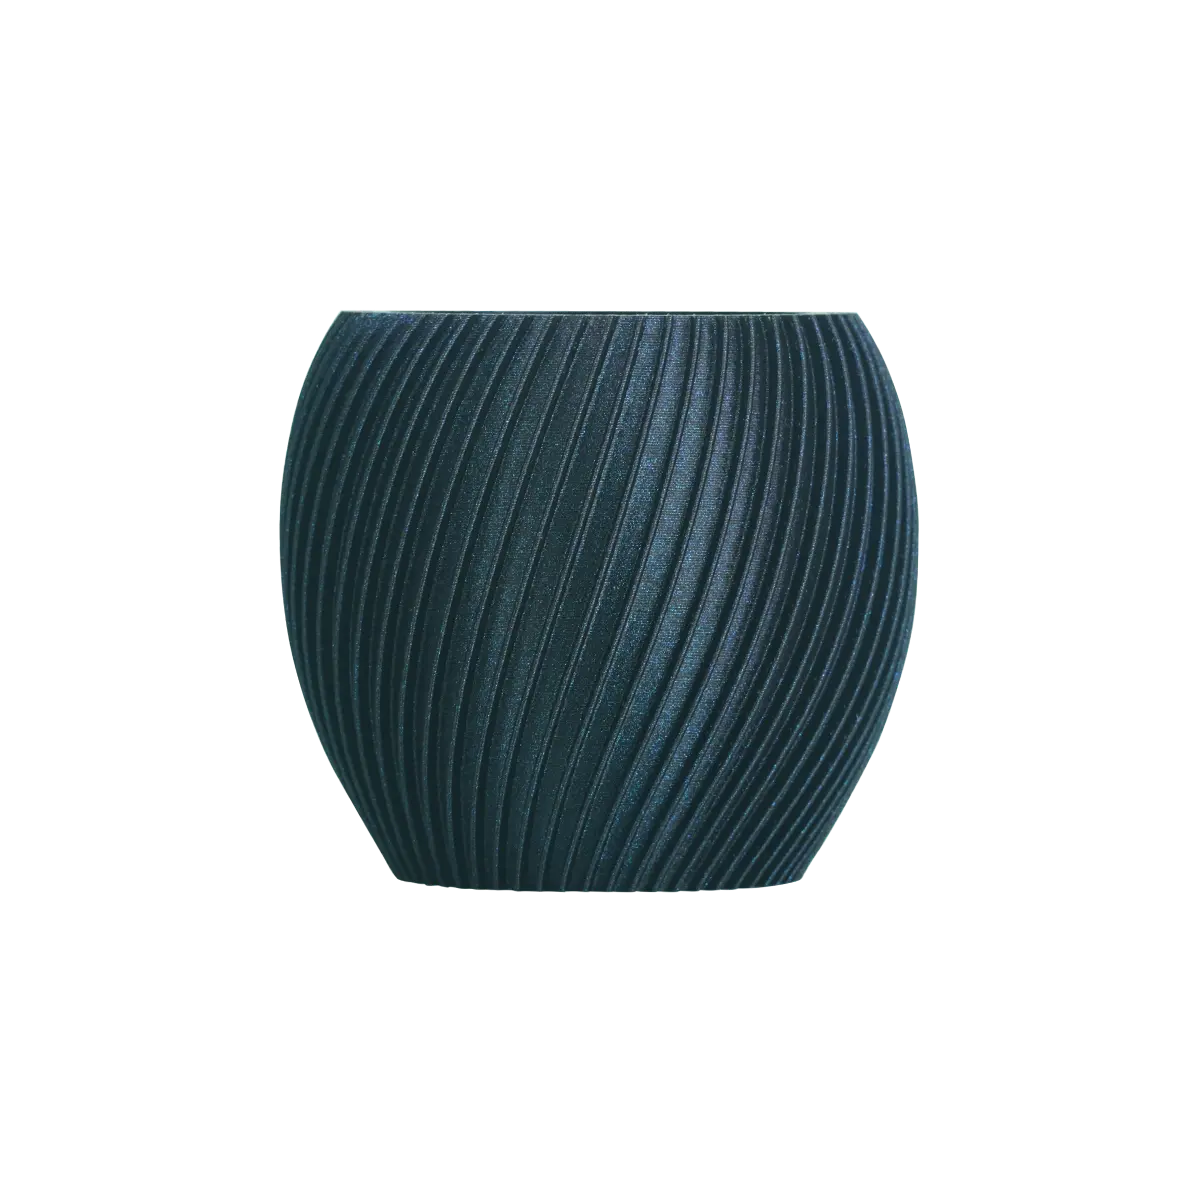
Real-World Application Practical examples—ranging from "melting flower pots" and "castle-wall shaped pen holders" to structurally complex "wearable helmets"—prove that these AI-generated models aren't just aesthetic. They offer functional utility and excellent surface quality for printing.
Ultimately, this new era of human-AI collaboration is drastically reducing the lead time from initial concept to a printable file.
Step 2: Digital Model Preparation and Slicing
Once the design is finalized, the model must be processed using slicing software. This step is the critical bridge between the digital concept and physical reality, translating the 3D model into the specific layer-by-layer instructions (typically G-code) that the printer executes.
This process involves defining several critical parameters:
-
Layer Height: Typically 0.1–0.3mm, depending on the technology used.
-
Supports: The optimal placement and density of support structures.
-
Infill: The internal pattern and density percentage.
The Shift to Dynamic Slicing: Traditional slicing relies on static, global settings, meaning the same parameters are applied across the entire model regardless of its geometric complexity. However, the latest AI-enhanced slicing engines are changing the game. By analyzing geometry, wall thickness, and stress distribution in real-time, these engines dynamically adjust parameters to strike the perfect balance between print quality and efficiency.
For example, through adaptive infill, AI can automatically ramp up density to 100% in critical high-stress zones while dialling it down to 10% (or even less) in non-structural or internal sections where strength is less critical.
Step 3: Sending Instructions to the Printer
Once the slicing process is complete, the generated G-code file is uploaded to the 3D printer. These instructions act as the machine's conductor, precisely orchestrating every subsystem—from the specific trajectory of the nozzle or laser to critical parameters like operating temperatures, material deposition rates, and power output.
While the execution nuances vary across different technologies, the fundamental principle remains universal: guiding the hardware to fabricate the object layer by layer with high precision.
Crucially, modern 3D printers have moved beyond blind execution. Equipped with advanced sensor arrays and closed-loop feedback systems, they now monitor real-time variables such as chamber temperature, filament flow, and nozzle health. If the system detects a potential deviation—like a clog or a thermal fluctuation—it can automatically trigger an alert or even initiate self-correction protocols to save the print.
Step 4: Layer-by-Layer Material Deposition
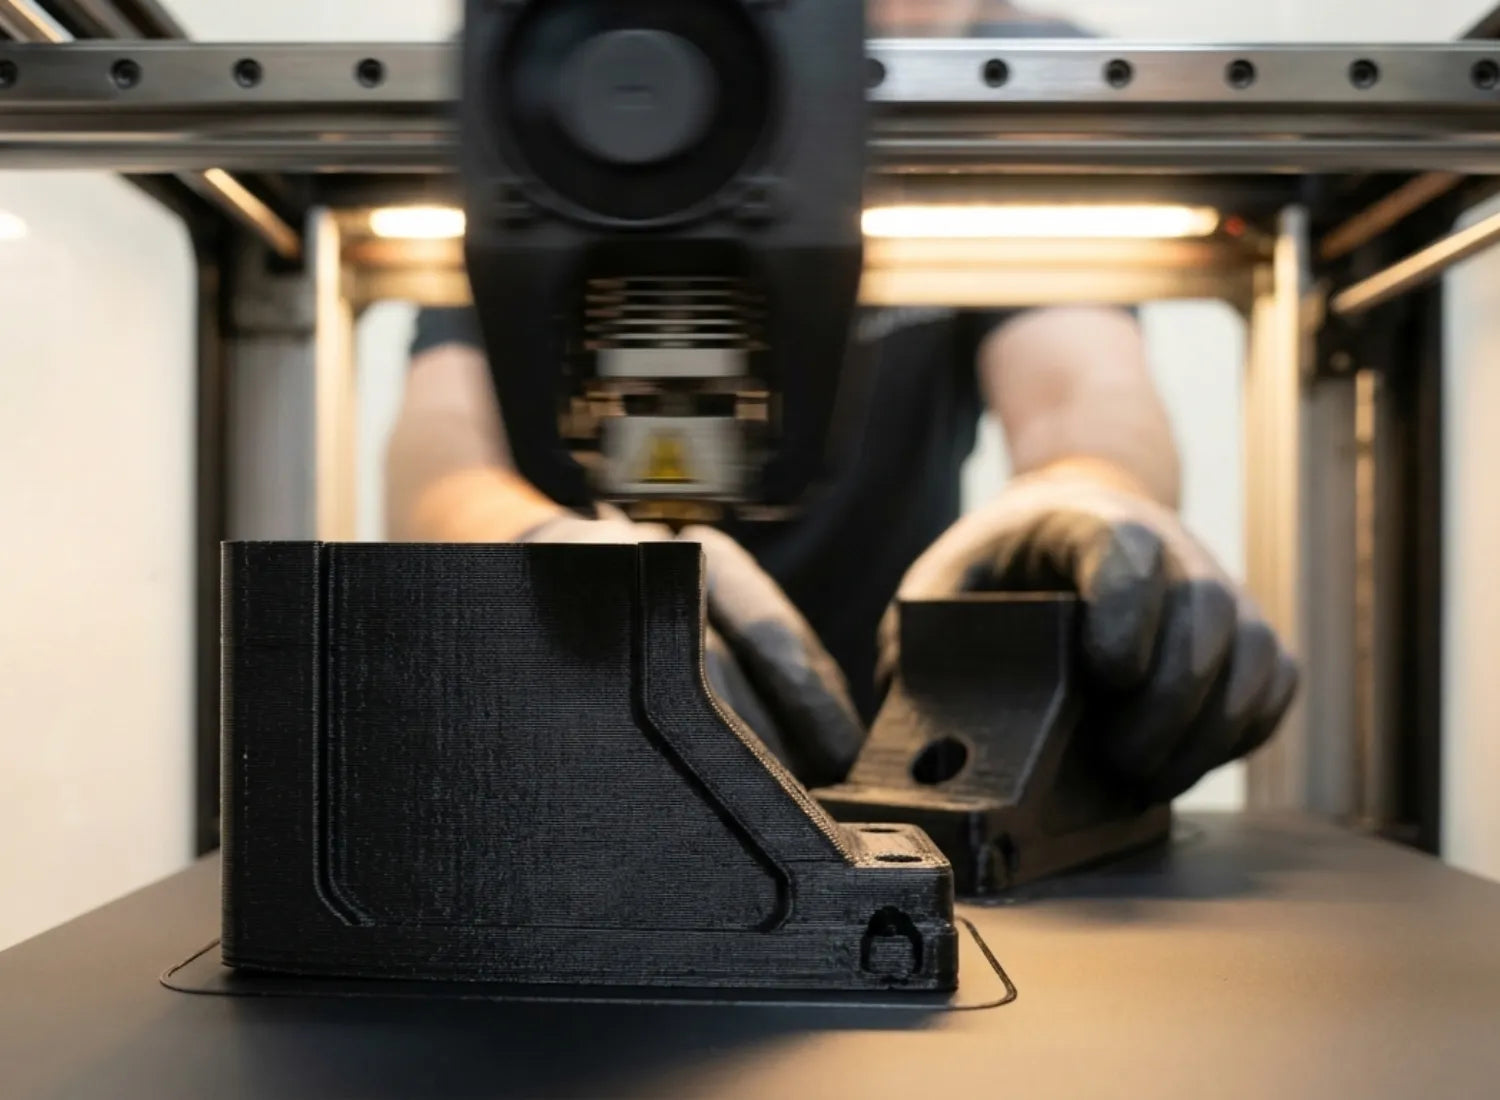
This stage represents the core of the manufacturing process, where material is precisely deposited layer by layer according to the slicer's instructions. While the fundamental concept of layering is constant, the actual deposition method varies drastically depending on the technology employed.
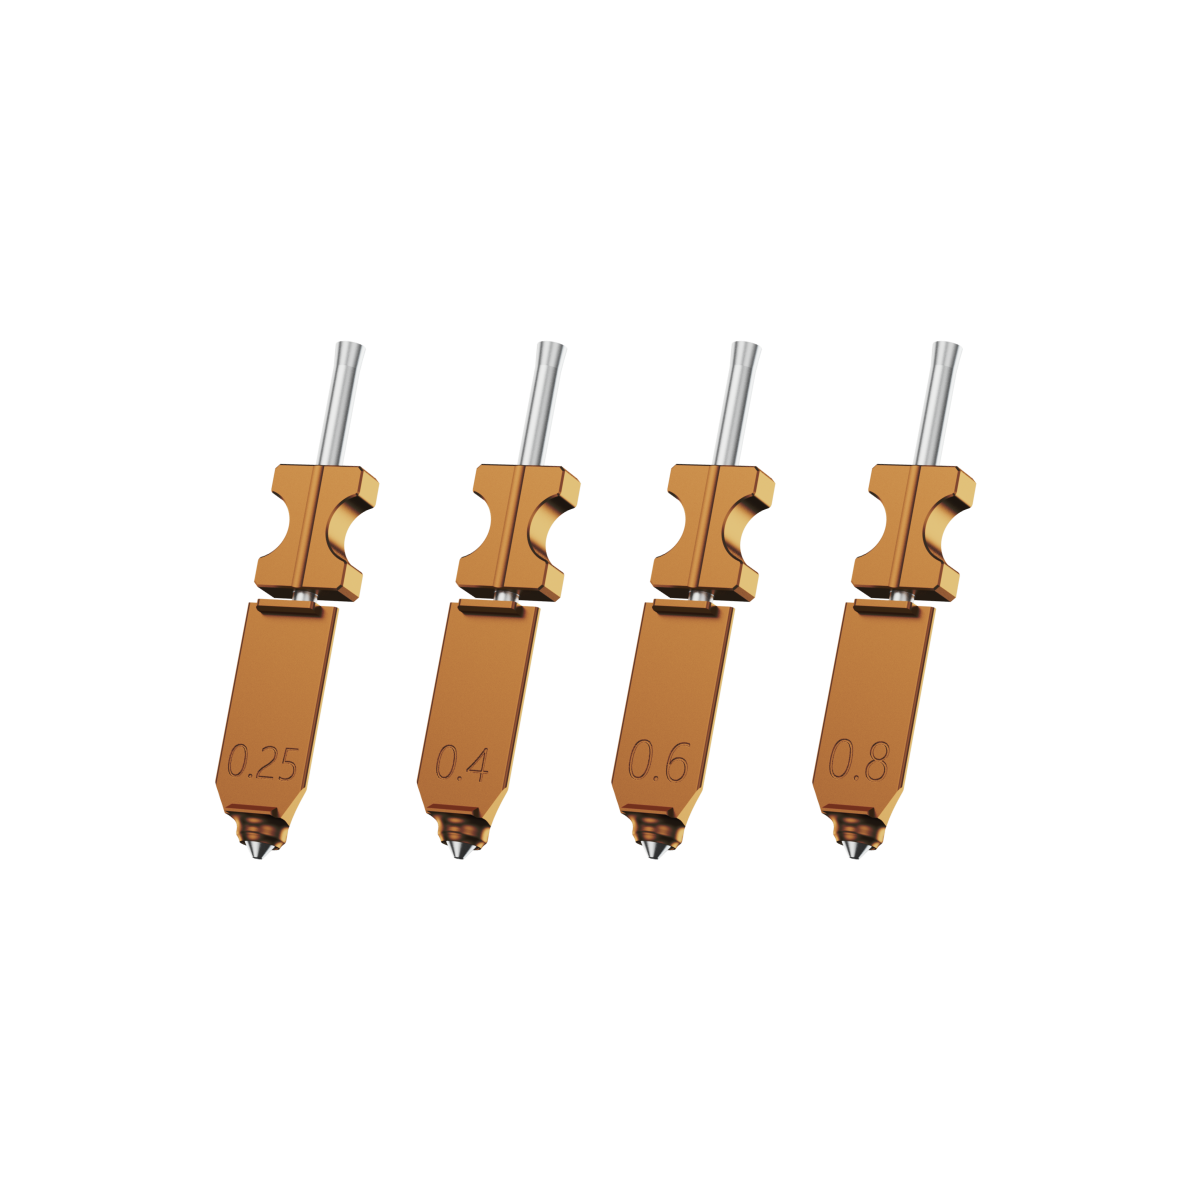
FDM Mechanics In FDM (Fused Deposition Modelling), thermoplastic filament is heated and extruded through a nozzle—typically ranging from 0.4 mm to 0.8 mm in diameter. As the molten plastic exits the nozzle, it cools and solidifies, fusing with the previous layer. These layers generally range from 0.2 to 0.4 mm in thickness, defining the part's resolution.
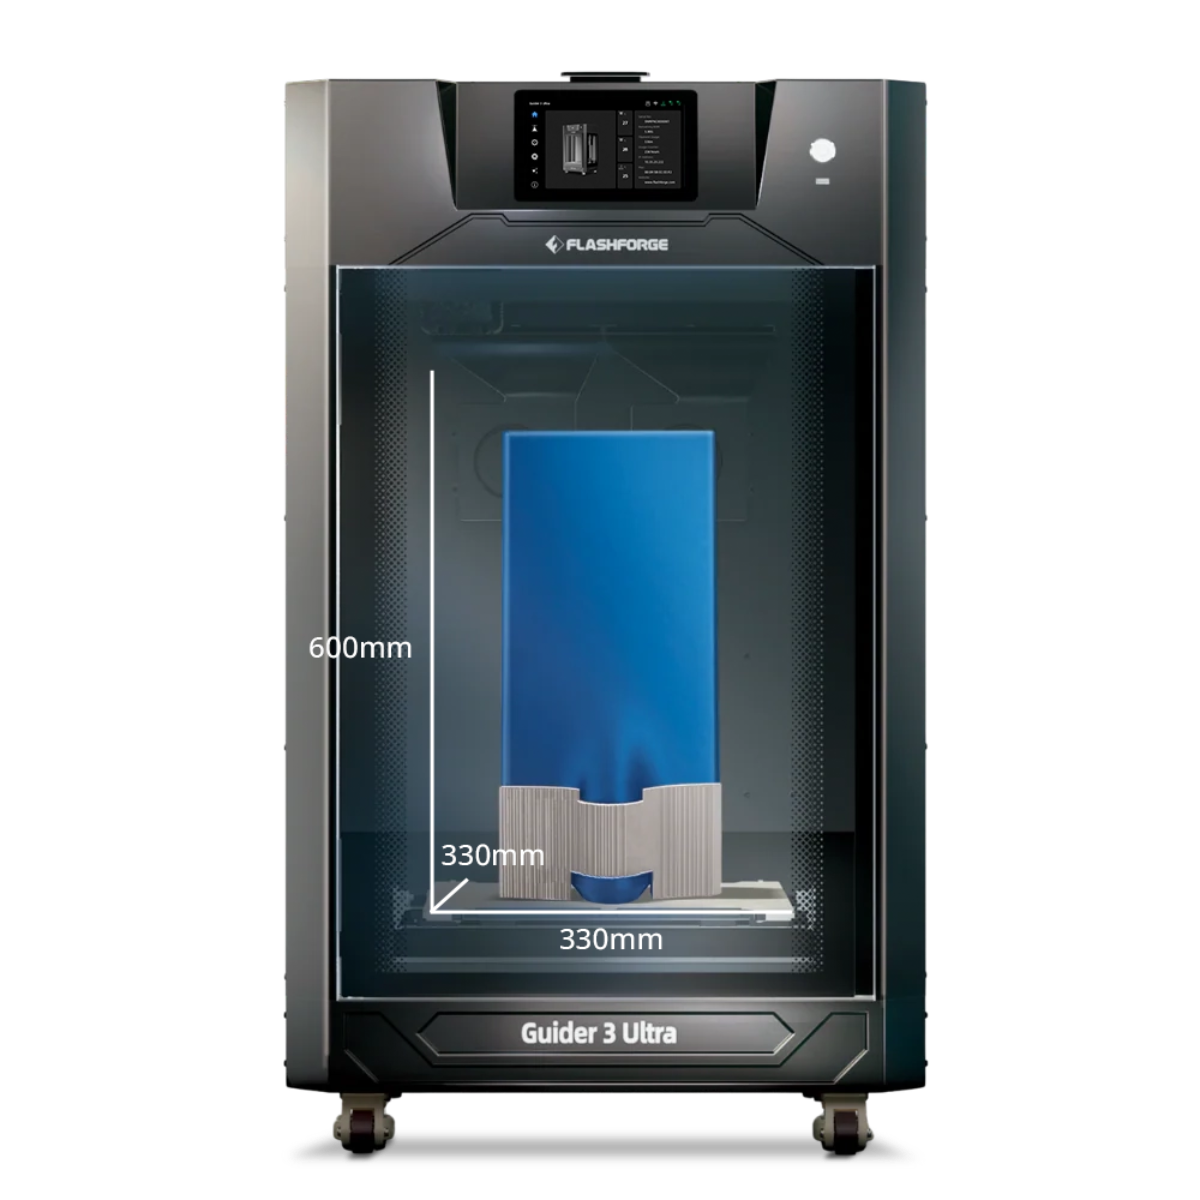
It is worth noting that the printing process is highly sensitive to environmental variables. Ambient temperature, humidity, and airflow can significantly impact layer adhesion and the final surface finish. This sensitivity explains why professional-grade systems almost always feature fully enclosed chambers with active temperature and humidity control to mitigate warping and ensure dimensional accuracy.
Step 5: Post-Processing and Finishing
Parts are rarely ready to use straight off the print bed. In fact, achieving a professional finish typically requires a multi-step post-processing phase that can account for roughly 27% of total production costs.
-
FDM: These parts often exhibit visible "stair-step" layer lines. Achieving a smooth finish usually involves a sanding regimen (progressing from coarse 60–120 grit to fine 400–2000 grit) or chemical treatments like vapor smoothing.
-
SLS: The focus here is powder removal. This is typically managed through mechanical recovery systems (like the Fuse Sift) or media blasting, which cleans the surface and improves the visual aesthetic.
-
SLA: Resin parts require a chemical bath in Isopropyl Alcohol (IPA) to rinse away uncured resin, followed by UV post-curing to solidify the material and lock in its final mechanical strength.
Main Types of 3D Printing Technologies
FDM: Fused Deposition Modelling
FDM 3D printer is the most ubiquitous 3D printing technology worldwide and the undisputed king of the desktop and consumer markets.
The principle behind FDM is simple yet elegant: a heated nozzle melts thermoplastic filament and precisely extrudes it onto a build plate. The object is constructed layer by layer, with each new layer fusing to the one below it. The build plate is typically heated to 40–110°C to ensure adhesion and mitigate warping—a crucial feature when printing with materials like ABS that are prone to shrinking.
FDM hardware covers a massive price range:
-
Entry-Level ($200+): DIY kits that require assembly, calibration, and a bit of tinkering. As we explored in our guide to the
Top 5 3D Printers Under $500, these machines are perfect for beginners looking to turn ideas into reality without breaking the bank.
-
Enthusiast & Professional ($2,000–$8,000): Machines in this tier offer turnkey reliability, larger build volumes, and superior thermal control. This is the sweet spot for brands like our own Flashforge, delivering professional consistency for serious creators.
-
Industrial ($15,000+): High-end systems designed for manufacturing floors.
FDM is highly economical. Standard filaments like PLA or PETG cost roughly $20–30 per kg, while specialized engineering plastics or support materials range from $100–$200 per kg.
Pros and Cons
-
The Pros: FDM offers the lowest barrier to entry, the widest selection of materials, and relatively fast print speeds for small parts without the need for messy chemical post-processing.
-
The Cons: Resolution (typically 50–500 microns) lags behind SLA, resulting in visible "stair-stepping" layer lines. Precision usually sits within a tolerance of ±0.2–0.5 mm.
-
Structural Limitations: FDM prints often require support structures for overhangs, which can waste 20–50% of the material and require manual removal. Furthermore, parts exhibit anisotropy—meaning they are significantly weaker along the vertical Z-axis (layer adhesion) compared to the horizontal X/Y axes.
Despite these limitations, FDM remains the ideal choice for rapid prototyping, education, and low-volume functional parts.
SLA: Stereolithography
Stereolithography (SLA) represents the uncompromising pursuit of high fidelity. By selectively curing liquid resin with UV lasers (or DLP/LCD screens), SLA achieves layer heights as fine as 0.025 mm and tolerances tight enough (±0.05 mm) to produce surface finishes that are virtually indistinguishable from injection-moulded parts.
Professional desktop systems, such as the Formlabs Form 4, typically range from $2,500 to $10,000, with standard resins costing $100–$200 per litre. While the investment is higher, SLA excels at speed for small, complex batches—finishing in hours what might take days on FDM. Crucially, SLA parts are isotropic, meaning they possess equal strength in all directions, avoiding the Z-axis weakness common in FDM.
The Trade-off. The catch? A demanding workflow. SLA requires a dedicated "wet" post-processing ecosystem (IPA wash and UV cure) to handle toxic uncured resin, and the final parts can be brittle or sensitive to long-term UV exposure.
SLS: Selective Laser Sintering
Selective Laser Sintering (SLS) uses high-power lasers to fuse nylon powder into durable, functional parts. Its superpower? Zero support structures. The surrounding unsintered powder supports the print, unlocking total design freedom and allowing for "nesting"—packing dozens of parts into a single batch for maximum throughput.
Other Advanced 3D Printing Technologies
Beyond the standard FDM, SLA, and SLS technologies, a suite of specialized methods exists to address high-performance industrial demands. DMLS and SLM utilize high-power lasers to fuse metal powders (like titanium) into aerospace-grade components, while Electron Beam Melting (EBM) offers a high-efficiency alternative for large metal parts using focused electron beams. For intricate detail and versatility, PolyJet and HP’s Multi Jet Fusion (MJF) enable multi-material printing and rapid production of complex geometries, whereas Binder Jetting provides a cost-effective solution for high-volume batch manufacturing by selectively bonding powder materials without the need for thermal energy sources.
Comparing 3D Printing Technologies: Which Is Best?
FDM vs. SLA: Filament vs. Resin Printing
FDM and SLA sit at opposite ends of the 3D printing spectrum regarding cost and resolution.
The Case for FDM: Accessibility and Value. For beginners and cost-sensitive applications, FDM is the clear winner. Entry-level machines typically range from
$200 to $400, with filament costing a manageable
$20–$30 per kilogram. For instance, the
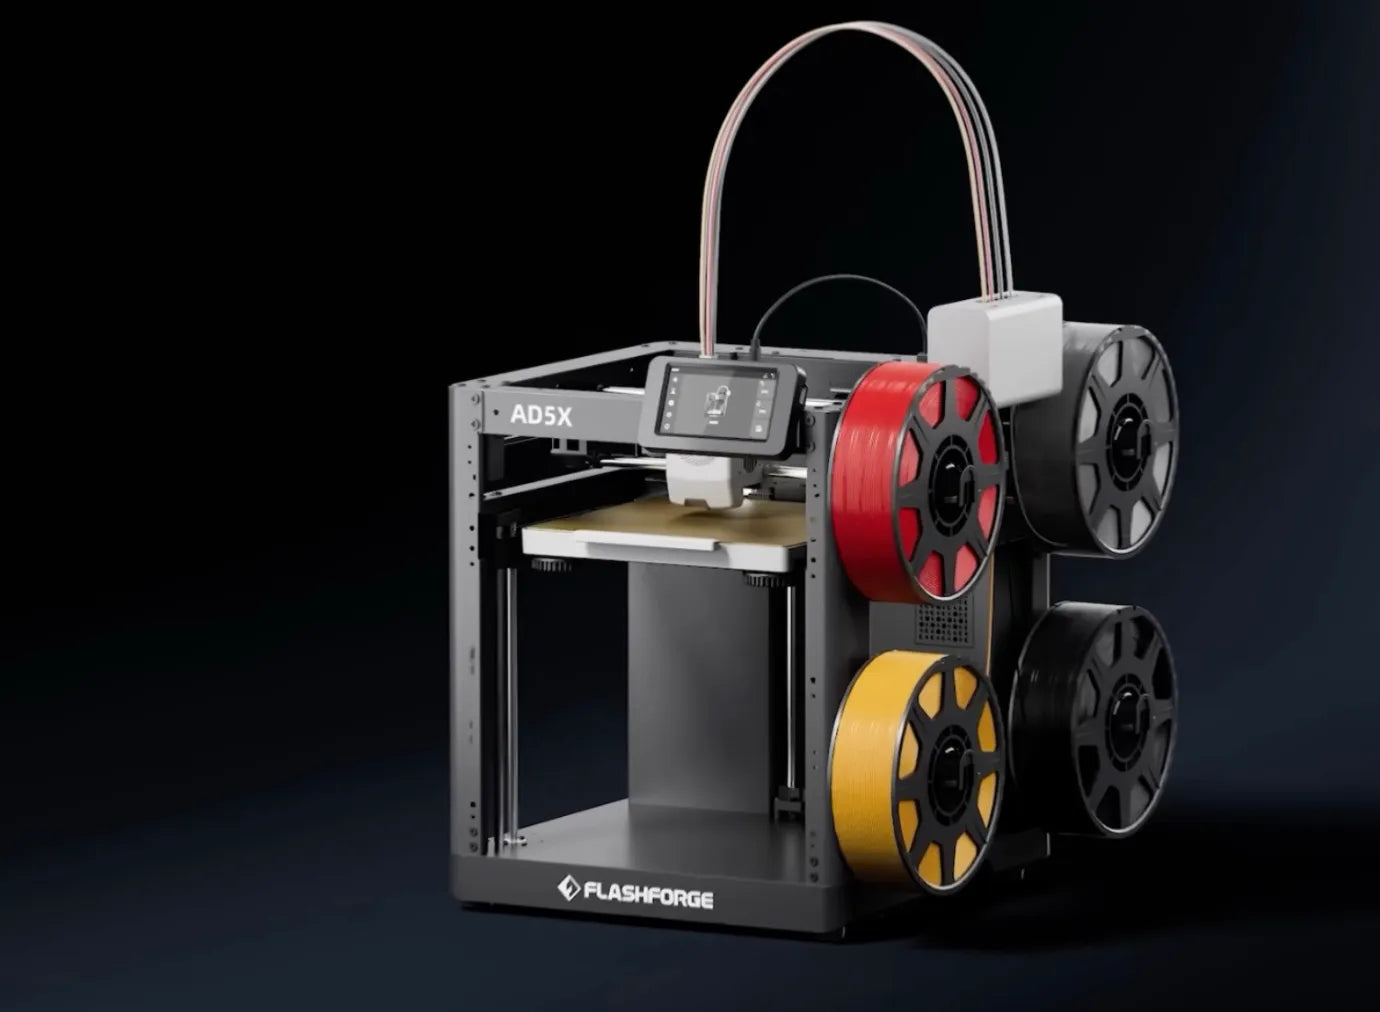
Flashforge AD5X is available for just
$349—offering multi-colour capabilities and support for flexible materials like TPU at a highly accessible price point. From a materials perspective, a typical 100g part costs
less than $3 to print on an FDM system.

The Case for SLA: Precision and Surface Finish. However, for projects demanding intricate details, smooth surface finishes, or high-dimensional accuracy, SLA is unmatched. This performance comes at a premium: machine prices generally range from $2,500 to $10,000, and specialized resins can cost $100–$200 per litre. While a comparable volume of FDM filament might cost only ~$5, SLA often regains some economic ground through efficiency. SLA parts frequently require fewer support structures, whereas FDM supports can account for over 30% of the total material used, offsetting some of the raw material savings.
Speed Dynamics: Batch vs. Single Part Speed comparisons depend heavily on geometry and volume:
-
Small, Detailed Batches: SLA often outperforms FDM. In one industrial benchmark, printing a total of 15 small parts took FDM 52.5 hours, while the SLA system finished the job in just 1.5–2 hours.
-
Large, Simple Parts: FDM tends to be faster. Since Laser SLA speed is limited by the laser's scanning path (which grows with the part's cross-section), it does not scale as well as FDM for massive, blocky geometries.
Strategic Selection
Ultimately, the choice comes down to application.
-
Choose SLA if you need high-fidelity prototypes that are ready for immediate use with minimal sanding or post-processing.
-
Choose FDM for functional parts, educational use, and "rough draft" prototyping where low cost and ease of maintenance are paramount.
Many professional organizations solve this dilemma by investing in both technologies, allowing them to pivot between FDM and SLA based on the specific demands of each project.
SLA vs. SLS: Detail vs. Durability
SLA and SLS serve distinct roles based on application and economics. SLA is the gold standard for visual fidelity , offering invisible layer lines and ±0.02–0.15mm precision—ideal for detailed surgical models and single prototypes. Conversely, SLS excels in functional strength (with Nylon 12 rivaling engineering plastics) and production efficiency. Because SLS allows for 3D nesting of parts without support structures , it drastically reduces the cost-per-part for batches of five or more, making it the superior choice for functional, end-use manufacturing.
FDM vs. SLS: Cost vs. Performance
For SMEs, the decision often splits between budget and capability. FDM is the undisputed cost leader (running 1/10th to 1/20th the price of SLS), making it the go-to for low-risk concept validation. However, SLS dominates in batch efficiency and structural integrity. In a 5-part production benchmark, SLS clocked in at just 9.6 hours compared to FDM’s 52.5 hours, while completely eliminating the labour-intensive support removal process. Furthermore, SLS parts offer reliable, isotropic strength, avoiding the Z-axis delamination often seen in FDM under stress. As a result, the most effective workflow typically evolves from FDM for cheap iteration, to SLA for aesthetics, and finally to SLS for functional verification.
Choosing the Right Technology for Your Needs
While specialized needs exist, FDM has evolved to become the universal solution for 90% of applications. Here is how to weigh your decision:
-
Precision & Quality: While SLA is famous for jewelry-level detail, modern FDM printers (especially with 0.2mm nozzles) now deliver exceptional surface quality sufficient for functional prototypes, cosplay, and consumer products—without the messy chemical cleanup of resin.
-
Part Strength: You don't necessarily need industrial SLS for strong parts. FDM with Engineering Materials (like Carbon Fibre-Nylon or Polycarbonate) offers incredible structural integrity for drones, automotive tools, and brackets at a fraction of the cost.
-
Scalability: For production volumes, FDM Print Farms are the industry standard for scalability. It is far cheaper and easier to run ten FDM machines in parallel than to manage a single complex SLS ecosystem.
-
Budget & ROI: FDM is the undisputed ROI king. With machines costing 1/10th of their counterparts and filament averaging just $20/kg, FDM allows for rapid, low-risk iteration that other technologies simply cannot match.
-
Workflow & Safety: For offices and schools, FDM is the safest bet. Unlike SLA (toxic resins) or SLS (airborne powders), FDM is clean, requires no hazmat handling, and fits perfectly into a standard workspace with minimal post-processing hassles.

3D Printing Technology Comparison: FDM vs. SLA vs. SLS
|
Decision Factor
|
FDM
|
SLA
|
SLS
|
|
Initial Investment
|
✓ (Lowest)
|
Medium
|
High
|
|
Operating Cost (Per Part)
|
Medium
|
Medium
|
Low (in Batch)
|
|
Surface Quality
|
Lowest
|
Best
|
Medium
|
|
Mechanical Strength
|
Low
|
Medium
|
Best
|
|
Detail Precision
|
Low
|
Best
|
Good
|
|
Design Freedom
|
Limited
|
Medium
|
Highest
|
|
Batch: 1-5 Units
|
Rapid Verification
|
Recommended
|
Not Cost-Effective
|
|
Batch: 5-50 Units
|
Not Recommended
|
Economical
|
Recommended
|
|
Batch: 50+ Units
|
Viable
|
Not Cost-Effective
|
Recommended
|
3D Printing Materials: What Can You Print?
Plastic and Polymer Materials
Plastics and polymers are the undisputed kings of 3D printing materials, powering the vast majority of FDM applications.
-
PLA Filament: The User-Friendly Standard
PLA filament (Polylactic Acid) is the go-to choice for beginners and pros alike. Derived from renewable resources like corn starch, this biodegradable thermoplastic is famous for its ease of use.
-
Why it shines: It prints at cooler temperatures (190–220°C) and often doesn't even require a heated bed. With no harsh fumes and a print success rate topping 95%, it's the frustration-free option.
-
Cost: Extremely affordable at $20–$25/kg.
-
Limitations: While it offers decent tensile strength (50–70 MPa), PLA is brittle and heat-sensitive. It softens at 50–60°C, so don't leave your prints in a hot car during summer!
-
ABS Filament: The Durable Workhorse
ABS filament (Acrylonitrile Butadiene Styrene) is a legacy engineering plastic known for toughness and heat resistance.
-
Why it shines: Withstanding temperatures up to 80–100°C and offering superior impact resistance, ABS is perfect for functional parts and outdoor gear.
-
The Trade-off: It demands a hot environment (Nozzle: 220–250°C, Bed: 80–110°C) and an enclosed chamber. Without it, ABS is notorious for warping due to thermal contraction. It also releases styrene fumes, so good ventilation is a must.
-
Cost: Comparable to PLA, typically $25–$40/kg.

-
PETG Filament: The Best of Both Worlds
PETG filament (Polyethylene Terephthalate Glycol) bridges the gap, combining the ease of PLA with the durability of ABS.
-
Why it shines: It offers excellent layer adhesion (30–40% stronger than PLA) and decent flexibility. It’s tough, chemical-resistant, and prints easily at 225–250°C.
-
Watch out for: PETG is hygroscopic—it loves to absorb moisture from the air. If not stored dry, it leads to stringing and poor print quality.
-
Cost: A solid mid-range option at $22–$35/kg.
-
High-Performance Engineering Thermoplastics
For those pushing the limits of FDM, materials like Polycarbonate (PC), ULTEM, and PEEK unlock true industrial potential.
-
Why they shine: Designed for extreme environments, PEEK can maintain mechanical properties at operating temperatures up to 260°C with a tensile strength of ~90 MPa.
-
Investment: These materials are pricey ($150–$300/kg) and require high-temp, enclosed printers, but they allow FDM to replace metal parts in aerospace and automotive applications.
Resin Materials
The true power of resin printing (SLA/MSLA) lies in its incredible material versatility, transforming liquid photopolymers into highly specialized end-use parts. The spectrum ranges from Standard Resins ($50–$70/L) known for their pristine surface quality, to Flexible and Tough variants ($80–$150/L) that offer rubber-like elasticity or high-temperature resistance up to 250°C for industrial tooling. At the cutting edge, Biocompatible and Medical-Grade Resins ($200–$500/L) meet rigorous ISO and FDA standards, enabling the production of safe, patient-contact devices like surgical guides and permanent dental implants.
Metal Materials
Metal additive manufacturing represents the pinnacle of industrial capability, justifying its high complexity with unmatched performance in aerospace and medical sectors. Materials like Titanium (Ti-6Al-4V) are prized for their superior strength-to-weight ratios and biocompatibility, despite powder costs reaching $300–$600/kg, while Stainless Steel (316L), Aluminum (AlSi10Mg), and heat-resistant superalloys like Inconel cater to specialized industrial and thermal demands. Although the workflow involves expensive laser systems and rigorous post-processing (often a hybrid of printing and CNC finishing), the technology ultimately pays for itself through material efficiency; by replacing wasteful subtractive methods, metal AM can reduce part weight by over 40% and cut lead times in half, making it indispensable for critical, high-value components.
Key Factors Affecting 3D Print Quality
Resolution and Detail Level
Resolution defines the finest detail a printer can reproduce. For FDM 3D printer, this is largely dictated by nozzle size—typically 0.4 mm—resulting in a resolution range of 50–500 microns. Practically, this means FDM struggles with features smaller than 0.3 mm, which may fuse together or fail to print. While SLA can achieve crisp details down to 25 microns, FDM users must balance detail with speed: switching to a finer 0.2 mm nozzle improves resolution significantly but can quadruple print times.
Accuracy and Dimensional Precision
Accuracy refers to how closely the print matches the digital design. FDM typically operates within a tolerance of ±0.2–0.5 mm, meaning a 10mm hole might physically measure 9.5mm or 10.5mm. This deviation is often caused by thermal shrinkage—materials like ABS can shrink 2–3% as they cool. To achieve tighter tolerances for engineering fits, FDM printers require precise calibration and high-quality hardware to mitigate vibrations. In contrast, SLA and SLS offer tighter tolerances (±0.05–0.3 mm) but come with higher operational costs.
Surface Finish and Smoothness
Surface quality is FDM's most distinct characteristic. Prints often exhibit visible "stair-stepping" layer lines with a roughness value (Ra) of 3–10 microns. Unlike the injection-mould-like finish of SLA, FDM parts usually require post-processing to be aesthetically pleasing.
-
Sanding: The standard approach, progressing from coarse (60 grit) to fine (2000 grit).
-
Vapour Smoothing: A popular technique for ABS and PETG, where solvent vapours melt the outer layer, creating a glossy, smooth finish similar to mass-manufactured plastics.
Print Speed and Production Throughput
When it comes to Time-to-Part, FDM is often the winner. It can churn out functional prototypes in just a few hours, making it ideal for rapid iteration. However, speed is a trade-off; large FDM parts can still take 24–48 hours. While SLS excels in high-volume production due to 3D nesting (stacking parts in a powder bed), FDM is king for immediate, low-volume needs. Modern "Print Farms"—clusters of FDM machines running in parallel—are increasingly used to rival the throughput of industrial batch systems.
Support Structures and Design Freedom
Supports are a necessary evil in FDM, required to stabilize overhangs and bridges. These structures can account for 20–50% of total material usage, creating significant waste and requiring manual removal.
-
The FDM Solution: Modern slicing software has introduced "Tree" or "Organic" supports, which drastically reduce material waste by up to 40% and are easier to detach.
-
The Constraint: Unlike SLS, which allows for total design freedom (no supports needed), FDM requires designers to "think in gravity," optimizing part orientation to minimize supports and ensure print success.
Advantages of 3D Printing
Design Freedom and Complex Geometries
Traditional manufacturing is shackled by the limitations of moulds and machining tools. 3D printing breaks these chains, allowing for complex internal geometries—such as conformal cooling channels in turbine blades—that were previously impossible. What once required welding multiple components together can now be printed as a single, monolithic part, significantly reducing weight and potential failure points.
Rapid Prototyping and Time Savings
The most expensive part of product development is time. While traditional tooling can cost $20,000–$100,000 and take months to fabricate, 3D printing delivers functional prototypes in hours for just $50–$500. This speed allows engineers to run multiple iteration loops rapidly, refining designs and fixing errors long before committing to mass production.
Material Efficiency and Waste Reduction
Subtractive manufacturing (like CNC milling) is inherently wasteful, often cutting away 90% of the raw block. 3D printing adds material only where needed. When paired with Generative Design AI, algorithms optimize the part's topology to place material strictly in high-stress zones. For expensive alloys like Titanium, this efficiency translates directly to massive cost savings.
Customization and Personalization
3D printing enables mass customization without the penalty of re-tooling costs. This is most transformative in healthcare, where patient-specific implants or prosthetics can be generated from CT scans in days rather than weeks. It not only slashes the cost of custom devices from $20k to under $5k but also dramatically improves patient recovery times and comfort.
Limitations and Challenges in 3D Printing
Surface Finish & Post-Processing Bottlenecks
Straight out of the printer, parts are rarely camera-ready. FDM prints show visible layer lines that demand labor-intensive sanding or vapor smoothing. SLS parts require messy powder removal and bead blasting. In some cases, post-processing can eat up 30–40% of the total production cost, turning a "rapid" prototype into a multi-day project.
Material Constraints: Strength vs. Uniformity
While material options are expanding, physics still applies. FDM parts are anisotropic—significantly weaker along the Z-axis (layer lines). SLA resins can be brittle and degrade under UV light. Even Metal 3D printing, despite its strength, can suffer from microporosity, often requiring expensive Hot Isostatic Pressing (HIP) to match the fatigue resistance of traditional forged parts.
Speed: The Volume Trap
Let's be real: 3D printing is slow compared to injection molding. While molding can shoot a part every 20 seconds, printing a batch might take 12+ hours. This makes 3D printing uneconomical for volumes exceeding 100,000 units/year, where traditional methods still reign supreme.
Conclusion
By 2030, the global market is expected to exceed 35 billion US dollars, with an annual growth rate of over 18%, reflecting the continuously expanding application scope and technological improvements. The three mainstream technologies, FDM, SLA and SLS, each have their own advantages and limitations, making the combination of multiple technologies the most optimal for most mature organizations. FDM dominates in prototyping and education with its low cost and ease of use, SLA leads in the medical and jewelry fields with its outstanding precision and surface quality, and SLS wins in functional components and mass production with its strength and design freedom. The threshold has really dropped now.
From entry-level 3D printer that cost a few hundred dollars to high-end industrial monsters, everyone can find their place. What's even more exciting is the addition of AI, which is transforming 3D printing from a manual job into intelligent manufacturing, design, slicing, and monitoring are all handled by algorithms, enabling machines to truly learn to think on their own.
FAQ
Q1: How expensive is it to 3D print?
The cost of 3D printing varies widely depending on several factors. The short answer is: anywhere from a few dollars to several thousand.
For a small, simple 50g FDM part, material costs are just $1–$3. When you factor in electricity and machine depreciation, the total comes to about $6–$18. For an SLA part of the same size, material costs range from $5–$15, bringing the total to $15–$30. For a 100g SLS part, the total cost generally lands between $25 and $50.
Costs escalate quickly for large or complex parts. A 500g FDM part might take 12–24 hours to print, costing $30–$100. A comparable SLS part would run $75–$150. Metal parts are significantly more expensive due to material and post-processing costs; a 100g titanium part can easily cost $500–$2,000.
Q2: What are the essential components for an FDM 3D printer to function properly?
All 3D printers rely on a few critical components. For FDM systems, these include:
-
Heated Nozzle / Hotend ($10–$50): Heats and extrudes the plastic filament.
-
Heated Build Plate ($30–$100): Prevents warping and ensures adhesion.
-
Motion System ($200–$500): The X, Y, and Z-axis motors (typically steppers or servos) and drivetrain that move the print head.
-
Power & Control Electronics ($50–$200): The mainboard/microprocessors and drivers that run the machine.
-
Cooling Fans ($10–$30): Cools the plastic immediately after extrusion to set the shape.
-
Software (Free or $100–$500): The "slicer" and control software needed to prepare the digital model for printing.
Q3: How much does it cost to run a 3D printer for 24 hours?
The primary operating cost is electricity.
-
FDM Printers: Typically consume 50–100 watts. Over 24 hours, this equals 1.2–2.4 kWh. At the average US electricity rate of $0.13/kWh, this costs roughly $0.15–$0.31 per day.
-
SLA Printers: Consume about 30–50 watts, costing $0.09–$0.15 for 24 hours.
-
SLS Printers: Typical desktop SLS systems consume 500–1000 watts (due to heating the powder bed). Over 24 hours, this equals 12–24 kWh, costing roughly $1.50–$3.12.
Note: These figures represent pure electricity costs and do not include materials, labour, or machine depreciation.