


Table of Contents
During the FDM 3D printing process, the thing we detest the most is that the printed products have obvious layer lines. Although texture is an important component in art, we originally expected smooth and high-precision 3D products because too many layer lines would make the printed parts look of very poor quality.
Compared with SLA resin 3D printing or SLS sintering, the layer lines of FDM printing are more prominent because this technology builds models by depositing filaments layer by layer, leaving visible steps between each layer.
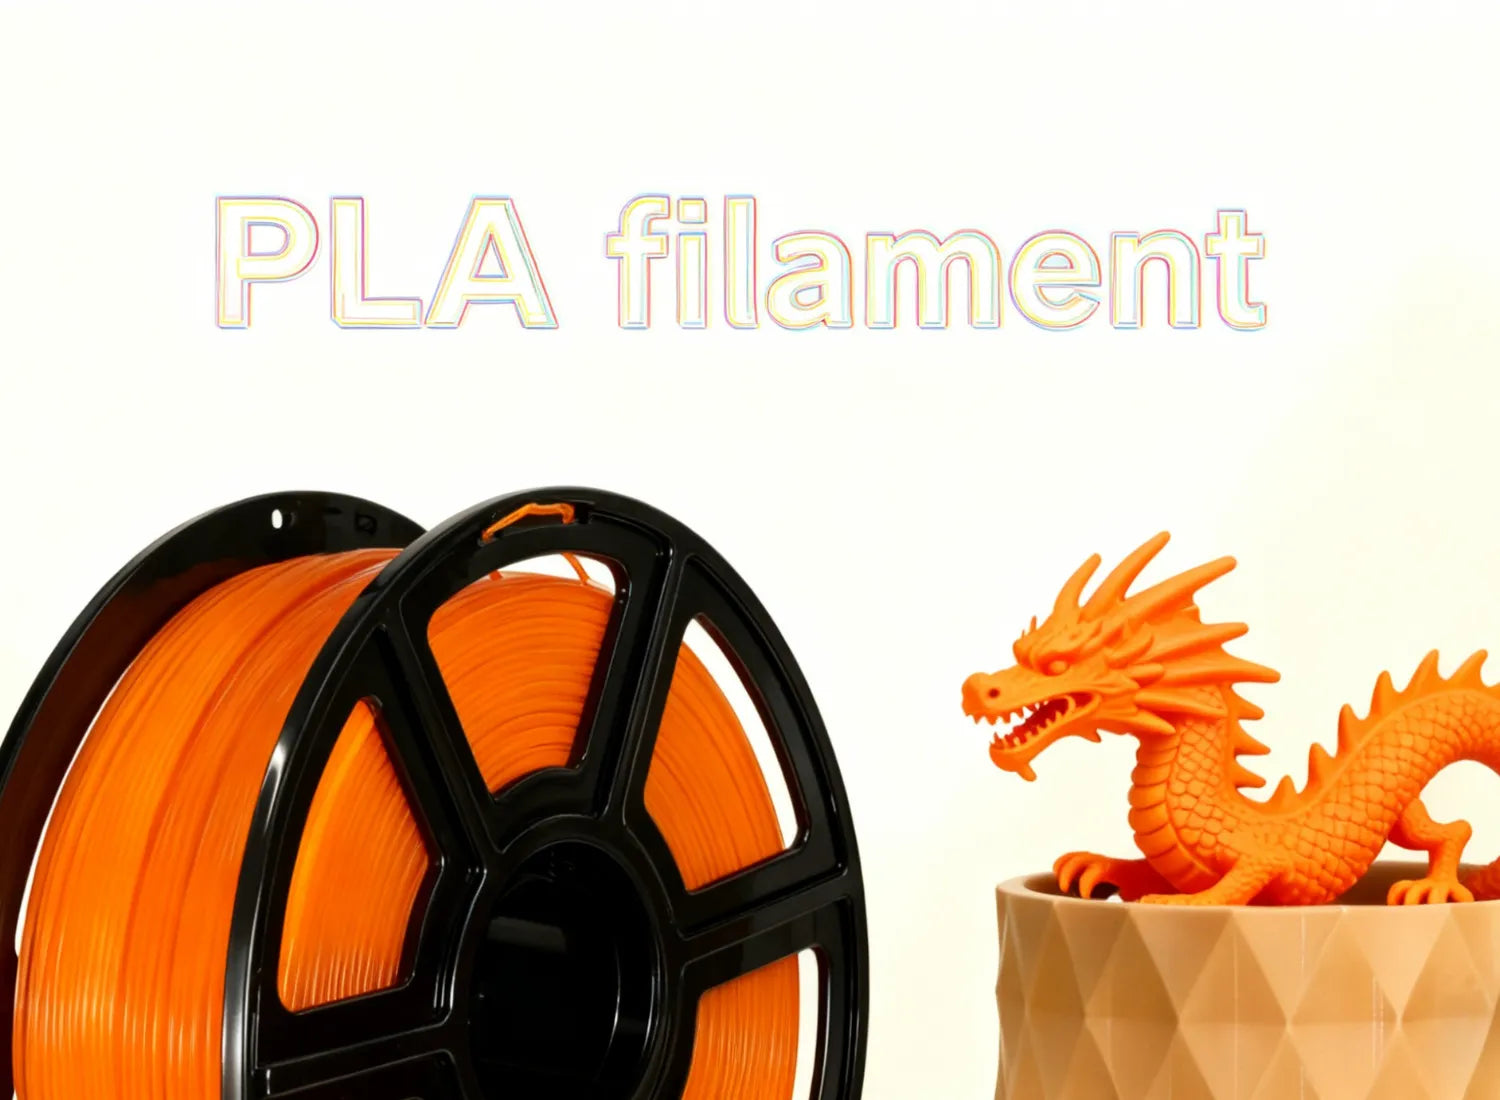
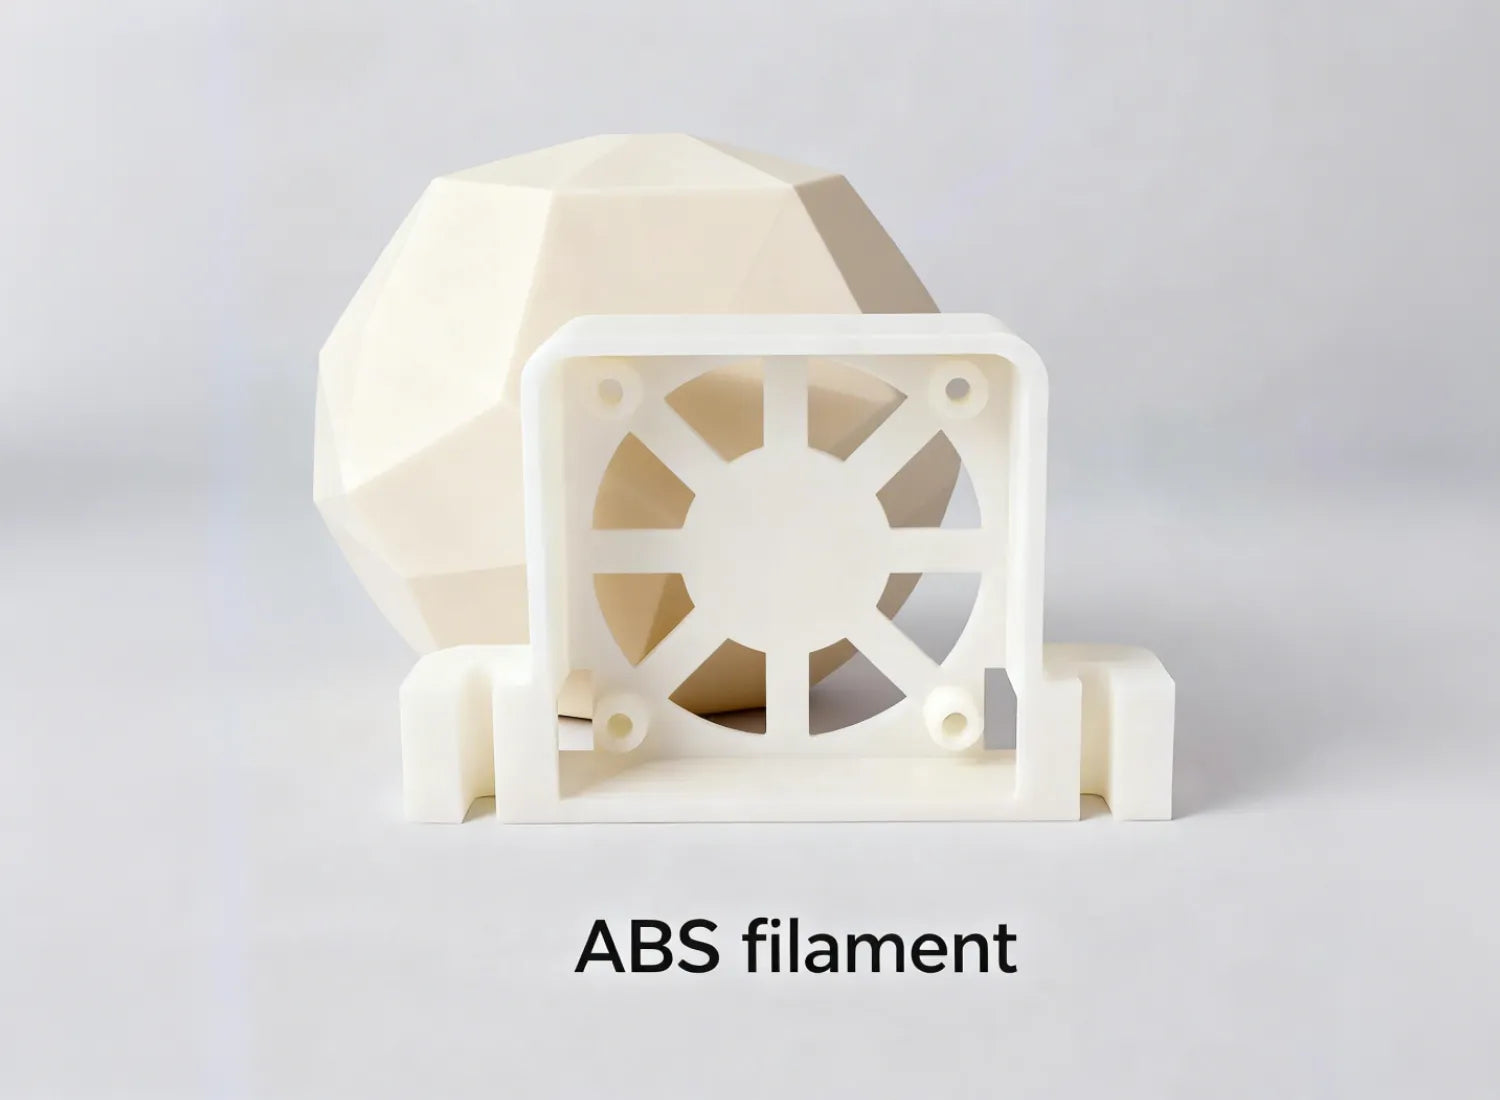
This is precisely why the post-processing of FDM printed parts is different from that of other 3D printing technologies. It requires targeted strategies to handle these characteristic layer lines. This guide is specifically designed for parts printed with common FDM filaments such as PLA and PETG, offering a proven five-step process to help transform your rough prints into professional-grade finished products.

Surface Features of FDM Prints
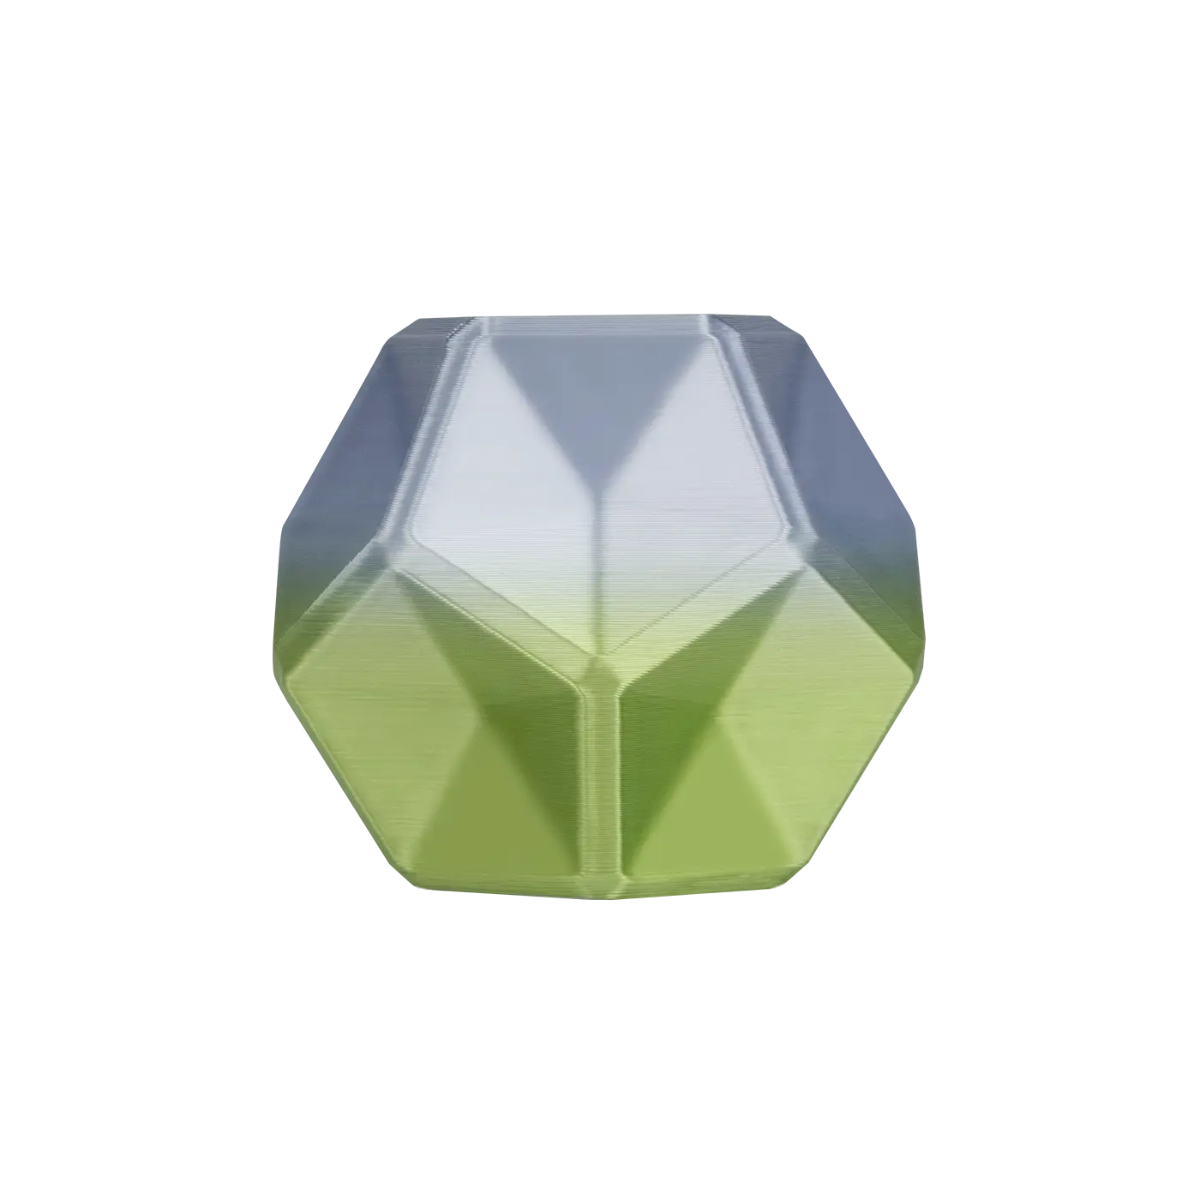
When just taken out of the FDM 3D printer, a typical FDM print shows several immediately visible defects. The most important thing is the uniformly spaced layering lines: these are determined by the thickness of the filaments deposited in each layer. For instance, if you print with a height of 0.2mm, you will see lines spaced approximately 0.2mm apart. When a height of 0.3mm is used, the spacing doubles, creating a more intense visual impact.
In addition to layer lines, FDM printed parts may also exhibit other defects:
Support marks
These are rough areas left after the support structure is removed, usually appearing as small depressions or marks of excessive extrusion. This is particularly evident for PETG printed parts, as its excellent interlayer adhesion ensures a particularly firm connection between the support and the model.
Surface roughness
The original FDM printed parts usually have a surface roughness of 10-25 microns (Ra value), which makes the surface feel significantly rough in terms of touch, giving a sandpaper-like sensation.
Printing defects
Such as gaps caused by insufficient extrusion of "zits", or burrs caused by excessive extrusion.
Characteristics of FDM prints after Post-Processing
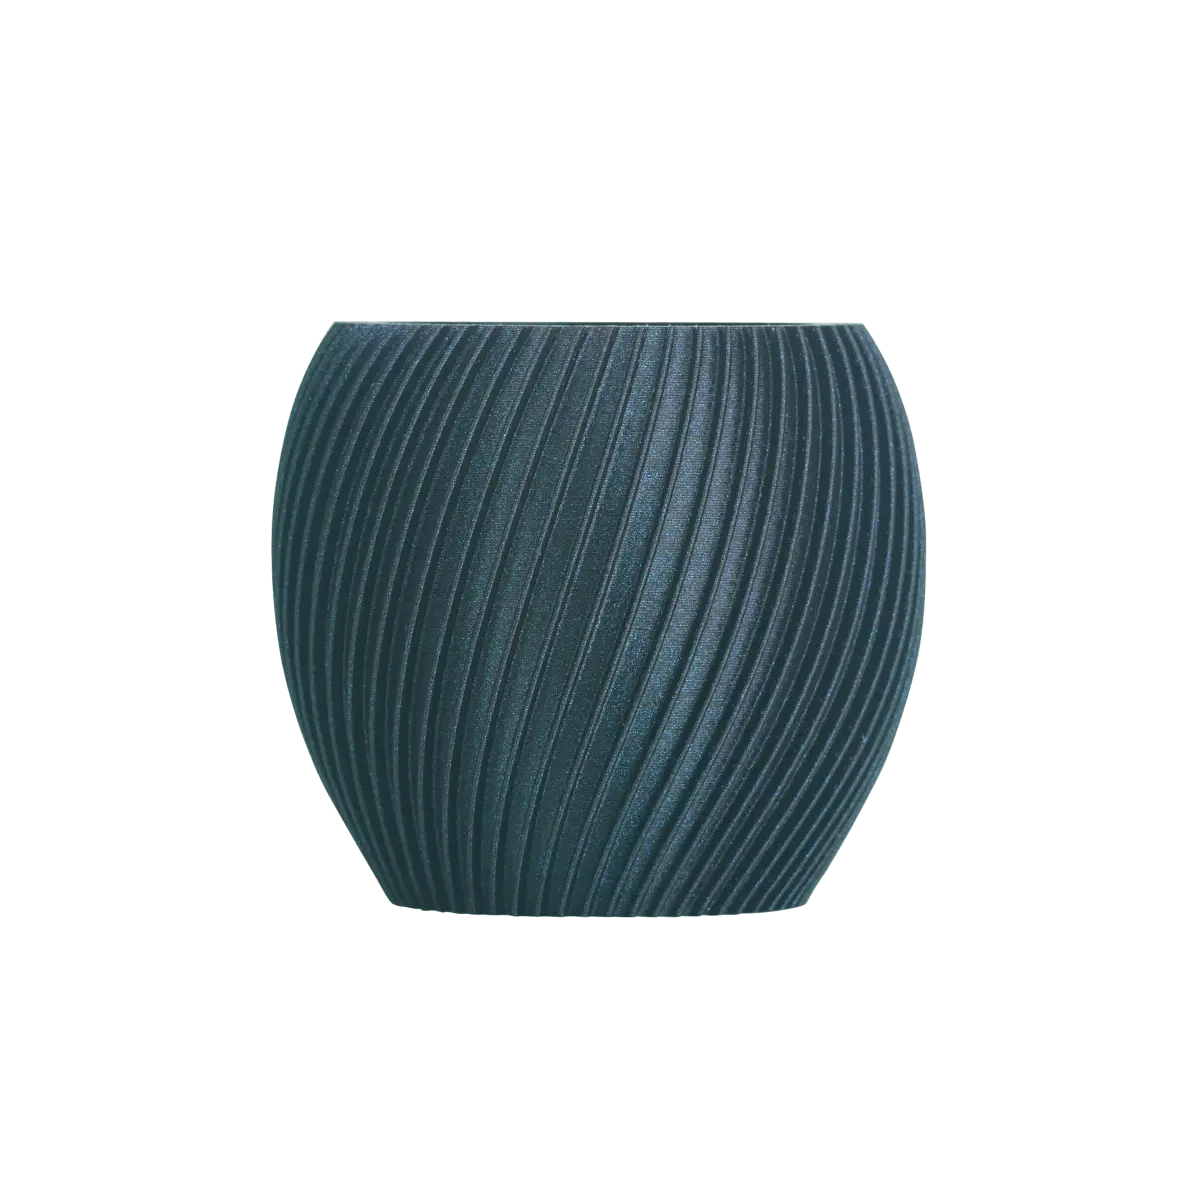
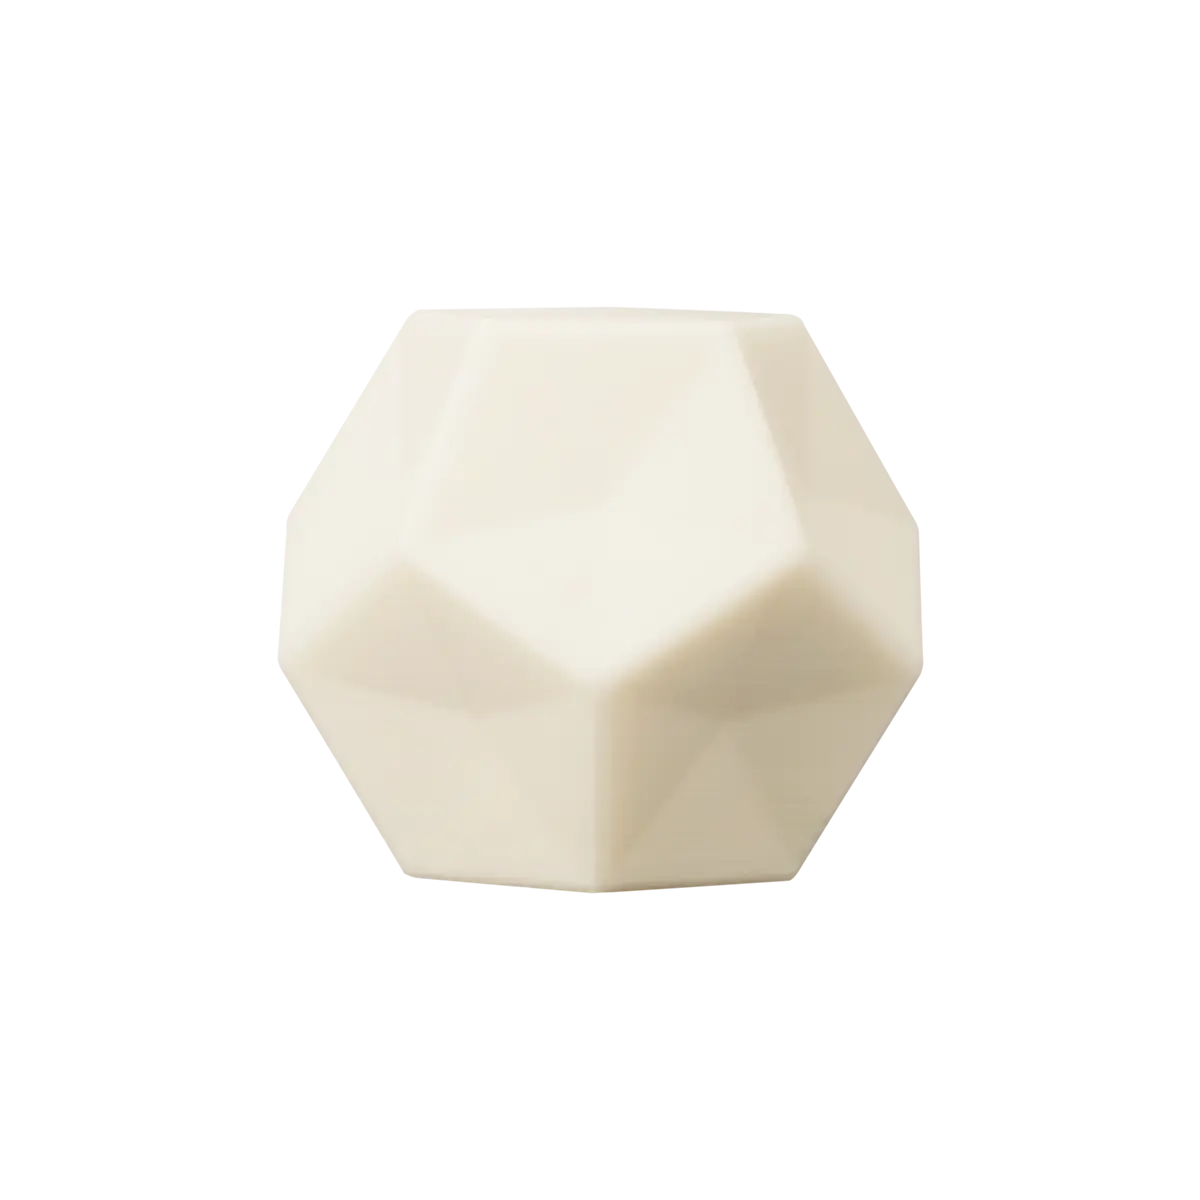
In contrast, FDM prints processed through the complete five-step process exhibit entirely different characteristics: Layer lines are almost invisible, and the surface presents a smooth, continuous appearance. Running a finger lightly across the surface reveals a smooth texture similar to injection-moulded parts, rather than the original stepped feel. Furthermore, whether matte or high-gloss, the surface exhibits consistent optical properties, with all areas achieving the same surface finish. Most importantly, details are perfectly preserved; proper sanding and coating do not obscure fine features; on the contrary, the smooth surface reflects light better, making the details even clearer.
3D Print Finishing Techniques We Will Cover
For FDM 3D printed parts, the most practical post-processing methods are manual and semi-automatic grinding processes, which can be implemented in a home or studio environment. Our five-step approach includes:
Step 1: Preparation. Remove the support structure and clean the print. It is important that the support removal methods for PLA and PETG are slightly different.
Step Two: Grinding. The grinding of FDM printed parts is the most crucial step. Start with an appropriate initial Grit size (depending on the floor height) and gradually move on to fine sandpaper. Wet grinding is particularly important for FDM printed parts to prevent heat accumulation.
Step 3: Fill in the defects. Use fillers (such as Bondo) to fill deep defects, then sand it smooth. Use a heat gun carefully if you need to remove fine stringing.
Step 4: Apply primer and fine sanding. Applying primer fillers is a game-changer for FDM printed parts. The primer will highlight any remaining defects and guide you to further sand it.
Step 5: Final coating. Apply paint and varnish to create the final protection and gloss.
Step 1: Prepare Your Print for 3D Printing Post-Processing
To successfully handle FDM prints, start by choosing the right tools. Although the basic tools are similar to those for handling other 3D printed parts, there are some special considerations for FDM printed parts. For instance, sandpaper is the foundation. For FDM printed parts, you need to prepare sandpapers of different specifications and parameters. Different sandpapers have different degrees of roughness
-
100-150 Grit: Used for rough defects and support marking. Only start with this roughness when your print has obvious defects or uses a layer height of 300 microns or higher.
-
220-320 Grit: Used for initial smoothing and removal of layer lines.
-
400-600 Grit: Medium fine polishing.
-
800-1000 Grit: Fine grinding before high polishing.
-
1000-2000 Grit: Use only when a mirror-like finish is required.
The selection of the initial Grit size is crucial. Here are some thoughtful tips for choosing the sub-Grit:
-
For printed materials with a layer height of 200 microns or less, start with 150 Grit.
-
For printed parts with a layer height of 300 microns or higher, or those with obvious defects, start from 100 Grit.
-
For high-quality prints without obvious defects, you can start from 150 Grit.

Tools: Sandpaper blocks are used for flat surfaces, soft sandpaper sponges for curves, and precision files for hard-to-reach areas. For support removal, prepare tweezers, flush cutters and long-nose pliers.
Personal protective equipment: Protective glasses, N95 dust masks (especially important as inhaling PLA or PETG dust is harmful to the lungs), and work gloves.
Wet grinding equipment: spray bottles, water containers and dry cloths. Wet grinding is crucial for FDM printed parts.
Cleaning and Support Removal Before You Smooth 3D Prints
The removal of support for FDM printed parts is crucial for the success of subsequent processing, and there are significant differences between PLA and PETG. The removal of PLA support is relatively easy. The adhesion between the support of PLA and the model is relatively weak, so manual removal is relatively direct. Use nozzle-pointed pliers to cut the support from the root, and then remove it with tweezers. After removal, gently sand any support marks with 120-150 grit sandpaper.
When removing the PETG support, we need to handle it with greater caution. PETG has excellent interlayer adhesion, and the connection between the support and the model is particularly firm. If you accidentally apply too much force to forcibly remove the support, it may damage the model itself.
Based on years of 3D printing testing experience, Flashforge suggests leaving a 0.1mm to 0.25mm (or one layer height) gap during printing to separate the support from the model. This makes it easier to remove the supports while reducing support markings. Of course, when removing the PETG support, it should be done slowly and patiently. For difficult areas, use a hot air gun to gently heat the support roots - this makes PETG slightly malleable and easier to separate. After removal, immediately sandpaper the support mark, as the adhesiveness of PETG may result in a rougher mark. For both materials, after the support is removed, wash the print with warm water and mild soap and let it dry thoroughly.
Step 2: The Foundation of How to Make 3D Prints Smooth: Sanding 3D Prints
Grinding is the most crucial and challenging step in the post-processing of FDM printing. The layer lines printed by FDM are particularly stubborn and can only be removed by grinding. Choosing the correct starting grit of sandpaper is crucial:
-
100 Grit: Only for printed parts with obvious protrusions, defects or with a layer height of 300 microns +.
-
150 Grit: Used for printed parts with a layer height of 200 microns or less, or with good print quality.
-
220 Grit: If you have already done a preliminary rough sanding or the print is relatively smooth.
Never start with too fine sandpaper - this will lead to low grinding efficiency and leave previous scratches that cannot be removed.
The grinding action is very important. Circular motion or "zigzag" grinding is superior to grinding parallel to the layer in a straight line. Grinding parallel to the layer may leave new scratches in the opposite direction, actually emphasizing the layer texture rather than concealing it. The pressure should be moderate to light, as excessive force will not accelerate the speed but only increase the risk of heat accumulation. For curves and complex geometries, use a soft sandpaper sponge instead of a hard sandpaper block so that the sandpaper can adapt to the shape.
Wet Sanding 3D Prints
Wet grinding is almost mandatory for FDM printed parts for several reasons:
First of all, prevent heat accumulation. Friction generates heat, which is dangerous for both PLA and PETG. The cooling effect of water prevents melting or deformation.
Secondly, keep the sandpaper clean. Dust from the printing material will quickly fill the sandpaper, causing it to become dull. Rinse off the dust with water to keep the sandpaper active.
Thirdly, it reduces the inhalation of harmful dust. Wet grinding produces a wet slurry instead of dry powder, which significantly reduces the inhalation of harmful particles.
The process of wet grinding is very simple and can be carried out by following these steps:
-
Immerse the sandpaper in clean water or spray water with a spray bottle regularly during grinding
-
Keep the sandpaper always moist
-
Grind along the circumference or diagonally, and do not grind parallel to the layer
-
Regularly clean the sandpaper to remove accumulated dust
-
After completion, thoroughly rinse the print and the sandpaper
For FDM printed parts, wet grinding starting from 220 Grit is particularly effective. Wet grinding within the range of 220 to 400 Grit can quickly eliminate the visibility of most layering lines.
Special Tips for Smoothing 3D Prints PLA Without Melting
The glass transition temperature of PLA is approximately 58-60°C, which means that even a slight accumulation of heat may cause the surface to become viscous or melt. The following are special strategies for PLA polishing:
Always carry out wet grinding: The cooling effect of water is the key to preventing PLA from overheating. Even light dry grinding can cause the PLA surface to become sticky.
Secondly, avoid power tools. For PLA, especially avoid using high-speed rotating tools for wet grinding - this may cause short circuits and generate excessive heat. Slow down the pace and choosing manual polishing would be a safer option.
Frequently pause to cool down the PLA. If the model starts to feel hot during the grinding process, stop immediately and let it cool down completely. It can be cooled in a well-ventilated area or under a fan. Also, do not polish back and forth in the same place. Use circular motion to disperse heat accumulation. If the PLA does start to melt, stop and cool completely. Once cooled, you may need to use 600-800-grit sandpaper for fine grinding to repair the melted areas. Prevention is always better than repair.
Step 3: Filling Imperfections for a Flawless Surface
At some point, you will realize that further grinding will not bring about significant improvement - deep defects, support marks or holes in the print cannot be completely eliminated through grinding. At this point, the filler becomes an indispensable tool.
After the initial sanding (usually to 220-320 Grit) is completed, but before applying the primer. At this point, you have significantly reduced the roughness, but some deep-seated defects can still be seen.
The purpose of the filler is to physically fill deep holes and depressions that cannot be eliminated by grinding. After complete drying, these areas can be ground smooth, significantly accelerating the entire process.
Step 4: Priming and Fine Sanding 3D Prints
Why is primer so effective? The primer is designed to fill in microscopic defects, such as fine scratches and depressions that still exist after sanding. The primer forms a film much thicker than the standard coating, and these films effectively fill the remaining layer lines.
In addition, the primer is softer than PLA or PETG plastic, which means it is easier to sand without damaging the base layer. This makes the process of multi-layer primer and sanding so effective.
The key to primer application lies in a thin and multi-layered approach:
-
Apply the first layer of thin primer (light spray)
-
Dry for about 15 to 20 minutes
-
Gently sand with 320-400 grit sandpaper
-
Apply the second coat of primer
-
Repeat until satisfied
-
Spraying techniques
-
Hold the spray can vertically
-
6 to 10 inches away from the print
-
Use smooth and fast sweeping movements
-
Carry out in a well-ventilated area and wear respiratory protective gear
Smooth 3D Prints with High-Grit Sandpaper (400-2000 Grit)
In the final grinding stage, we prefer to use ultra-high Grit sandpaper, such as 400-600 Grit sandpaper, 800-1000 Grit sandpaper and 1000-2000 Grit sandpaper. Below, we will briefly explain the importance of the parameters of each specification.
400-600 Grit range: Remove any scratches left during the previous grinding stage. Wet sanding must be carried out: dry sanding will cause the sandpaper to fail quickly. Light pressure is of vital importance because we are now finely polishing.
800-1000 Grit sandpaper: This is usually the sweet spot for FDM printing, as most professionals find that 1000 Grit provides sufficient surface quality without wasting time.
1000-2000-grit sandpaper is only necessary for high-end finished products that require a mirror-like lustre.
Step 5: Final Sealing and Polishing for a Professional 3D Print Finishing
After completing all the sanding and priming work, it's time to apply the colour and protective varnish
The painting process can be carried out in the following three steps:
-
If colour is needed, apply the corresponding colour of spray paint (2-3 layers of thin spray)
-
Let each layer be completely dry
-
Apply varnish (high gloss, semi-gloss or matte, depending on preference)
Why do we choose varnish as the tool for post-processing? The advantage of varnish lies in its ability to protect the underlying coating and plastic from UV damage, increase gloss and safeguard the entire work outcome. For FDM printed parts that are only sanded but not painted, it is a good idea to apply at least one layer of varnish to protect all the sanding work and increase gloss.

The Final Result of Your 3D Printing Post-Processing
After a complete five-step process, the final features must meet the following standards to be truly perfect:
-
The layering lines are almost completely invisible
-
Smooth surface
-
Uniform colour and light
-
The surface is completely flat and suitable for any subsequent application
You Now Know How to Smooth Out 3D Prints
Let's make a key summary. Start with the correct grit size of the sandpaper, choose based on your layer height and print quality, and always perform wet sanding. This is crucial for preventing heat accumulation and keeping the sandpaper clean. It is particularly important for the PLA.
Never grind parallel to the layers; instead, grind in a circular shape and amplitude. The key lies in applying multiple layers of primer and sanding, which can effectively eliminate layer lines. Additionally, a lighter can be used to slightly smooth out some rough details. For PLA, use light pressure and patience to avoid the risk of melting. Reserving support gaps for PETG can simplify support removal and post-processing.
Post-processing of FDM printing is a skill worth learning. Of course, choosing the best FDM 3D printer brand is also very important. Flashforge AD5X 3D printer, as the first choice for makers, can produce professional-level finished products. For those who want to fully realize the potential of their FDM printers, Orca Flashforge also turns your ideas into real models, thus exploring the larger world of 3D printing.