


ABS commonly prints at a nozzle temperature of approximately 230–260°C with a heated bed around 90–110°C. These figures should be treated as starting ranges rather than universal settings. Flashforge ABS Basic, for example, specifies a nozzle range of 220–260°C and a build-plate temperature of 100–110°C.
The ideal ABS print temperature depends on the filament formulation, hot-end design, nozzle size, printing speed, chamber conditions, and model geometry. A profile that produces a clean calibration cube may still cause warping or layer cracking in a large functional part. Reliable ABS printing therefore requires the nozzle, bed, enclosure, cooling, and first-layer settings to work together.
What Is the Best ABS Print Temperature?
The best ABS print temperature is the lowest nozzle setting that provides consistent extrusion and strong layer bonding without causing excessive stringing, sagging, odor, or surface deformation.
Recommended ABS Nozzle and Bed Temperature
For many standard ABS filaments, 235–250°C at the nozzle and 100–110°C on the bed provide a practical calibration range. Start near the middle of the range printed on the filament spool. For an initial test, 245°C at the nozzle and 105°C on the bed are reasonable starting points.
Keep the first layer slow, usually around 15–30 mm/s. The deposited lines should appear slightly compressed and fully connected without becoming rough or excessively flattened.
Avoid changing the nozzle and bed temperatures at the same time. Adjusting one variable at a time makes it easier to identify whether an improvement comes from better extrusion, stronger bed adhesion, or a more stable printing environment.

Recommended Enclosure Temperature
An enclosure limits drafts and reduces the temperature difference between the lower and upper sections of the model. It becomes increasingly important as a part grows taller, wider, or more dimensionally sensitive.
|
Enclosure Type |
Recommended Setting |
Suitable Use |
|
No enclosure |
Warm, draft-free room |
Small ABS test pieces |
|
Passive enclosure |
Approximately 35–45°C |
Small to medium parts |
|
Actively heated enclosure |
Approximately 45–60°C |
Large or functional parts |
|
Professional heated chamber |
Within the printer’s rated limit |
Engineering parts and repeated production |
Do not exceed the printer manufacturer’s chamber-temperature rating. Excessive chamber heat may affect electronics, belts, lubricants, magnets, or user-installed printed parts.
Recommended ABS Cooling Settings
ABS generally needs much less part cooling than PLA. Begin with the cooling fan turned off for the first three to five layers. For ordinary walls and functional components, 0–15% cooling is often sufficient.
Increase airflow only when necessary for bridges, steep overhangs, small details, or very short layer times. Too much cooling may improve detail while weakening layer adhesion and increasing the risk of cracks. For large functional ABS parts, stable temperature is usually more important than aggressive cooling.
Complete ABS Anti-Warping Settings
A dependable starting profile combines a nozzle temperature of 240–250°C, a bed temperature of 100–110°C, a preheated enclosure, low cooling, a clean PEI surface, and a slow first layer. A 5–10 mm brim can improve adhesion on wide models or parts with sharp corners.
Once the print finishes, allow it to cool gradually inside the closed enclosure. These values should be adjusted according to the filament, printer, room temperature, and model size.
Why Must ABS Temperature Settings Work Together?
Changing only the nozzle temperature rarely solves ABS warping. The nozzle, bed, chamber, cooling fan, printing speed, and build surface all influence how quickly the part heats, cools, and contracts.

ABS Contracts Significantly as It Cools
ABS contracts as deposited material cools. The first layers remain attached to the heated plate while the upper layers cool and shrink, creating internal stress that may pull the corners upward or distort the base.
The larger the model, the more material contracts during cooling. This is why a small test cube may print successfully while a wide enclosure panel or tall housing warps under the same settings.
Uneven Cooling Causes Warping and Internal Stress
The temperature difference across the part can be as important as the exact nozzle temperature. The lower section remains warm near the heated bed, while the upper section may be exposed to cooler chamber air.
If different sections cool at different rates, they contract unevenly. The result may be lifted corners, curved bottom surfaces, dimensional errors, horizontal cracks, or internal stress that appears only after the model is removed.
A stable enclosure reduces these temperature gradients and helps the part cool more uniformly.
Temperature Affects Layer Adhesion and Part Strength
If the nozzle is too cool, ABS may not melt or flow consistently. This can cause gaps, under-extrusion, weak interlayer bonding, and brittle parts.
If the nozzle is too hot, the material may string, sag, lose detail, or develop an overly glossy surface. Excessive heat may also increase odor and accelerate material degradation.
The goal is not to use the highest possible temperature. The correct setting provides enough heat for smooth extrusion and strong layer bonding at the selected printing speed.
How to Find the Right ABS Print Temperature
Because ABS performance varies between filament brands, printers, and model shapes, the most reliable method is to calibrate the temperature profile step by step rather than relying on a single slicer preset.
Step 1: Check the ABS Filament Manufacturer’s Settings
Read the spool label or technical data sheet before selecting a profile. When choosing 3d printer filament, check the recommended nozzle temperature, bed temperature, drying instructions, and required printing environment for the exact material.
Standard ABS, ABS+, recycled ABS, flame-retardant ABS, and filled blends may require different settings. Even colors within the same product line can behave differently because pigments and additives affect flow.
Use the manufacturer’s range as the calibration window. Begin near the middle and move upward or downward in small increments.
Step 2: Prepare the Printer and Stabilize the Environment
Before starting an ABS print, make sure your 3d printer is properly prepared. Clean the build plate, check bed leveling, confirm that the nozzle is clear, and verify the first-layer height. Close the enclosure and preheat the bed for approximately 10–15 minutes.
Keep the printer away from open windows, air conditioners, desk fans, and frequently opened doors. When corners gradually lift or tall parts develop horizontal cracks, the cause may be chamber fluctuations, drafts, or excessive cooling rather than the nozzle temperature alone.
The best 3d printer for ABS is not simply the machine with the highest nozzle temperature. An enclosed build area, sufficient bed heating, controlled airflow, suitable material compatibility, and reliable first-layer calibration are equally important.
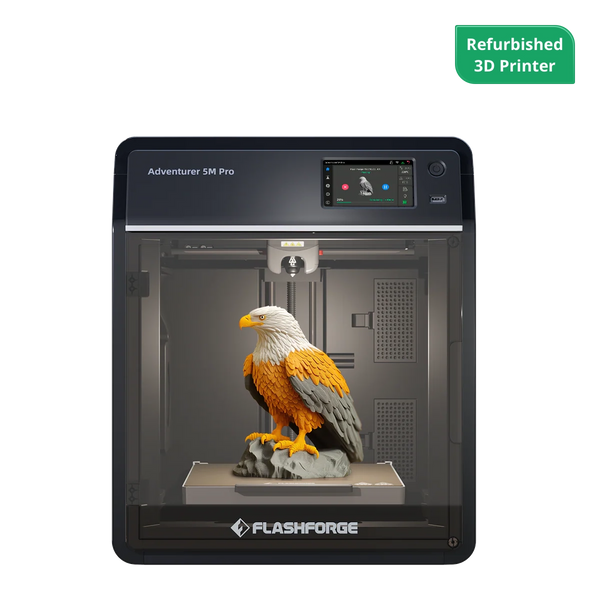
For desktop users seeking to reduce environmental variables, the Flashforge Adventurer 5M Pro uses an enclosed structure and provides an internal-circulation mode for ABS. Its nozzle reaches 280°C, and the machine includes HEPA and activated-carbon filtration. Filtration should still be combined with suitable room ventilation during long or frequent ABS printing sessions.
Step 3: Print an ABS Temperature Tower
Use a temperature tower that changes the nozzle setting in 5°C increments, such as 230, 235, 240, 245, 250, and 255°C.
Compare layer adhesion, stringing, surface consistency, overhang quality, bridging, extrusion gaps, and corner sharpness. For functional applications, bend or break the tower at the temperature boundaries to compare layer strength.
The cleanest-looking section is not always the strongest. Select the temperature that provides the best balance between surface quality, dimensional accuracy, and interlayer bonding.
Step 4: Calibrate the Bed Temperature and First Layer
After selecting the nozzle temperature, test the bed in 5°C increments.
If corners lift, inspect plate cleanliness, bed leveling, and nozzle height before adding more heat. When the bed is already near the filament manufacturer’s maximum, a slower first layer, correct Z offset, wider initial extrusion, brim, or compatible adhesive may be more effective.
Rounded and separated first-layer lines usually indicate that the nozzle is too far from the plate. Rough or excessively flattened lines may mean that it is too close.
Step 5: Validate the Settings With a Functional ABS Part
A temperature tower does not reproduce the thermal stress of a large functional model. Test the selected profile with a part containing long walls, sharp corners, holes, and the intended infill.
When working with a high speed 3d printer, validate temperature together with printing speed and volumetric flow. Creator 5 supports a maximum print speed of 300 mm/s and travel speed of up to 600 mm/s. A profile developed at a low speed may not melt material quickly enough when the flow rate increases, so higher speeds may require more heat or a reduced material-flow target. ABS use also requires a suitable enclosed setup.
Allow the test part to cool completely before checking its dimensions, screw bosses, clips, hinges, and load-bearing sections.
How to Fix Common ABS Temperature Problems
ABS printing defects usually provide visible clues about which part of the thermal system is unbalanced. Use these signs to adjust the nozzle, bed, cooling, or chamber more precisely.
How to Fix ABS Corner Lifting and Bed Warping
Raise the bed temperature by approximately 5°C while remaining within the filament manufacturer’s range. Clean the plate thoroughly, reduce drafts, preheat the enclosure, slow the first layer, and consider adding a brim.
Check the Z offset carefully. The bed can be hot enough while adhesion still fails because the nozzle is positioned too far from the surface.
If only one corner lifts, inspect the local bed level and surface cleanliness. A fingerprint or small amount of residue may reduce adhesion in one specific area.
How to Fix Layer Cracking and Delamination
How to Fix Weak Layers and Poor Extrusion
If the filament produces popping sounds, bubbles, or inconsistent extrusion, dry it before making major temperature adjustments.
A partially clogged nozzle, slipping extruder, excessive speed, incorrect flow setting, or moist filament can all create weak layers. If extrusion appears smooth but the part breaks easily between layers, raise the nozzle temperature gradually or reduce the printing speed.
At higher speeds, the hot end may not have enough time to melt the required amount of ABS. Reducing speed can therefore improve strength without requiring a large temperature increase.
How to Fix Stringing, Rough Surfaces, and Overheating
Reduce the nozzle temperature in 5°C steps and recalibrate retraction. Make sure the filament is dry before changing several slicer settings.
A glossy, soft-looking surface with rounded details and heavy stringing often indicates excessive heat. A rough or matte surface with visible gaps is more likely to indicate insufficient heat or unstable extrusion.
For very small layers, increase the minimum layer time or apply limited cooling instead of lowering the nozzle temperature so far that layer adhesion becomes weak.
When a Passive Enclosure Is Not Enough
A passive enclosure may not provide sufficient stability for wide cross-sections, tall models, cold workshops, or repeated engineering production.
When comparing a 3d printer for sale for frequent ABS use, evaluate the enclosure, bed-temperature capability, chamber control, filtration, and material compatibility instead of focusing only on price or maximum speed.
A passive enclosure also does not replace proper ventilation. For more information about enclosed printing, filtration, and workspace airflow, see Do You Need to Vent ABS When 3D Printing?.
How to Prevent ABS Warping During Printing
Once the basic temperature profile has been calibrated, environmental stability and first-layer preparation become the main factors in preventing warping throughout the print.
Maintain a Stable Enclosed Printing Environment
Keep the enclosure closed and avoid sudden temperature changes. Preheating is particularly useful for tall parts because it reduces the initial temperature difference between the lower and upper layers.
Avoid repeatedly opening the enclosure to inspect the model. Even a brief stream of cold air can create localized shrinkage.
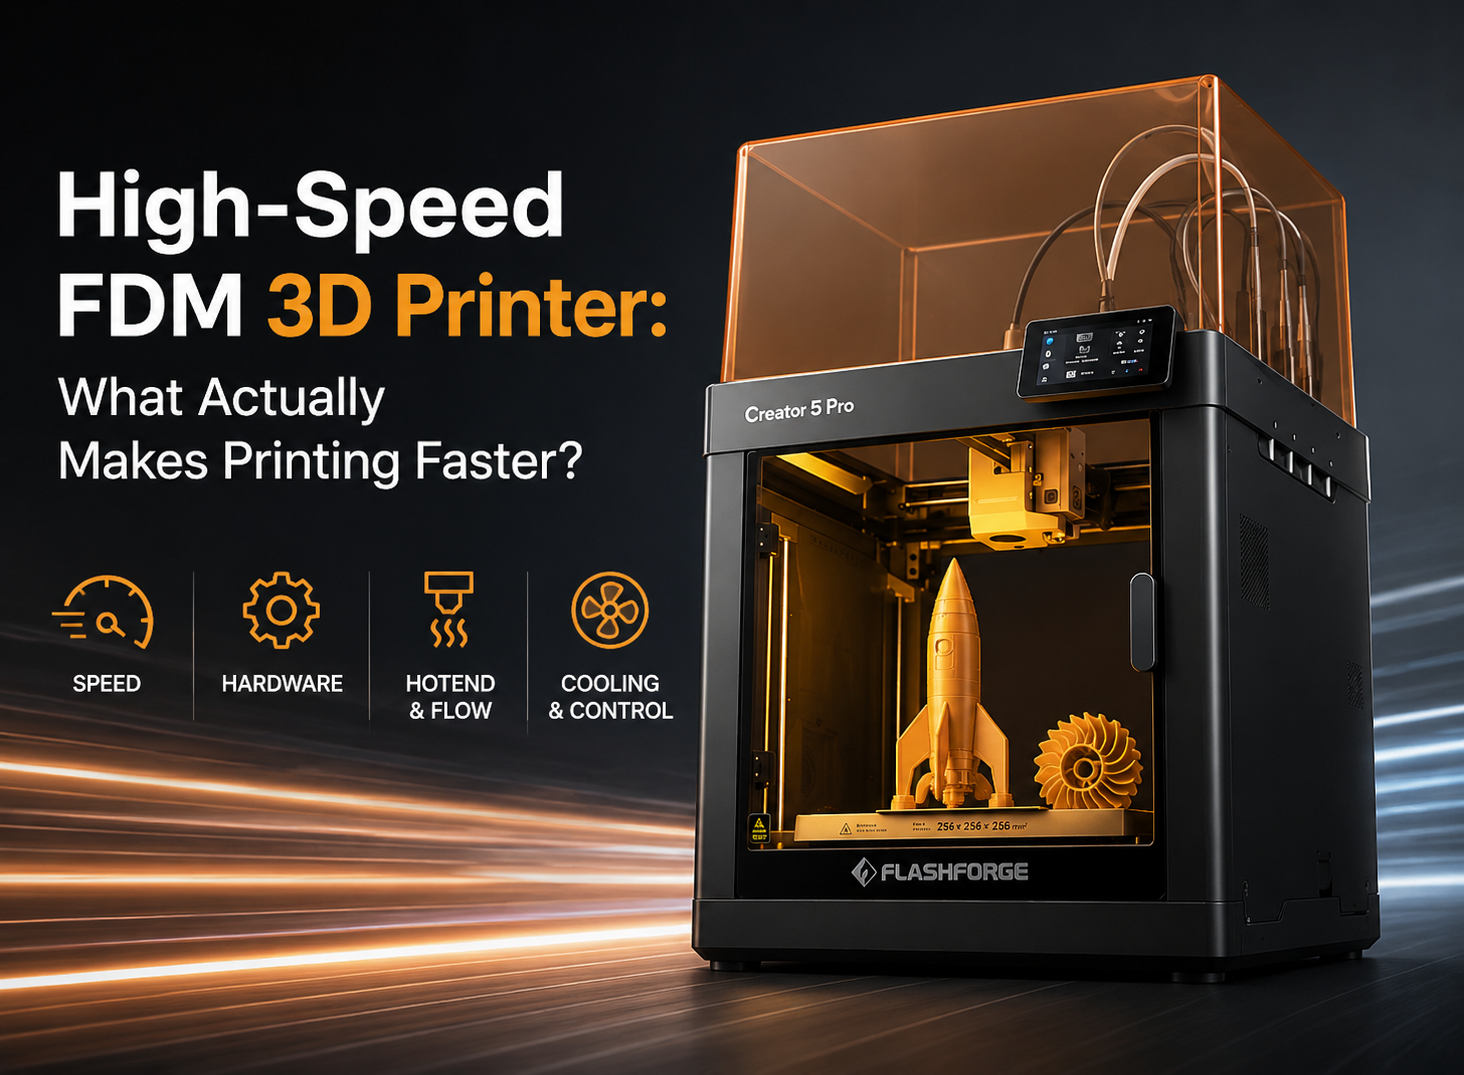
For larger engineering components, fixtures, or repeated ABS production, the Flashforge Creator 5 Pro provides a fully enclosed rigid structure, active chamber heating up to 65°C, a bed temperature up to 120°C, and a nozzle temperature up to 320°C. It also includes continuous airflow control and HEPA plus activated-carbon filtration.
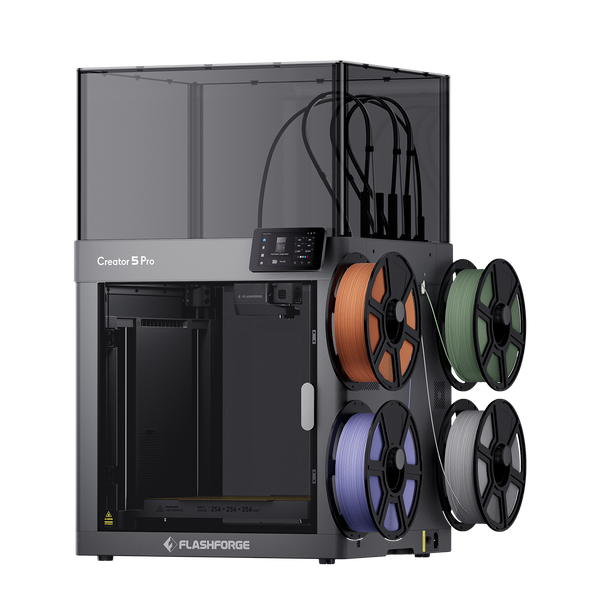
Flashforge Creator 5 Pro 4-Toolheads Enclosed Multi-Color 3D Printer | 500% Faster, Zero Purge Waste
Improve First-Layer and Bed Adhesion
Clean the build surface before every important ABS print. Oils, dust, and old adhesive residue can reduce adhesion even when the bed temperature is correct.
Use a properly calibrated Z offset, a slow first layer, wider initial extrusion, and a brim for large or sharp-cornered models. A compatible adhesive may also help with demanding parts.
Do not compensate for incorrect nozzle height by continually increasing the bed temperature. The shape and connection of the first-layer lines provide a more reliable indication of whether the nozzle distance is correct.
Control Part Cooling and Allow Gradual Cooldown
Keep the part-cooling fan off or low for most of the print. Increase airflow only when bridges, overhangs, or very small details require additional cooling.
After printing, leave the model inside the closed enclosure until the bed and chamber cool gradually. Removing a hot part immediately may release stored internal stress and cause delayed warping or cracking.
Conclusion
The best ABS print temperature is not a single number. It is a coordinated profile that balances the nozzle, bed, chamber, cooling, first layer, printing speed, and model geometry.
For many standard ABS filaments, 235–250°C at the nozzle and 100–110°C on the bed provide a useful calibration window. Stable chamber conditions, low cooling, strong first-layer adhesion, dry filament, and gradual cooldown are what turn those temperatures into reliable, warp-resistant prints.
For a broader introduction to the material, read What Is ABS Filament? Properties, Uses, and How to Print With It.
FAQ
Does ABS Filament Need to Be Dried Before Printing?
Not every new spool requires drying, but ABS should be dried when it produces popping sounds, bubbles, rough extrusion, excessive stringing, or weak layers. Follow the drying instructions provided for the specific filament.
Do ABS and ABS+ Use the Same Print Temperature?
Not necessarily. ABS+ contains modifiers that may change flow, shrinkage, strength, or odor. Use the temperature range specified for the exact material.
Does Nozzle Size Affect the Best ABS Print Temperature?
Yes. A larger nozzle or higher flow rate pushes more material through the hot end each second and may require a higher temperature or slower printing speed.
Can You Use the Same ABS Temperature Profile on Different 3D Printers?
Use it only as a starting point. Hot-end geometry, heater power, thermistor calibration, enclosure volume, airflow, and build surfaces differ between machines.
Does ABS Filament Color Affect Print Temperature?
It can. Pigments and additives may slightly change flow and surface appearance. Recalibrate when a new color strings more, bonds poorly, or produces a different finish.
Why Does ABS Smell Stronger at Higher Temperatures?
Higher processing temperatures may increase volatile emissions and material degradation. Use the lowest temperature that still provides smooth extrusion and strong layer bonding, together with suitable filtration and room ventilation.
Can ABS Temperature Be Lowered After the First Few Layers?
A small reduction may work after first-layer adhesion is secure, but a large temperature drop can weaken layer bonding and increase cracking. Keep the nozzle temperature stable unless testing shows a clear benefit.