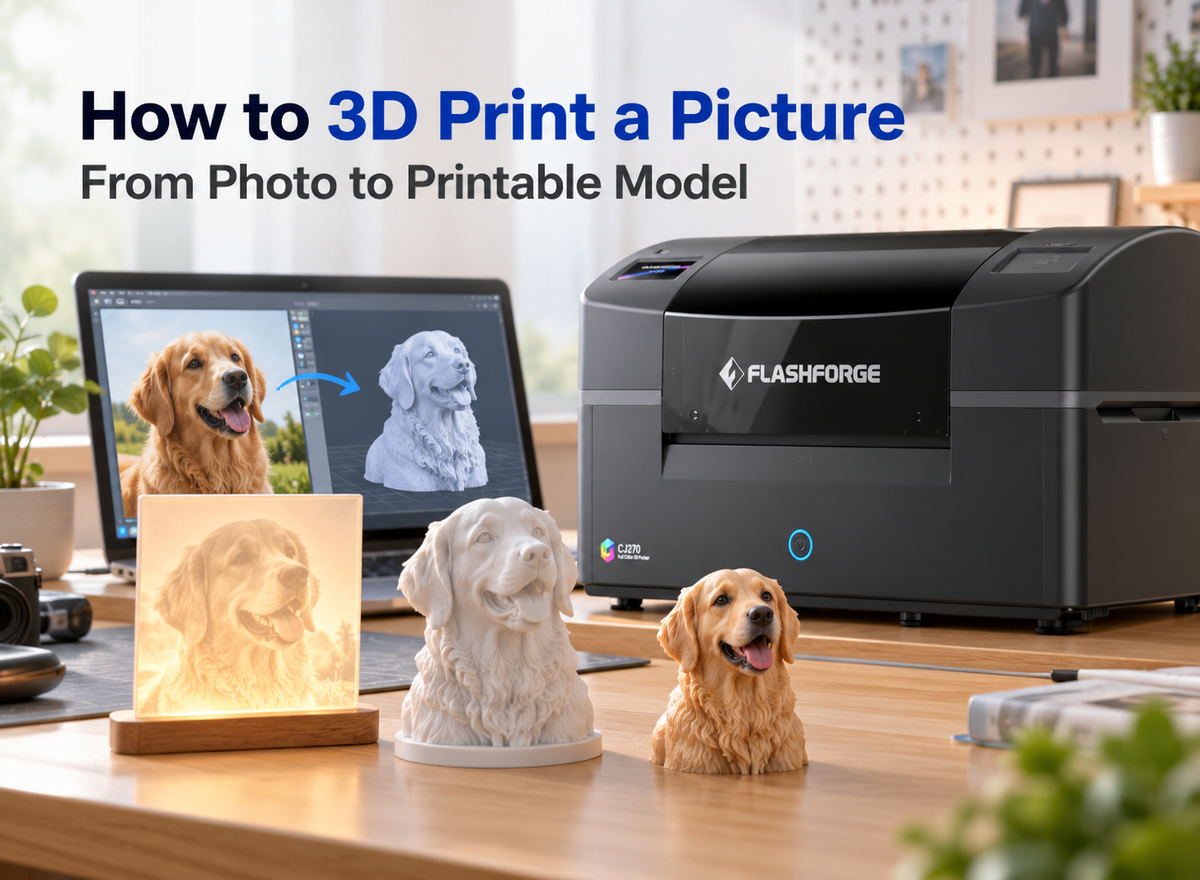



A full-color 3D printer creates a model’s shape and color together, reducing the need to paint it by hand. The print still needs attention before display or delivery: supports must be removed, the model must dry, and its surface should be checked. This guide covers those steps, with the Flashforge CJ270 as an example of a printer that uses water-soluble support.
Why Does a Full-Color 3D Print Still Need Post-Processing?
3D printing produces the color and geometry, while post-processing makes the details visible and prepares the piece for its intended use.
Removing Support Without Damaging Fine Details
Support material holds parts of a model in place during printing. It may surround a character’s fingers, sit beneath a projecting accessory, or occupy a narrow gap between two features. Removing it carelessly can damage the details that make a small full-color model convincing.
Before touching the support, identify the features most likely to catch or bend. A thin strand of hair, a pet’s ear, or the edge of a miniature weapon deserves more attention than a broad, solid base. The aim is to clear the support while placing as little force as possible on the finished model.
How Finishing Affects the Final Appearance
Once the support is gone, you can judge the print itself. Remaining material may obscure color in a recess, while moisture can make it difficult to assess the final surface. Cleaning and drying therefore belong in the quality check, not just the cleanup.
An optional finish can also change how the colors read. A clear coat may give a display piece the sheen you want, but it can alter the look of a matte surface or a transparent detail. Decide on that treatment after you have seen the clean, dry model.
What Should You Check Before Removing Supports?
For a model produced on a desktop 3D printer, a few checks before cleaning can prevent avoidable damage and reveal areas that need a second inspection later.
Inspect Delicate Features and Hidden Cavities
Look at the model from every side while the support is still visible. Note thin projections, deep recesses, narrow openings, and places where separate features sit close together. If you have an approved render or reference image, keep it nearby so you can distinguish intended geometry from support material.
Pay particular attention to cavities that may be hard to inspect once the outer support has dissolved. A figure holding an object close to its body, for example, may have a small space between the arm and torso. Knowing where that gap should be helps you check it after cleaning without probing it aggressively.

Prepare a Suitable Cleaning and Drying Area
Set up a stable work surface with enough room to support the model throughout cleaning. Use a suitable container and a clean place where the print can dry without resting its weight on a fragile feature. Follow the printer and material instructions for handling the model and disposing of used cleaning water.
Plan for the whole sequence before starting. If the model must move from a water bath to a drying area, make sure you can lift it securely and inspect all sides. Rushing between stages increases the chance of dropping the piece or overlooking support in a recess.
How Do You Remove Supports From a Full-Color Model?
Support removal is the most process-specific step. Use the method specified for the material in your print rather than applying one technique to every full-color system.

Follow the Support-Removal Method for Your Printing Process
“Full color” describes the visual result; it does not identify a single printing technology or support material. Some supports require mechanical removal, while others are designed to dissolve. The right method depends on the printer, the support material, and the model’s geometry.
Check the manufacturer’s instructions before using water, tools, or a cleaning machine. In particular, avoid pulling firmly on support attached to a delicate feature. If you are comparing printing methods, Flashforge’s guide to multicolor versus full-color 3D printing explains why their materials and post-processing needs differ. A filament 3D printer uses 3D printer filament and generally follows a different support-removal workflow.
Removing the CJ270’s Water-Soluble Support
The CJ270 prints color and shape together using material jetting, with a separate water-soluble support material. According to Flashforge, you can remove that support by placing the model in water or by using an ultrasonic cleaner. Dissolving the support reduces the need to break it away manually from fine surface details.
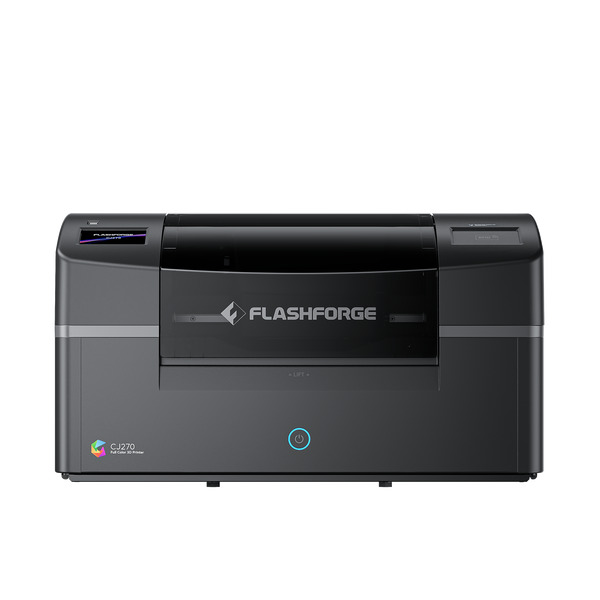
Choose the cleaning approach according to the model and Flashforge’s operating guidance. A simple shape with open surfaces is easier to inspect than a figure with overlapping clothing, narrow gaps, or recessed texture. Support in those areas may need additional attention even when the visible outer support has cleared.
There is no useful fixed cleaning time for every CJ270 print. The time required depends on the model’s size, support volume, and access to enclosed or recessed areas. Check the actual piece during cleaning rather than treating the processing time of a demonstration sample as a standard for all jobs.
Procedures for an enclosed 3D printer or a multi tool head 3D printer should not be applied to the CJ270 because those machines use different materials and hardware.
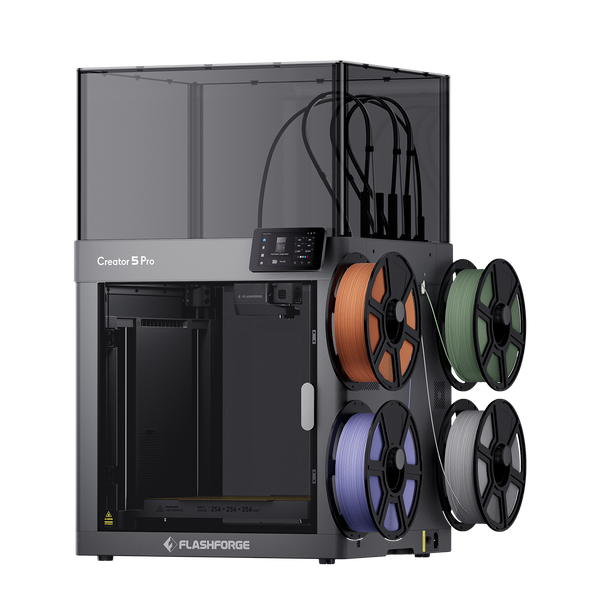
Flashforge Creator 5 Pro 4-Toolheads Enclosed Multi-Color 3D Printer | 500% Faster, Zero Purge Waste
Check Small Gaps and Recessed Details After Cleaning
Once the main support has dissolved, inspect the places you identified before cleaning. Turn the model under good light and look into gaps around arms, accessories, bases, and textured surfaces. If material remains, continue with the appropriate cleaning method and check again.
Avoid declaring the model finished based only on its most visible face. A customer may notice leftover support beneath a figure’s chin or inside an opening when they pick it up. A careful all-around check is especially valuable for pieces intended for close viewing or photography.
How Do You Dry and Finish the Model?
When the support has been removed, give the model time to reach its dry, final appearance before deciding whether any surface treatment is needed.
Let the Model Dry Before Evaluating Its Appearance
Place the cleaned print where it can dry without pressure on thin features. Check recessed areas as well as exposed surfaces; a cavity may hold water after the outside appears dry. Handle the piece carefully during this stage so that a projecting detail does not bear its weight.
Assess the color and finish only after drying. This gives you a more reliable view of the surface and helps you distinguish a cleaning issue from a feature of the printed model. It also prevents you from covering remaining moisture with a finishing product.
Decide Whether a Clear Coat Suits the Desired Finish
The Flashforge CJ270 produces the model’s color during printing, which can reduce the need to paint each figure by hand. That does not rule out later surface work: Flashforge notes that polishing or a gloss coating may be used when the desired appearance calls for it.
Choose a clear coat for a defined result, such as a glossy display finish, rather than applying one automatically. Flashforge’s display samples, for example, were cleaned and clear-coated after printing, while their color was printed directly with the models. A different project may call for a less glossy look. Test the intended finish on a suitable sample and consider how it changes skin tones, small printed textures, and transparent effects before treating an approved piece.
Handle Fine Features Carefully During Final Touch-Ups
If a small area needs attention, support the model near the area you are working on. Avoid gripping a thin accessory or repeatedly rubbing a printed facial feature. Make the smallest correction needed, then inspect the area again in the same lighting used for the rest of the model.
The goal is a consistent finished appearance, not the maximum amount of polishing. Excessive work on one patch can make it stand out from the surrounding printed surface. For a detailed figure, preserving the original color and texture may matter more than removing a minor mark.
How Do You Check a Finished Full-Color Print?
Final inspection connects the physical print to the approved design and the expectations of the person who will display or receive it.
Inspect Color, Surface Details, and Remaining Support
Examine the model in even light from several angles. Check whether facial features, markings, text, and color transitions are easy to see. Look again at joints, recessed details, the underside, and the base for support that may have escaped the first cleaning pass.
Also check the surface for uneven finishing or handling marks. An attractive front view is useful for a product photo, but a delivered model should hold up to closer inspection from other angles.
Compare the Result With the Approved Model
Set the finished piece beside the approved digital model or reference images. Compare recognizable details first: the expression on a character, the markings on a pet, the colors of clothing, or the placement of a small graphic. These are often the features that prompted the customer to choose full-color printing.
Allow for the fact that a digital image and a physical object are viewed under different lighting. If the result appears different, inspect the source file, printed surface, and any applied finish before deciding what caused the difference. Flashforge’s CJ270 review provides more context on the printer’s workflow and the kinds of visual models it is designed to make.

Decide When the Piece Is Ready for Display or Delivery
A finished model should be clean, dry, free of visible support, and consistent with the approved design. If it has been coated, check the finish according to the coating manufacturer’s instructions before handling or packaging it.
For customer work, take final photographs and inspect the object itself before packing. That last check can catch a hidden patch of support or a vulnerable feature that needs better protection during transport.
Common Post-Processing Mistakes to Avoid
Most finishing problems come from moving to the next stage before the current one is complete.
Forcing Support Off Delicate Features
A thin feature can break when support is pulled from the wrong direction. Inspect the attachment area first and follow the removal method for that material. With CJ270’s water-soluble support, let the appropriate cleaning process do the work instead of trying to snap support away from fine details.
Finishing the Model Before It Is Fully Dry
A surface that looks dry from above may still hold moisture in a recess. Give the entire model time to dry, then inspect those areas before applying a clear coat or preparing it for delivery. This also makes your assessment of the untreated color more reliable.
Assuming “Full Color” Means No Finishing Is Needed
Printing color into the model removes a major painting step, but it does not remove the need for support cleaning and inspection. The amount of additional finishing depends on the design and presentation standard. A personal test piece and a collectible prepared for sale may reasonably have different finish requirements.
Conclusion
Full-color 3D printing brings the model’s shape and color together in one build. A finished piece still depends on careful support removal, complete drying, and a final check against the intended design. For CJ270 prints, water-soluble support helps protect intricate details during cleaning; any later coating should serve the look the project needs.
Treat post-processing as part of the production plan. When cleaning access, drying space, inspection, and optional finishing are considered from the start, it is easier to deliver a model that looks as good in someone’s hands as it does in a digital preview.
Frequently Asked Questions
Do Full-Color 3D Prints Need to Be Painted?
Not necessarily. On the CJ270, color is produced with the model during printing, so hand painting is not required to create its main colors and patterns. Some makers may still choose a surface finish or a small touch-up for a particular presentation.
Can I Remove CJ270 Support With Water?
Yes. Flashforge identifies the CJ270’s support as water-soluble and says it can be removed in water or with an ultrasonic cleaner. Follow its instructions for the printer and inspect recessed areas after cleaning.
How Long Does Support Removal Take?
It varies with the size and structure of the model, the amount of support, and the cleaning method. Use the condition of your actual print to decide when cleaning is complete. A time quoted for one sample should not be treated as a fixed time for every model.
Do I Need to Apply a Clear Coat?
No. Apply one when it helps achieve the desired appearance and is suitable for the printed material. Check the clean, dry model first, and test how the coating affects color, texture, and any transparent details.
Is a Full-Color Model Ready to Sell Straight Off the Printer?
Usually not. Remove its support, let it dry, and inspect its color and details before offering it for sale. Depending on the agreed finish, you may also need surface treatment, final photographs, and protective packaging.