


Table of Contents
Creating an action figure with smooth joints, sharp details, and enough durability for daily play is no longer limited to industrial equipment in 2026. A reliable desktop 3D printer, combined with the right design approach and post-processing steps, can produce results that you will want to share on social media.
In this guide, we want to walk through the entire process based on our own experiences and the common mistakes we see other makers make. We will cover how to split parts for modeling, how much joint tolerance to leave, and how to choose the right machine and resin. We will also discuss print settings, sanding, painting, and final assembly. By the end, two things will be clear: where to spend your money and whether your current machine is sufficient or needs an upgrade.
What Makes a High-Quality 3D Printed Action Figure?
Creating a truly high-end 3D-printed action figure requires a balance of visual detail and long-term durability. Up close, the details must hold up under a camera lens. In hand, the joints should be smooth without feeling loose. For display, the structure must resist breaking over time. This section defines the standards for a quality figure, with the following chapters focusing on technical execution.
Importance of Fine Details and Surface Finish
Market demand shows that miniatures and action figures are among the most active niches in 3D printing. A report from MarketIntelo projects the global 3D printable miniatures market will grow from $362 million in 2024 to $1.12 billion by 2033. This 13.6% growth is driven by collectors seeking high detail and customization. For creators, this means blurry lines or rough layer textures will fail to impress a discerning audience.
From a technical standpoint, resin 3D printers still lead in resolution and surface smoothness. They easily capture hair textures, armor engravings, and fabric folds. Traditional FDM 3D printers often struggle with visible layer lines and stepping effects. However, the rise of 0.2–0.25 mm nozzles and 0.06–0.08 mm layer heights has changed the landscape. Tests from 2024 to 2026 show that a well-calibrated high-speed FDM 3D printer can produce high-detail figures suitable for tabletop gaming and display, especially when paired with optimized slicing and post-processing.
Role of Joint Precision and Articulation
For an articulated figure, aesthetics are only half the battle. Precision in the joints and the design of the movable parts determines the actual playability. Professional toy designers emphasize using specific structures for different body parts:
-
Ball Joints: Ideal for the head, neck, and shoulders.
-
Single/Double Axis Hinges: Best for elbows and knees.
-
Swivel and Chain Joints: Useful for the waist, tentacles, or tails.
Chain and ball-and-socket joints are particularly effective for 3D printed toys. They offer a wide range of motion and a tight, frictional fit without needing metal pins. Smooth movement depends on two factors: the clearance reserved during modeling and the dimensional accuracy of the 3D printed parts. For a standard FDM 3D printer using PLA or PETG, a clearance of 0.2–0.3 mm between surfaces is recommended for a snap-fit joint with friction. For free-sliding movement, increase the clearance to 0.4–0.5 mm. Precision is vital; a deviation of just 0.1 mm can result in a joint that is either locked solid or completely loose.
Common Challenges in Figure Printing
Common complaints in the maker community regarding articulated figures include details lost to layer lines, joints being too tight or too loose, and parts breaking during handling. To achieve a print-in-place figure that works immediately off the build plate, tolerances must be treated as engineering specs. Testing performance with a clearance gauge block from 0.2 mm to 0.4 mm is a necessary step.
For FDM 3D printers, the following clearances are recommended:
-
Clearance Fit (Free Sliding): 0.3–0.5 mm
-
Transition Fit (Damped/Positioning): 0.1–0.2 mm
Additionally, factors like excessive layer height, unstable nozzle temperatures, or improper cooling can cause dimensional errors. These issues manifest as elephant's foot, shrinkage, or undersized holes. Users often blame the FDM 3D printer for these failures. In reality, these problems usually stem from a lack of coordination between the design, tolerances, and process parameters.
Designing Action Figures for Smooth Joints and Movement
A truly smooth and durable joint is the result of carefully choosing joint types, planning tolerance layouts, and optimizing part segmentation.
Joint Types and Mechanical Design Principles
Most 3D printed action figures rely on several basic joint categories:
-
Ball Joints: Used for parts requiring multi-directional rotation like the head, shoulders, and hips.
-
Single or Double Axis Hinges: Suitable for reciprocating bending movements in knees and elbows.
-
Swivel Joints: Primarily used for the waist and wrists.
-
Chain Joints: Common in structures needing continuous bending, such as tails, tentacles, or capes.
A key strategy is to map out the required degrees of freedom and maximum angles for each joint first. Then, work backward to decide on a ball, hinge, or composite joint. This is more effective than designing a shape first and trying to shove an axis into it later.
When designing these joints, consider material elasticity, force direction, and assembly. For FDM 3D printers, tensile strength along the layer stack is weaker than within the layer. Therefore, joint axes should be aligned with the XY plane to reduce the risk of delamination during repeated bending. For resin 3D printers, while the material is more isotropic, it is also more brittle. Thin pins or shafts may need to be thickened or converted into double-axis structures to distribute stress.

Tolerance and Clearance Optimization
Tolerance design is what makes a joint feel just right. For common PLA or PETG used on an FDM 3D printer, a 0.2–0.3 mm clearance is a good starting point for a tight friction joint. If you want a smoother sliding fit, increase this to 0.4–0.5 mm. A 2026 tolerance report from Snapmaker suggests that FDM 3D printer dimensional tolerances typically range between ±0.15–0.5 mm, so designs must include enough redundancy. For sliding or rotating parts, a range of 0.3–0.5 mm is recommended. For transition fits that require a press-fit, but remain removable, a 0.1–0.2 mm range is ideal.
For resin 3D printers, recommendations from Siraya Tech are much tighter. A clearance of 0.05–0.1 mm can achieve a fit similar to injection-molded parts. This is why high-resolution resin 3D printers produce very crisp feedback for head sculpts and hand parts. Data from 3DChimera confirms that a 0.25 mm clearance works well for a normal fit on most FDM 3D printers. For a loose fit that is easy to turn or disassemble, 0.5 mm is a safer target. These numbers provide a logical starting point when switching between different 3D printing processes.
Segmenting Models for Assembly and Flexibility
Truly complex articulated figures are rarely printed as a single piece. You can divide the body into modules like the head, torso, limbs, hands, and feet based on structural and painting needs. This approach offers several benefits:
-
Optimized Orientation: You can print each part in a direction that aligns the joint axis with the layer lines for maximum strength.
-
Easier Painting: Internal details that are hard to reach can be painted while the parts are separate.
-
Easy Repairs: If a small part breaks, you only need to reprint that specific component rather than the entire figure.
For print-in-place structures, you can embed chain or hinge joints directly into the torso. Using a 0.2–0.4 mm clearance prevents fusion and skips the assembly step. For high-stress areas like shoulder joints and ankles, separate parts reinforced with pins or screws are better. This optimizes the load path and allows for fine-tuning the tightness later. Many professional designers use a hybrid strategy: a print-in-place torso and thighs, with separate parts from the knees down. You can easily adapt this logic to your own projects.
Choosing the Right 3D Printer and Materials
Once your design is ready, you must choose the right equipment and materials. The best 3d printer for action figures depends on the scale of the model, the level of detail required, the expected joint durability, and whether you plan to print display pieces or articulated toys.
In 2026, desktop 3D printing offers more than one path. You can use high-resolution resin printers to push detail limits or use well-tuned FDM printers to produce stronger articulated parts more efficiently.

FDM vs. Resin Printing for Fine Details
Detail is only the first step. Action figures must also withstand repeated handling and joint movement.
When choosing 3d printer filament, match the material to the function of the part. PLA works well for rigid display components, while PETG is often more forgiving for articulated joints and accessories that need better impact resistance.
Technical media and enthusiast communities agree that resin 3D printers remain the top choice for collector-grade figures. Resin systems offer XY resolutions in tens of microns and layer heights as low as 0.025–0.05 mm. This makes layer lines nearly invisible on hair, fabric, or armor textures, which is ideal for high-end painting. For 28–75 mm scales, resin 3D printers provide clear advantages in facial details and edge sharpness.
However, FDM 3D printers still have a place in the action figure world. Discussions on Reddit and YouTube show that using 0.2–0.25 mm nozzles with 0.06–0.08 mm layer heights allows modern high-speed FDM 3D printers to achieve impressive results. This is especially true for larger scales like 1/10, 1/8, or 1/6. A 2026 test compared 0.04, 0.06, and 0.08 mm layer heights using a 0.2 mm nozzle. The results showed that 0.06 mm provided a perfect balance between detail and time. The difference between 0.06 mm and 0.08 mm was hard to see with the naked eye, yet the latter significantly shortened the print time.
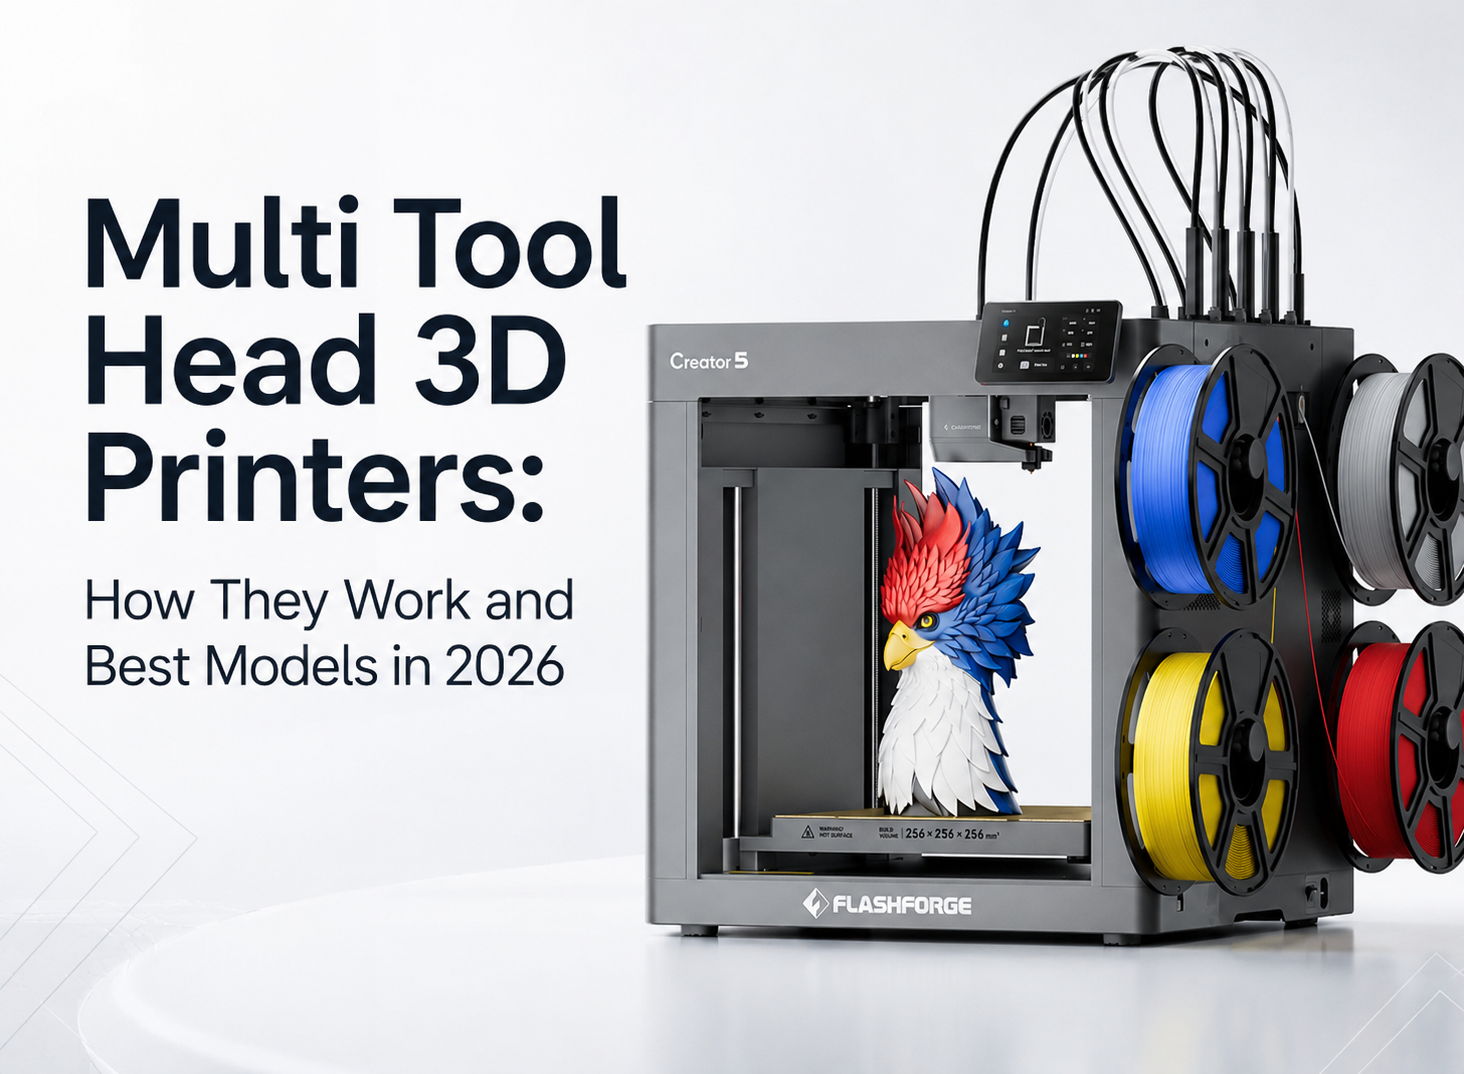
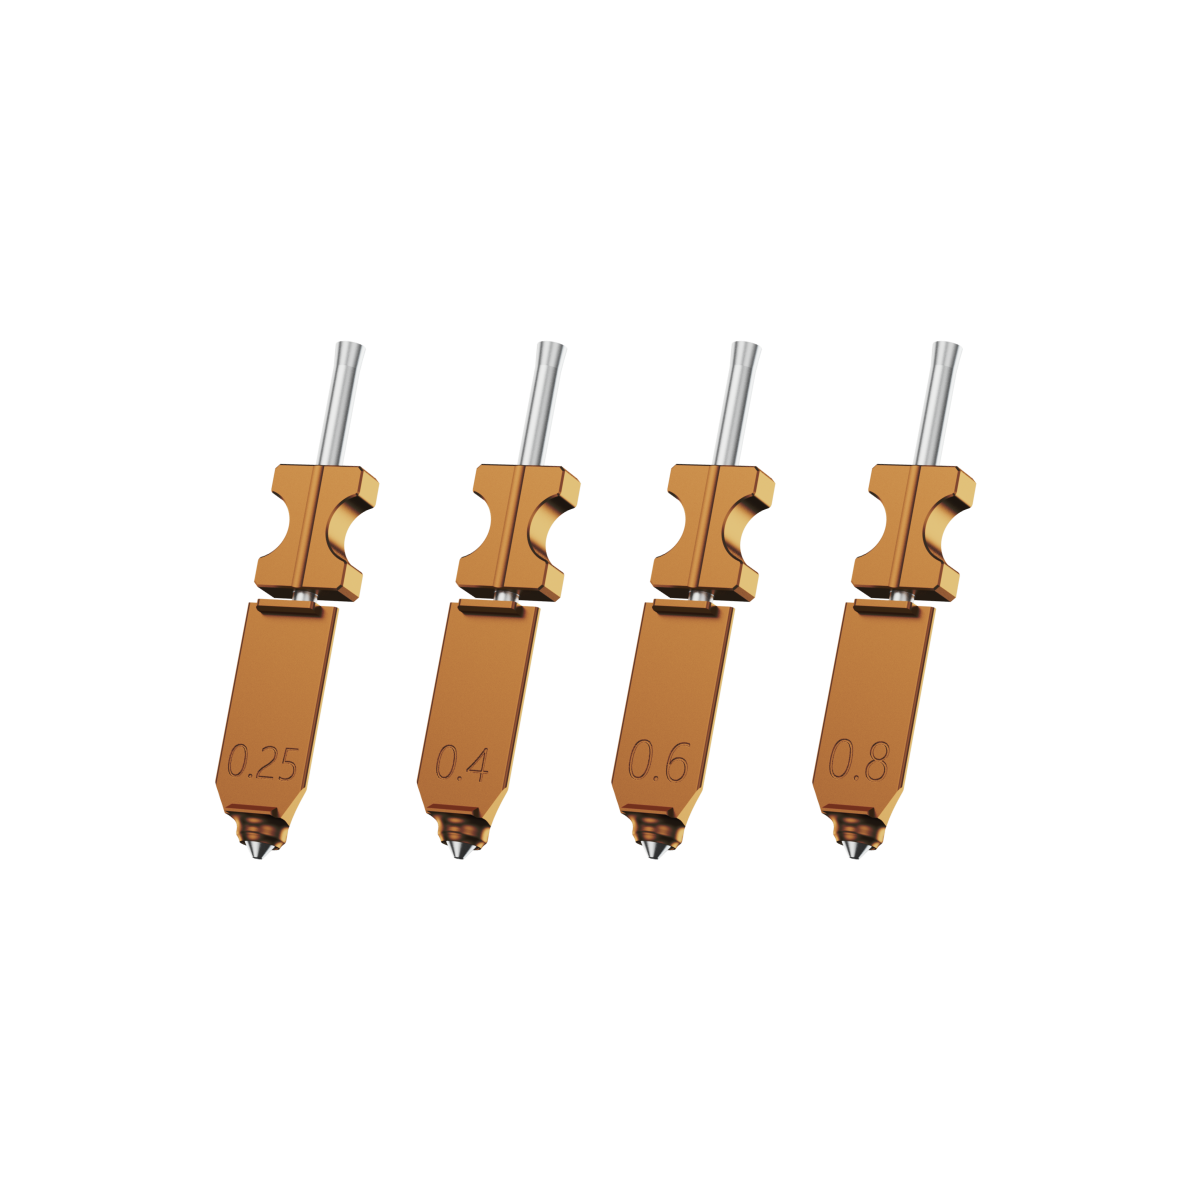
If you prioritize safety, lower costs, and easier maintenance, a stable enclosed FDM 3D printer is a practical choice. For instance, the Flashforge Adventurer 5M Pro uses a metal CoreXY structure and a fully enclosed casing. It reaches speeds of 600 mm/s and supports 0.25/0.4/0.6/0.8 mm quick-swap nozzles. You can use a 0.25 mm nozzle for detailed figures and switch to a larger nozzle for terrain or vehicles. Features like auto-leveling and vibration compensation help ensure details remain sharp while minimizing ringing.
Best Filaments and Resins for Durability
Detail is only the first step. Action figures must be playable. From a material science perspective, PLA and PETG are the most common filaments for FDM 3D printers.
-
PLA: Offers high tensile strength (50–70 MPa) and rigidity but low elongation. It is prone to brittle failure under impact.
-
PETG: Has slightly lower tensile strength (45–55 MPa) but much better impact toughness and ductility. It tends to bend before breaking, making it better for repeated mechanical movements.
PETG joints generally handle over-extension better than PLA. Although PETG may wear down over time due to friction, you can compensate with small amounts of lubricant or tighter fits.
For resin 3D printers, standard resins work for display models. However, toys with active joints require ABS-Like or Tough resins. These materials offer impact toughness and elasticity similar to nylon. They handle repeated operation without snapping, which is vital for wrists, weapons, and thin parts.
Regarding child safety, toys made from food-grade PLA or certified resins are generally safe for daily contact, provided they are fully cured. Parents should choose filaments that pass safety tests and avoid sharp edges or small parts that could detach. Reports indicate that PLA is suitable for light play, while PETG handles outdoor or high-impact scenarios better.
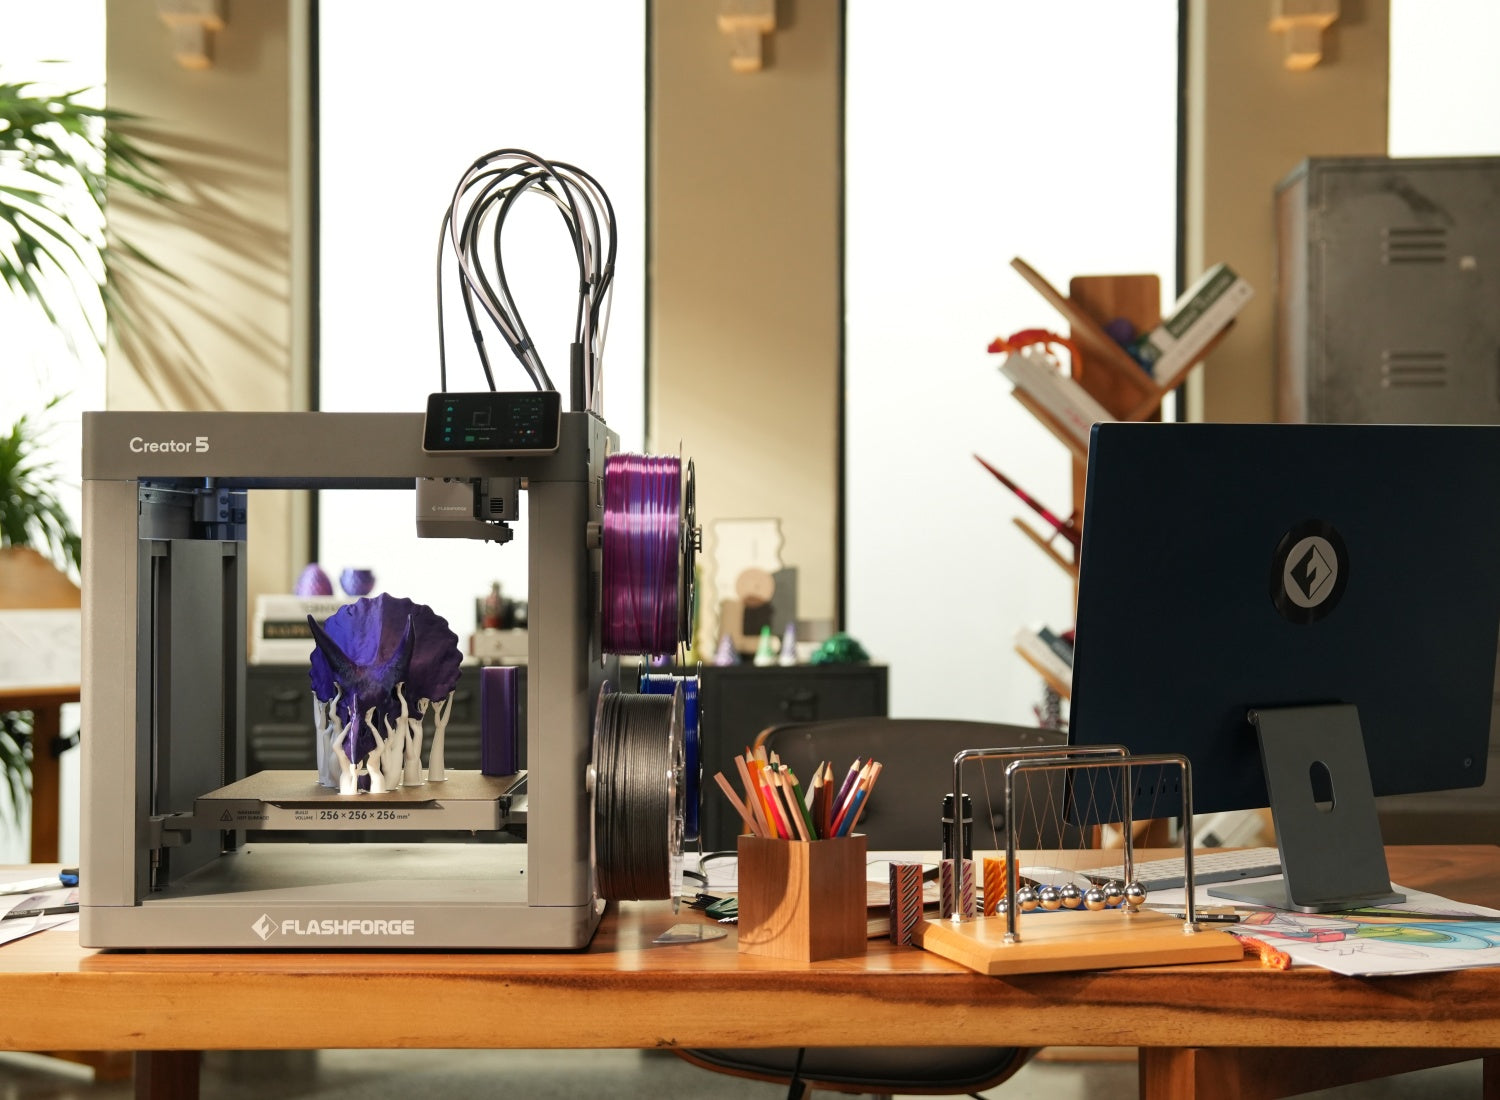
For studios that need a more controlled workflow, the Flashforge Creator 5 Pro is a practical upgrade. It keeps the four-toolhead workflow easy to manage through automatic calibration and leveling, while its enclosed frame and actively heated chamber up to 65°C support more demanding materials such as PC, PA, PC-ABS, and PPS-CF. These features are useful for durable prototypes, reinforced accessories, and small-batch figure production when basic PLA or PETG no longer meets the project requirements.
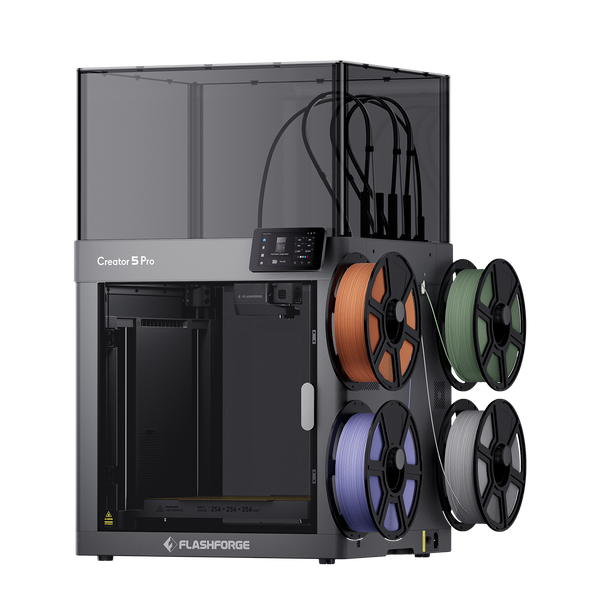
Flashforge Creator 5 Pro 4-Toolheads Enclosed Multi-Color 3D Printer | 500% Faster, Zero Purge Waste
Layer Height and Nozzle Size Considerations
Nozzle diameter and layer height define the detail limit of an FDM 3D printer. Layer height should stay within 25–80% of the nozzle diameter for a balance of speed and quality.
-
0.2 mm Nozzle: Best for 0.05–0.15 mm layer heights.
-
0.4 mm Nozzle: Best for 0.10–0.32 mm layer heights.
Community tests suggest that an 0.08 mm layer height on a 0.4 mm nozzle significantly improves detail. Dropping below 0.06 mm often yields diminishing visual returns while drastically increasing print time.
Use the following table as a guide for action figures:
|
Nozzle Diameter
|
Recommended Layer Height
|
Application
|
|
0.25 mm
|
0.06–0.13 mm
|
Head sculpts, hands, and fine accessories
|
|
0.40 mm
|
0.08–0.16 mm
|
Main figure body; balance of time and detail
|
|
0.60 mm
|
0.15–0.30 mm
|
Terrain, bases, and large gear
|
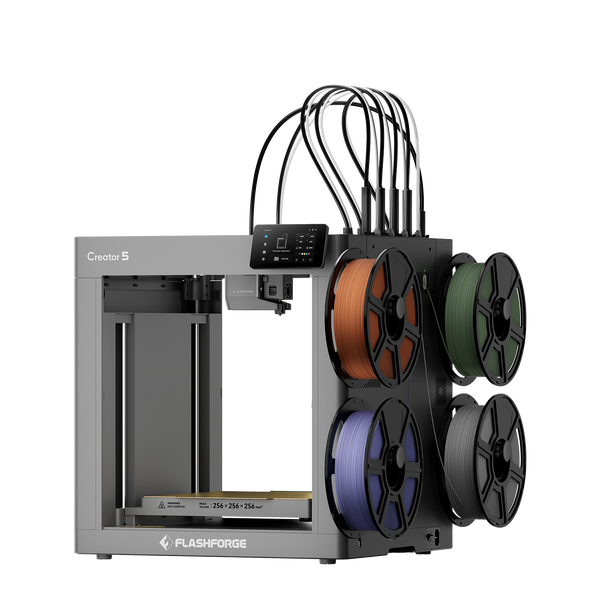
Flashforge Creator 5 4-Toolheads Multi-Color 3D Printer | 500% Faster, Zero Purge Waste
Print Settings That Improve Detail and Joint Smoothness
Once you select your design and equipment, slicer settings determine the final quality. Recent tests show that fine-tuning parameters on an FDM 3D printer can reduce stringing and layer issues, making post-processing much easier.
Layer Resolution and Print Speed Optimization
For action figures, layer height is the first parameter to optimize. Dropping from 0.2 mm to 0.1 mm on a 0.4 mm nozzle improves surface smoothness but doubles the time. Moving to 0.06–0.08 mm provides clearer details on faces and fabric folds, though the difference is most visible under close inspection.
Speed is also a factor for small details. It is best to use lower speeds for outer perimeters, such as 20–40 mm/s, to reduce ringing and blurred edges. On a high-performance FDM 3D printer like the Adventurer 5M Pro, you can still use high travel speeds and high infill speeds to save time. By setting the slicer to slow down only for the outer walls, you maximize efficiency without sacrificing detail.
Retraction and Cooling Settings
In small scales, stringing can ruin details in hair or between fingers. For direct-drive FDM 3D printers, a retraction distance of 0.5–1.5 mm is usually effective. For Bowden systems, a larger distance is required. To control stringing on 0.2 mm nozzles, try increasing retraction speed slightly, lowering the temperature, and ensuring the fan is at a high speed for small features.
For PLA action figures, use high fan speeds to help small features solidify quickly. This prevents issues like drooping noses. If a layer has a very small area, use the minimum layer time setting in your slicer. This forces the nozzle to wait until the layer cools before moving to the next. For materials like PETG or ABS, lower the fan speed to maintain layer adhesion.
Support Structures and Removal Techniques
Support structures impact the surface finish. When designing articulated models, try to avoid supports inside joints. Change the orientation to keep supports on the back or hidden surfaces. Use tree supports or reduce the interface contact area to make removal easier.
After removing supports, use 220–400 grit sandpaper to smooth the contact points. Apply a primer to check for hidden marks. You may need to repeat the fill-sand-prime cycle until the surface is perfect. For resin 3D printers, use flush cutters or a hobby knife to remove supports slowly. Do not pull them off by hand, as this can cause white stress marks or pits on thin parts.
Reducing Stringing and Surface Imperfections
Temperature control is essential for reducing surface defects. For PLA, high temperatures often lead to stringing. Print a temperature tower in 5°C increments to find the ideal setting for your specific FDM 3D printer. For PETG, low temperatures cause poor adhesion, while high temperatures cause oozing.
On the hardware side, features like linear advance and input shaping reduce ringing from high speeds. Enclosed FDM 3D printers like the Adventurer 5M Pro have vibration suppression that helps maintain sharp edges. On resin 3D printers, correct exposure times and proper support layouts prevent deep layer lines or surface wrinkling.
Post-Processing Techniques for Professional Results
Post-processing is a requirement for a professional finish. Sanding, priming, and painting can improve the look of an FDM 3D printer output by an order of magnitude.
Sanding and Surface Smoothing Methods
For FDM 3D printer parts, start with 220 or 320 grit sandpaper to remove large layer lines. Move to 400–600 grit and eventually 800–1000 grit for wet sanding. This creates a finish similar to injection-molded parts. Applying a neutral gray primer before sanding helps reveal imperfections.
For resin 3D printers, you usually only need to sand support marks. However, if you want a metallic or ceramic look, you can use multiple rounds of sanding and filling primer. Be careful not to sand through fine details on thin parts.
Joint Adjustment and Fit Refinement
Joints often need minor tuning after printing. If a joint is too tight, use a file or a drill bit to expand the hole slowly until the friction feels right. If a joint is too loose, apply a tiny amount of superglue or clear nail polish to the surface to increase friction.
Experienced creators sometimes add metal pins or screws to high-wear joints like shoulders or knees. The metal carries the load, while the 3D printed part serves as the outer shell. This hybrid structure extends the lifespan of the figure and prevents the joints from becoming loose over time.
Priming and Painting for Fine Details
A quality primer fills tiny pits and provides a uniform surface for paint. For FDM 3D printer parts, a thicker filler primer can hide most layer lines, making the final piece look like a mass-produced toy. For resin 3D printers, use thin layers of primer to avoid losing fine details. Once the primer is set, use sprays or hand-painting to add color, shadows, and highlights.
Assembly and Final Finishing Tips
Perform a dry fit before using any glue. Ensure all joints move correctly and parts align. Use small amounts of plastic glue or epoxy for non-moving parts. Avoid permanent adhesives on joints that might need future adjustment.
Finally, apply a clear matte or semi-gloss topcoat. This protects the paint from wear during handling and gives the figure a consistent feel. Avoid heavy paint on joint contact surfaces to prevent sticking. A thin layer of dry lubricant inside joint sockets can also improve the feel of movement.
From Resin to FDM: Balancing Detail and Playability
In the past, great detail was synonymous with resin 3D printers. However, recent FDM 3D printers have bridged the gap for miniatures. A 2024 experiment on the Flashforge Adventurer 5M compared several character models printed with a 0.4 mm nozzle against resin versions.
The results showed that while resin still wins on absolute detail, the FDM 3D printer output was close enough for tabletop gaming. With proper sanding and painting, it is hard to tell the difference at a distance. The takeaway for many creators is a hybrid approach: use FDM 3D printers for the body and joints to ensure strength, and use resin 3D printers for highly detailed head sculpts and hands.
Conclusion
Creating an articulated action figure with smooth joints and high detail is an achievable goal for any creator in 2026. The 3D printing market for miniatures is growing rapidly. Demand for personalized, high-detail figures is high. This offers a major opportunity for those willing to master design, tolerances, and post-processing.