


Table of Contents
Infill is one of the most important slicer settings in FDM 3D printing. It controls the internal structure of a printed object and affects its strength, weight, print time, and 3D printer filament consumption.
A higher infill percentage does not always produce a better part. A decorative model may only need a light internal structure. A household tool may need moderate reinforcement. A mechanical prototype may require denser infill, but its walls, print orientation, and material still matter.
This guide explains what infill is, how common patterns work, and how to choose practical settings for different types of 3D prints.
What Is Infill in 3D Printing?
Infill is the structure printed inside a 3D model. It sits between the outer walls and supports the layers above it.
Most FDM parts are not printed as solid blocks. Instead, the printer creates an external shell and fills the interior with a lighter pattern. This reduces weight, saves filament, and shortens print time.
The Flashforge guide to FDM 3D printing explains that printed parts commonly combine an outer shell with a lower-density internal structure. A typical desktop starting point is around 20% infill with a suitable shell thickness.
Walls and infill serve different purposes. Walls form the visible exterior and carry much of the load applied to the surface. Infill supports the internal volume, connects different sections of the part, and prevents upper layers from sagging.
This distinction matters. Increasing infill can improve internal support, but it cannot compensate for thin walls, poor orientation, or an unsuitable filament.

How Infill Density Works
Infill density describes how much of a model's internal volume is filled with material. It is usually expressed as a percentage.
A low percentage leaves more open space inside the part. A higher percentage places the internal paths closer together. This creates a denser structure, but it also increases filament use, weight, and print time.
The right setting depends on the model. A display piece, storage box, cosplay helmet, and mechanical prototype should not use the same density.
Understanding 0% Infill for Hollow Prints
Without infill, the printer creates only the outer shell of the model and any required top or bottom layers, leaving the interior largely hollow.
This can work for decorative shells, selected vase-style designs, and lightweight display models. However, the part still needs suitable walls. A closed model may also need enough support below its top layers.
A wide upper surface can sag when nothing supports it from below. A tall shell can deform when its walls are too thin.
Check the slicer preview before printing. Use 0% infill only when the geometry can support itself and strength is not a priority.
When to Use 20% Infill for Everyday Models
Around 20% infill is a practical starting point for many standard FDM prints.
It often provides enough internal support for storage boxes, desk organizers, decorative objects, and simple household parts without making them unnecessarily heavy.
Beginners can use these projects to compare patterns and density settings without consuming excessive filament. When comparing options for the best budget 3D printer, it is also worth checking whether the machine makes routine slicing and nozzle changes easy to manage.
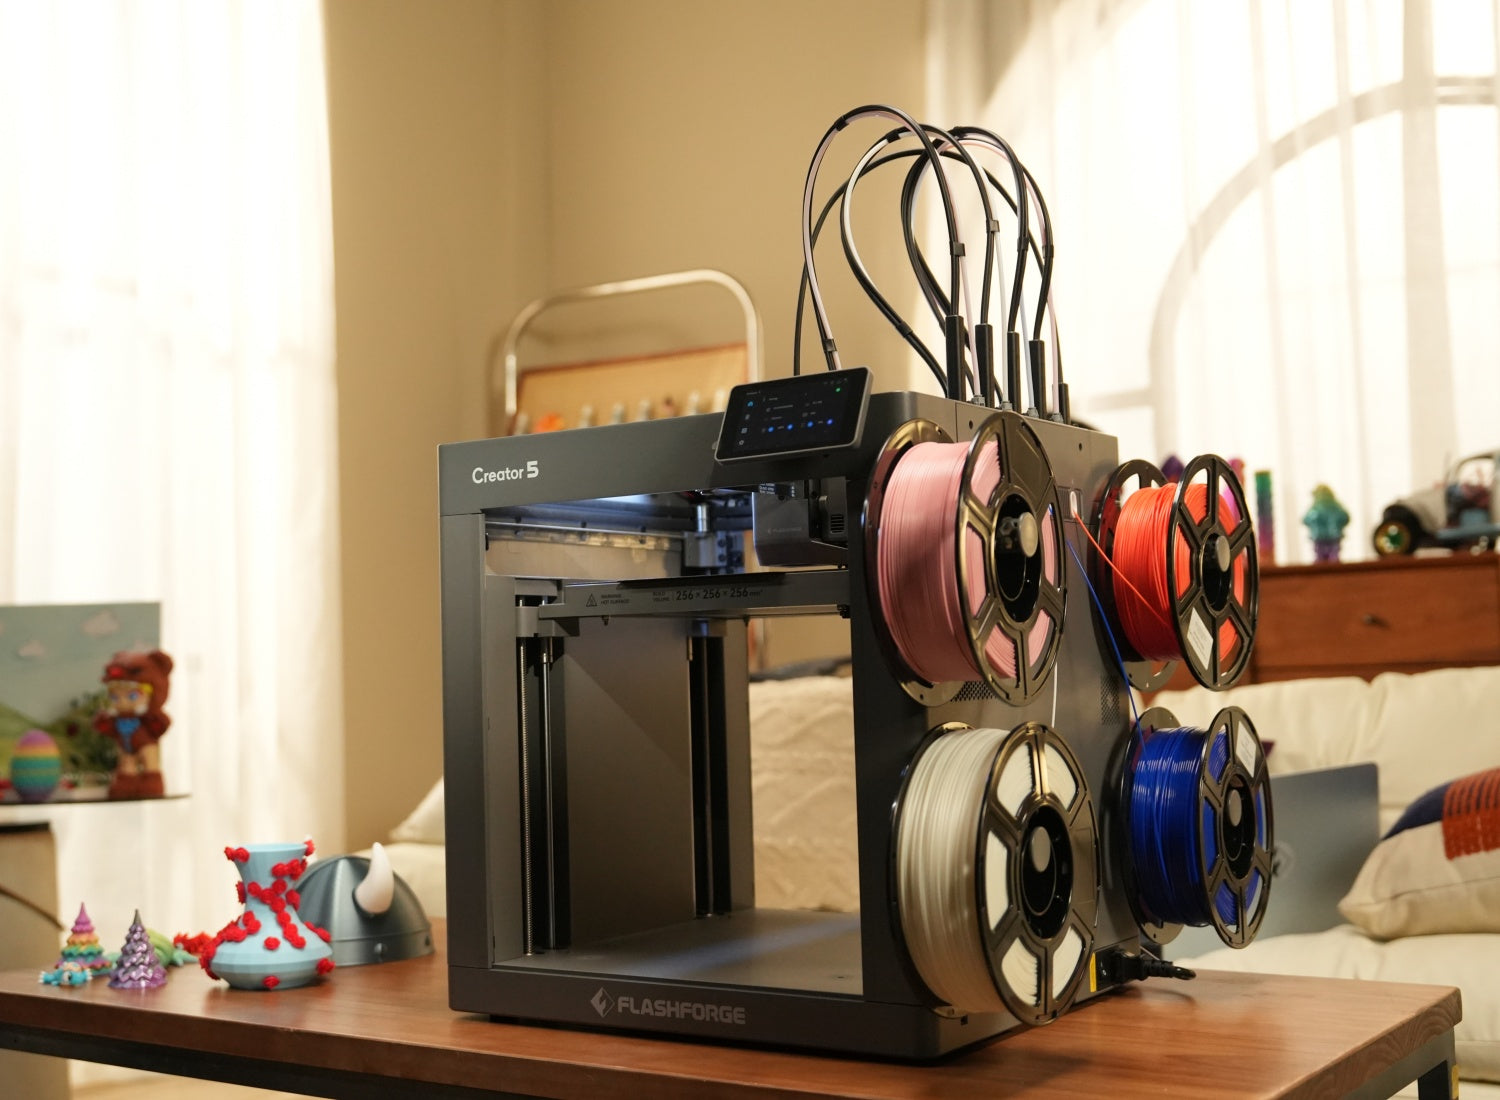
The Flashforge Adventurer 5M provides a 220 × 220 × 220 mm build volume, automatic leveling, and a quick-detach nozzle system. This makes it a practical option for testing common infill settings on everyday models.
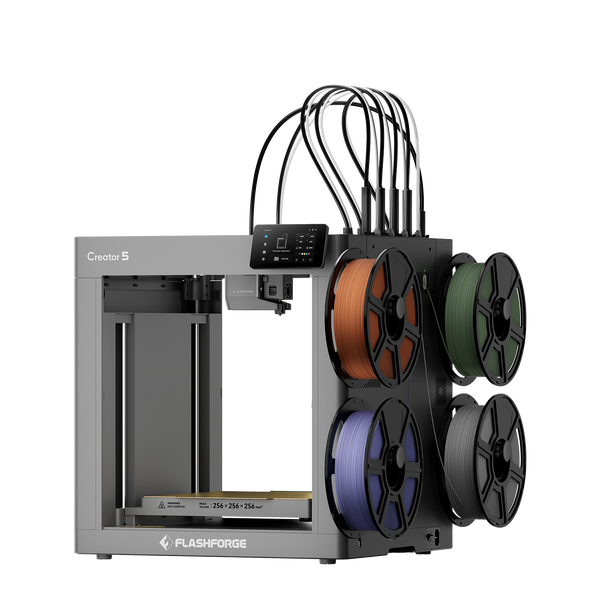
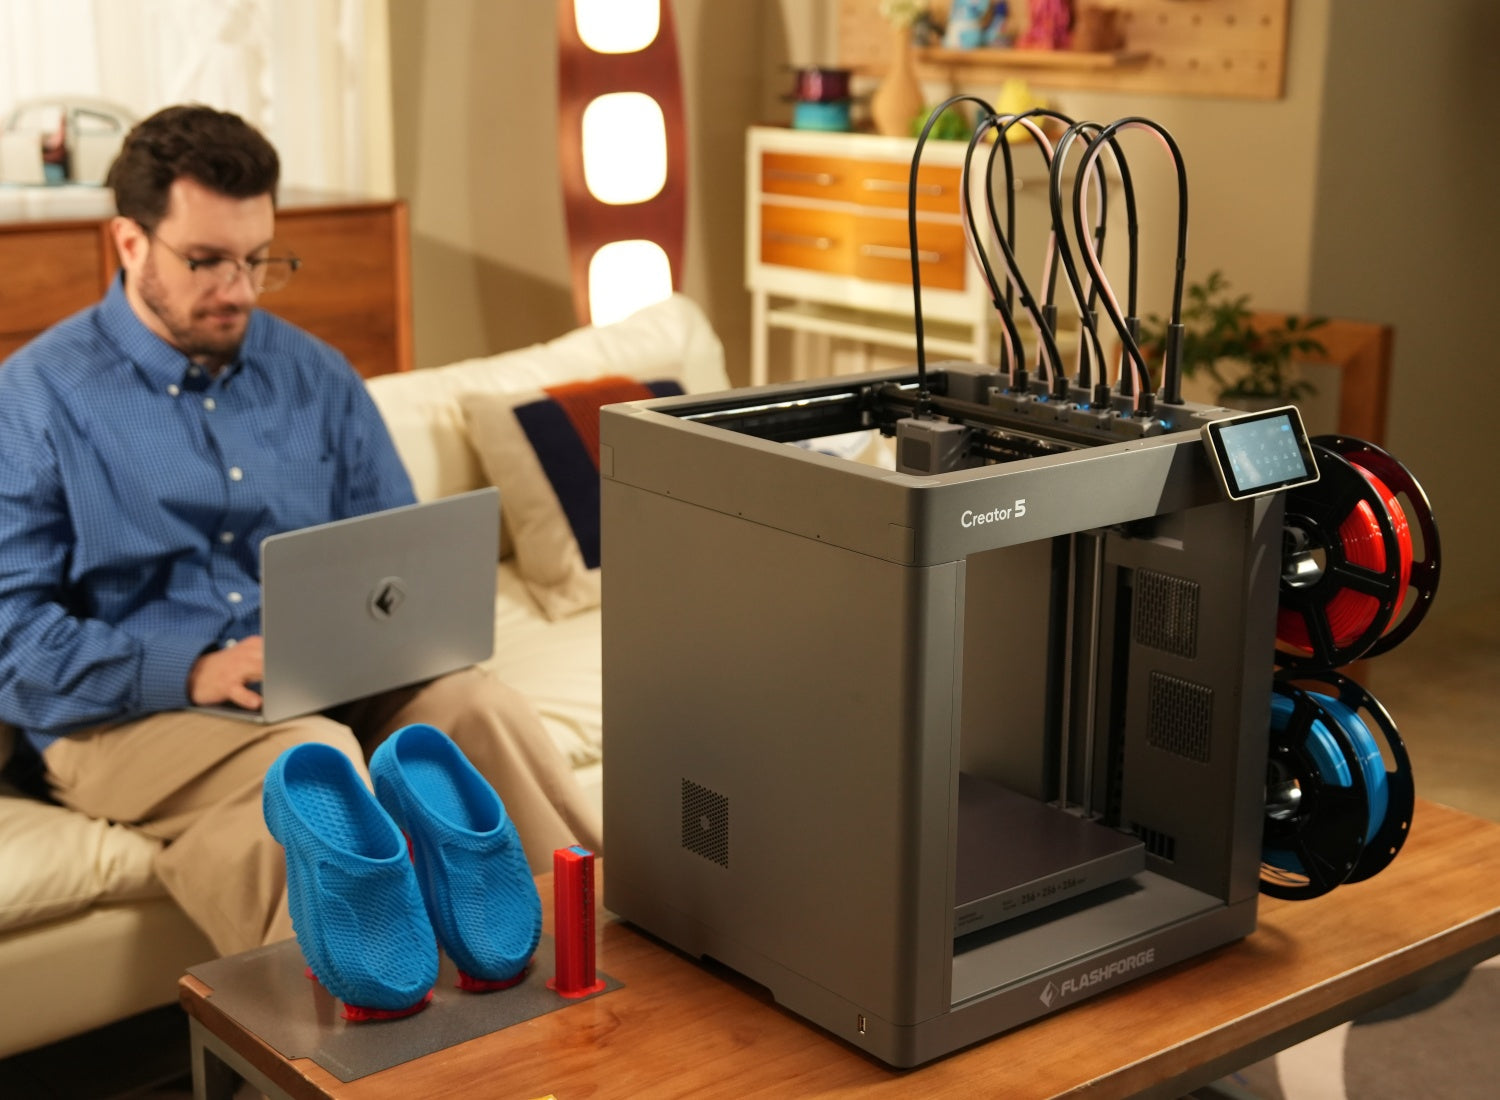
Flashforge Creator 5 4-Toolheads Multi-Color 3D Printer | 500% Faster, Zero Purge Waste
Treat 20% as a starting point rather than a fixed rule. A lightweight display object may need less. A tool exposed to repeated stress may need more.
Why Higher Infill Has Diminishing Returns
Increasing infill density usually improves internal support, but the benefit does not rise at the same rate forever.
Moving from a sparse structure to a moderate density can make a noticeable difference. Moving from an already dense interior to an even denser one often adds substantial weight and print time without delivering an equally large improvement.
A 50% setting can make sense for functional parts that experience higher loads. It is less useful for a decorative model that only needs enough support to print cleanly.
Before increasing density, check whether thicker walls, a better print orientation, or a more suitable pattern would improve the part more efficiently.
When 100% Infill Is Necessary for Solid Parts
A 100% infill represents the highest density setting available in most slicers, creating a nearly solid internal structure.
This can be useful for selected compact parts, fixtures, inserts, or prototypes that need a dense core for a specific reason. It is not the default choice for general printing.
Solid parts use more filament, take longer to print, and weigh more. They can also introduce new problems, including uneven cooling and dimensional changes.
Use 100% infill only when the application requires it. Test the part under realistic conditions and confirm that a lower density with stronger walls cannot achieve the same result.
Common 3D Printing Infill Patterns Explained
Density controls how much material is printed inside the model. The pattern controls how that material is arranged.
Pattern availability varies by slicer. No single pattern is best for every object. The right choice depends on the load direction, print time, weight, and level of internal support required.
Grid Infill
Grid infill uses intersecting lines to create a regular square structure.
It is easy to understand and suitable for general-purpose printing. It provides internal support in more than one direction and works well for household objects, basic prototypes, and models that do not require specialized mechanical performance.
Grid is a reliable starting point for beginners.
Gyroid Infill
Gyroid infill creates a continuous, wave-like internal structure.
Its curved paths distribute material throughout the interior without relying on simple line intersections. This makes it useful when a model experiences forces from several directions or when a balanced strength-to-weight ratio matters.
Gyroid is often used for functional prints, flexible parts, and prototypes. It is not automatically the strongest choice for every model. The result still depends on the density, geometry, filament, and print orientation.
Honeycomb Infill
Honeycomb infill usually refers to a repeating hexagonal cell structure.
It is different from gyroid. Honeycomb uses connected cells, while gyroid uses a continuous three-dimensional path.
Honeycomb can provide a useful balance between rigidity and material efficiency. However, its more complex toolpath may take longer to print than simpler patterns.
Choose honeycomb when a cell-based structure suits the project. Choose gyroid when balanced support across several directions is more important.
Cubic and Triangle Patterns
Cubic infill creates a three-dimensional internal structure that supports the part across several directions. It is a useful option for prototypes and functional objects.
Triangle infill uses repeated triangular paths to form a rigid internal network. The Flashforge guide to printing stronger FDM parts explains that pattern choice affects both mechanical performance and print time.
Cubic and triangle patterns are relevant when strength matters more than the shortest possible print time. They still need suitable walls and orientation.
Lines and Lightning Infill for Fast Printing
Lines infill uses a simple directional structure. It prints quickly and consumes less material than more complex patterns.
It works well for visual prototypes, lightweight objects, and models that only need basic internal support.
Lightning infill uses a sparse branching structure to support the upper layers while leaving much of the interior open.
This pattern is useful for decorative models and draft prints. It is not suitable for parts that need consistent strength throughout the interior.

How to Choose the Right Infill
Choosing the best 3D printer for a project is only one part of the decision. The infill density and pattern still need to match the model's purpose, expected loads, and limits on weight, print time, and material use.
Instead of selecting the densest option automatically, choose a setting that meets the actual requirements of the project.
Balancing Strength, Weight, Time, and Cost
Every increase in infill density creates a trade-off between strength, material consumption, and printing efficiency.
As infill density increases, the model generally gains more internal support. However, it also requires more filament and longer print times. Lower-density prints are lighter, faster, and less expensive to produce, but they may not hold up as well under repeated loads or demanding use conditions.
For decorative models, prioritize surface quality and efficiency. For household objects, use a moderate density and confirm that the walls are thick enough. For mechanical parts, test several settings under realistic loads.
Pattern choice also affects the result. Lines and lightning reduce print time and material use. Grid provides a dependable general-purpose option. Gyroid and cubic offer more balanced reinforcement. Triangle patterns can work well for rigid functional parts.
Avoid optimizing one variable in isolation. A fast print that fails during use is not efficient. A nearly solid object that consumes unnecessary filament is not efficient either.
How Material Type Affects Your Choice
Each type of 3D printer filament responds differently to stress, heat, and impact. Infill settings should therefore be considered together with material choice.
PLA is easy to print and works well for display models, organizers, and basic concept parts. Its rigidity can be useful, but it may not be the best choice when impact resistance or heat exposure matters.
PETG offers a different balance. It is often used for practical parts that need durability, moisture resistance, or moderate flexibility.
ABS provides toughness and improved heat resistance, but it needs more careful temperature control. An enclosed printing environment can help reduce warping and improve dimensional consistency.
Material choice does not replace infill planning. The filament, shell design, orientation, and density should work together.
Common Beginner Mistakes with Infill Settings
Most beginner mistakes come from treating one slicer setting as the solution to every strength problem. Instead, consider infill, walls, print orientation, and filament together.
Using Excessively High Infill Density
Beginners often increase infill to 80% or 100% because a nearly solid object feels safer.
This can waste material and extend print time without solving the actual weakness. If the walls are too thin or the model is oriented poorly, a denser core may not prevent failure.
Start with a moderate density. Increase it only when the use case requires more internal support and testing confirms the benefit.
Choosing the Wrong Pattern for the Model
A draft print and a mechanical bracket do not need the same pattern.
Lines and lightning can work for visual models. Grid is suitable for everyday use. Gyroid, cubic, and triangle patterns are more relevant when internal reinforcement matters.
The best choice also depends on the direction of the load. A pattern that performs well in one model may behave differently in another.
Ignoring Print Time and Material Costs
A higher infill percentage increases filament use and print duration, so it is important to consider the trade-off before adjusting the setting.
The impact becomes more noticeable with large objects, repeat production runs, and lengthy prototype projects. While a small increase in infill may be reasonable for a compact bracket, the same adjustment can significantly increase both print time and material consumption for a large cosplay prop.
For this reason, it is worth reviewing the slicer's estimated print time and filament usage before starting the print.
Confusing Infill Strength with Shell Strength
Infill is only one part of a printed structure, and focusing on it alone can give a misleading picture of overall strength.
The shell—including the outer walls, top layers, and bottom layers—also plays a critical role. These sections often carry much of the external load and largely determine how well the part resists bending and impact.
A part with thin walls and high infill may still perform poorly. In many cases, adding walls is more effective than pushing the infill percentage close to 100%.
When strength matters, review the wall count, print orientation, filament, and layer bonding before increasing density.
Recommended Infill Settings for Popular Projects
The following values are starting points. Adjust them according to the geometry, nozzle size, filament, slicer, and intended use.
| Project Type | Starting Infill Density | Suitable Patterns | Main Consideration |
| Miniatures and display models | 10% to 20% | Lines, grid, or lightning | Prioritize surface quality and shorter print times |
| Household tools and functional parts | 20% to 40% | Grid, gyroid, or cubic | Balance strength, weight, and filament use |
| Large cosplay props and helmets | 10% to 20% | Lines, grid, or lightning | Keep the model lightweight and reinforce key seams |
| Mechanical and load-bearing components | Start around 50% and test | Triangle, cubic, or gyroid | Validate walls, orientation, material, and actual performance |
Miniatures and Display Models
Display models usually need enough infill to support the upper surfaces and maintain a clean exterior.
A density between 10% and 20% is often a reasonable starting point. Lines, grid, and lightning patterns can reduce material use and print time.
For decorative objects, surface quality matters more than a dense interior. Focus on layer height, support placement, and visible details.
Household Tools and Functional Parts
Household tools, organizers, holders, and simple brackets usually need more internal support than display models.
Start between 20% and 40%. Compare grid, gyroid, and cubic patterns. Increase the density only when the model needs additional reinforcement.
Check the walls first. A stronger shell may improve performance more efficiently than a much denser interior.
Large Cosplay Props and Helmets
Cosplay props and helmets should remain light enough to wear, carry, and assemble.
Start with a lower density, usually around 10% to 20%. Lines, grid, and lightning patterns can provide enough internal support while keeping the model relatively light.
Reinforce seams, connection points, and thin edges in the design. Excessive infill adds weight and print time without necessarily making the object easier to use.
Mechanical and Load-Bearing Components
When evaluating mechanical and load-bearing components, remember that infill density is only one factor in overall part performance.
Start around 50% when a prototype needs to handle higher loads, then validate the result through testing. Wall thickness, print orientation, filament choice, and layer bonding all affect the final performance.
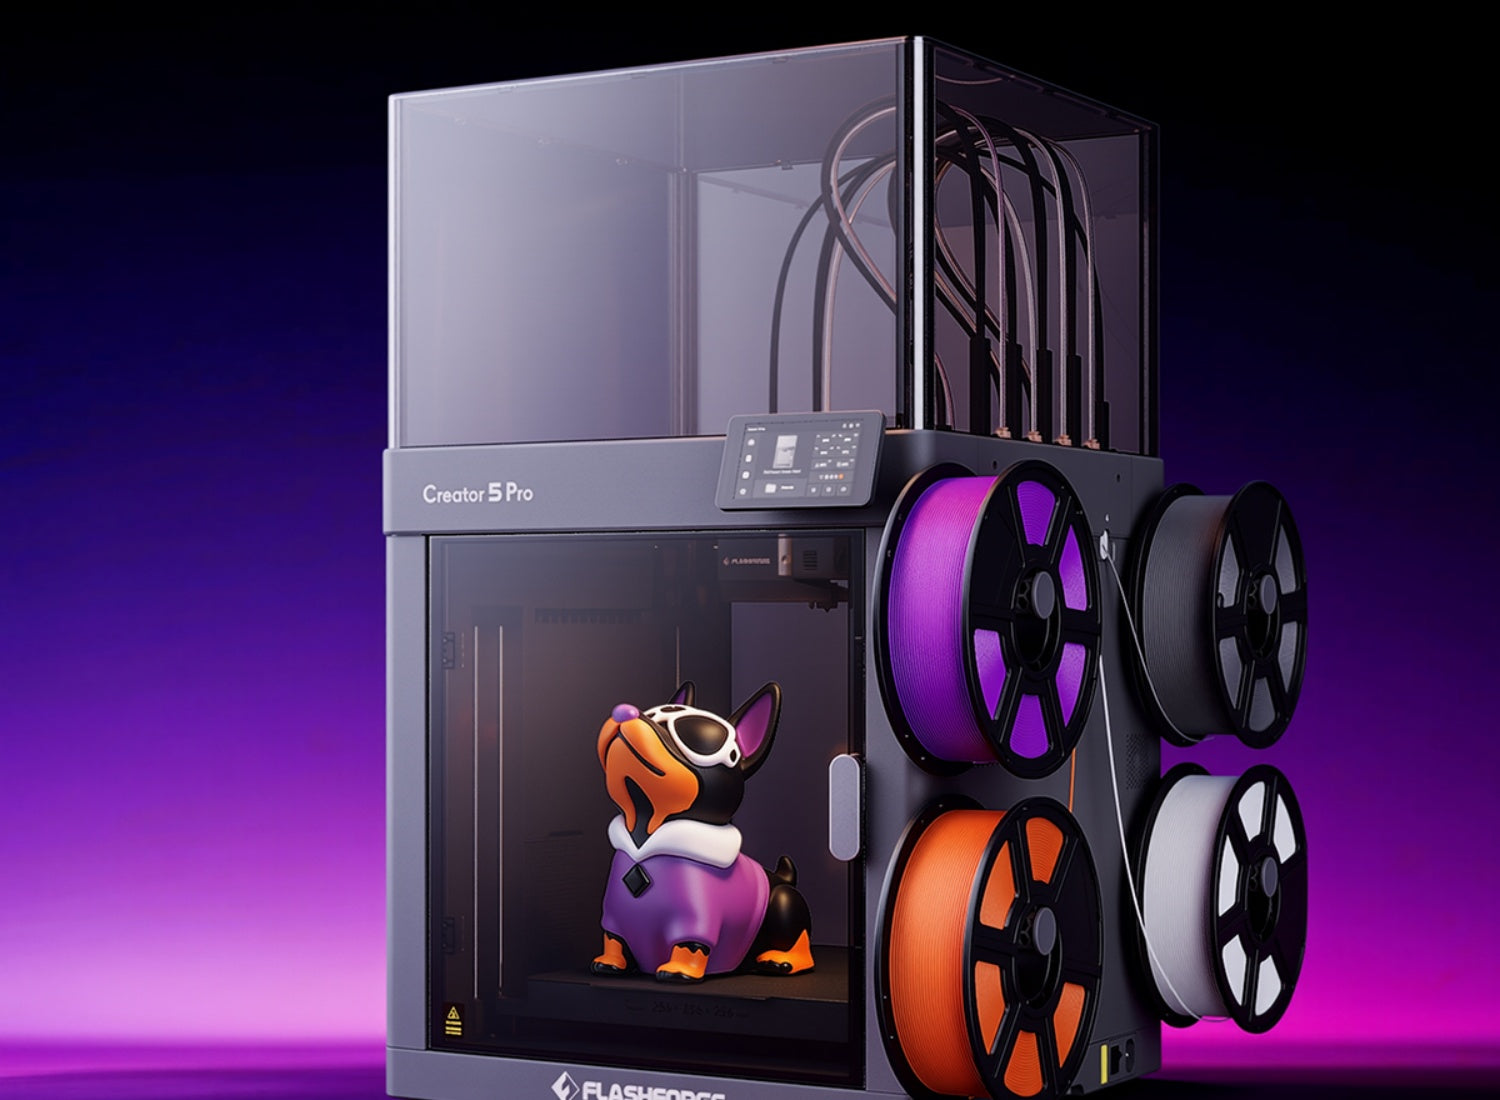
When a functional prototype requires engineering filaments, the Flashforge Creator 5 Pro provides a fully enclosed frame and an actively heated chamber up to 65°C. Its official specifications list support for PC, PA, PC-ABS, and PPS-CF in enclosed printing conditions. This makes it relevant for engineering prototypes and selected functional-part workflows.
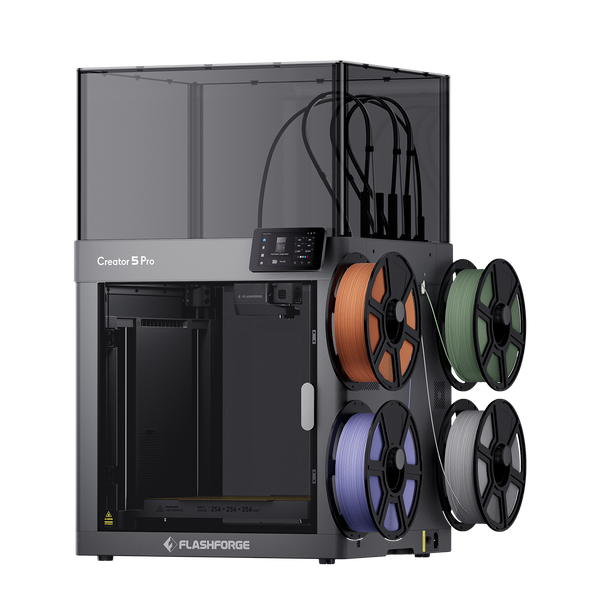
Flashforge Creator 5 Pro 4-Toolheads Enclosed Multi-Color 3D Printer | 500% Faster, Zero Purge Waste
Do not use an untested printed part in a safety-critical application. Confirm its performance under the actual load, temperature, and operating conditions.
Conclusion
Infill is the internal structure of a 3D-printed object. It affects strength, weight, filament use, and print time.
For most FDM prints, 20% infill is a good starting point. Use lower densities for decorative models and higher densities for functional parts when needed. Choose simple patterns for faster printing, or gyroid, cubic, and triangle patterns for greater internal support. The best setting provides enough strength without wasting material or time.
FAQ About Infill in 3D Printing
What is the best infill percentage for 3D printing?
There is no single percentage that works for every model.
Around 20% is a practical starting point for everyday FDM prints. Decorative objects may need less. Functional parts may need 20% to 50% or more, depending on their walls, orientation, filament, and expected load.
Test the part before increasing the density automatically.
Which infill pattern is the strongest?
There is no universal strongest pattern.Triangle, cubic, and gyroid infill are useful options for functional prints. The best choice depends on the load direction, density, filament, geometry, and layer orientation.
Print test samples and compare their performance under realistic conditions.
Does higher infill make prints heavier?
Yes. Higher infill places more material inside the model. This increases weight, filament consumption, and print time.
Use only the density required for the application. A lightweight object with suitable walls is often more practical than a nearly solid print.
Is 100% infill necessary?
Usually not. A 100% setting can help with selected compact parts that need a dense core, but it is unnecessary for most decorative models, household objects, and general prototypes.
Before using solid infill, check whether stronger walls, a better orientation, or a more suitable filament can provide the required performance.
What infill should beginners use?
Start with around 20% infill and a grid pattern. This provides a useful baseline for common models. After the first print, compare the result with a lower or higher density when the project requires less weight or more reinforcement.
Learn how walls, orientation, and filament affect the finished object before relying on infill density alone.