


For most PLA prints, a good starting bed temperature is 50°C to 60°C. This range gives PLA enough first-layer adhesion without making the bottom layers too soft. If the print sticks well at 50°C, there is usually no need to raise the bed temperature. If corners lift or the first layer releases during printing, increasing the bed temperature by 5°C at a time can help.
PLA is one of the easiest 3D printing materials, but bed temperature still affects first layer quality, warping, elephant foot, and long print reliability. Flashforge’s guide on how to use a 3D printer for different filaments lists PLA as a low-temperature material and notes that PLA commonly prints with a bed temperature around 50°C. Flashforge HS PLA also lists a build plate temperature range of 25°C to 60°C, which supports using 50°C to 60°C as a practical starting range for most PLA workflows.
What Bed Temperature for PLA Works Best?
The best PLA bed temperature depends on the filament, build surface, first layer height, room temperature, and print size. Start with a moderate bed setting, then adjust only when you see a clear adhesion or surface problem.

Best PLA Bed Temperature Starting Range
For most PLA filament, start with a bed temperature of 50°C to 60°C. This range works well on many PEI, glass, and textured build surfaces. It helps the first layer grip the bed while keeping the bottom layers firm enough to avoid over-softening. Your final setting may also depend on the exact 3d printer filament you use, because different PLA blends can have slightly different adhesion and temperature behavior.
If your printer profile already includes a PLA bed temperature, use that as the first test. Then adjust based on the first layer result instead of changing several settings at once.
When 50°C Is Enough for PLA
A 50°C bed is often enough when you print small PLA parts, use a clean PEI plate, and have a well leveled bed. It is also a good choice when your printer is in a stable room without cold drafts.
Use 50°C when the first layer lays down smoothly, corners stay flat, and the part releases cleanly after cooling. If the print succeeds at 50°C, raising the bed temperature may not improve quality.
When to Raise PLA Bed Temperature
Raise PLA bed temperature when the first layer does not stick, corners start to curl, or a long print releases before finishing. Increase the bed temperature in small steps, usually 5°C at a time.
For example, move from 50°C to 55°C, then to 60°C if needed. Avoid jumping straight to a very hot bed because too much heat can cause elephant foot, soft bottom layers, and a rougher lower surface.
3D Printer Bed Temperature for PLA by Build Surface
PLA behaves differently on each build surface. A clean PEI plate may work at a lower temperature, while glass or textured surfaces may need slightly more tuning.

PLA Bed Temperature on PEI Plates
For PLA on PEI plates, start around 50°C to 55°C. PEI usually provides strong first layer grip, so PLA often does not need a high bed temperature.
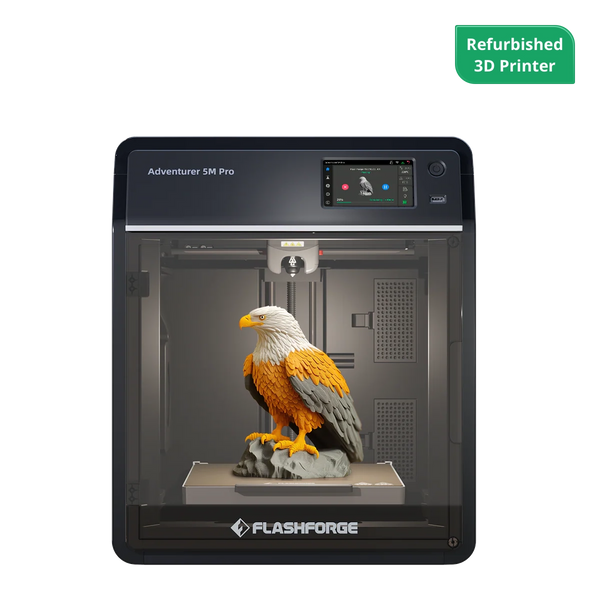
The Flashforge Adventurer 5M Pro uses a flexible removable PEI steel plate, and Flashforge describes its PEI platform as supporting strong adhesion during printing and easier removal after cooling. This makes PEI a practical build surface for users testing PLA bed temperature settings.
PLA Bed Temperature on Glass Beds
For PLA on glass beds, start around 55°C to 60°C. Glass can provide a smooth bottom finish, but PLA may need slightly more heat to hold well across larger flat parts.
Let the bed heat fully before printing. Glass takes time to reach an even surface temperature, so starting too soon can cause weak adhesion even when the printer reports the correct temperature.
PLA Bed Temperature on Textured Surfaces
For PLA on textured build surfaces, start around 55°C. Textured plates can improve mechanical grip, but they also require the first layer to press into the texture evenly.
If adhesion is weak, do not only raise temperature. Check Z offset, first layer speed, and bed cleanliness. A textured plate with poor first layer height may still fail even at 60°C.
PLA Bed Temperature With Adhesives
If you use glue stick or another adhesive aid, start at 50°C to 55°C. Adhesive can help PLA stick, but too much adhesive and too much heat may make the bottom surface messy.
Use adhesives only when needed. A clean PEI plate and correct first layer setup can often print PLA without glue, especially on smaller and medium sized parts.
How PLA Bed Temperature Affects Print Quality
PLA bed temperature affects more than whether the part sticks. It can also change the bottom surface, dimensional accuracy, and long print reliability.

First Layer Adhesion and Warping
A bed that is too cool can cause weak first layer adhesion. PLA may not bond well to the build surface, and corners may lift as the print cools.
Flashforge’s troubleshooting guidance notes that low bed temperature or a dirty bed can reduce adhesion, and that increasing bed temperature and cleaning the print area can help improve first layer results.
Elephant Foot and Soft Bottom Layers
A bed that is too hot can make the lower layers stay soft for too long. This may cause elephant foot, where the bottom of the print spreads outward and becomes wider than the rest of the model.
If you see elephant foot, lower the PLA bed temperature by 5°C, check first layer height, and avoid over-compressing the first layer. The goal is firm contact, not excessive squish.
Bed Temperature PLA Problems During Long Prints
PLA may stick well at the beginning but release later during a long print. This can happen when the bed temperature is too low, the surface is dirty, the first layer is uneven, or the print is exposed to drafts.
For long PLA prints, keep the bed temperature stable and avoid placing the printer near open windows, air conditioners, or fans. A stable environment is often as important as the exact bed temperature.
Room Temperature and Drafts
Cold air can cool the print unevenly and cause lifting, especially on larger PLA parts. Even though PLA is less warp-prone than ABS, drafts can still create first-layer problems.
If a print only fails in one corner, check whether that side of the printer is near a cold airflow path. Fixing the room condition may work better than raising the bed temperature too much.
How to Adjust PLA Bed Temperature Step by Step
PLA temperature tuning should be simple. Start with a standard test, adjust one setting at a time, and watch the first layer closely.
Start With a 50°C Test Print
Begin with a 50°C bed and print a small first-layer test. Use the same PLA filament, build plate, and slicer profile you plan to use for real projects.
Watch whether the filament lines bond to the bed, touch each other cleanly, and stay flat. If the first layer looks even and the part does not lift, 50°C may be enough.
Increase by 5°C When Adhesion Is Weak
If PLA does not stick well, increase the bed temperature by 5°C. Move from 50°C to 55°C, then to 60°C if needed.
Do not raise bed temperature before checking the basics. A dirty plate, wrong Z offset, or first layer speed that is too fast can cause the same symptoms as a bed that is too cool.
Lower the Bed Temperature for Elephant Foot
If the bottom edges spread outward, lower the bed temperature by 5°C. You can also reduce first layer flow, adjust Z offset, or add a small elephant foot compensation setting in the slicer.
For PLA, hotter is not always better. The best bed temperature is the lowest setting that still gives reliable adhesion.
Keep Cooling Balanced After First Layers
PLA normally benefits from cooling after the first few layers. Keep the fan low or off for the first layer if adhesion is difficult, then allow normal PLA cooling after the base is secure.
Balanced cooling helps maintain detail, overhangs, and surface quality without weakening the first layer.
How to Choose the Right 3D Printer for PLA Printing
The best 3d printer for PLA should make first layer setup simple, stable, and repeatable. Bed leveling, build surface, cooling, speed stability, and print monitoring all affect the final result, especially when you want clean PLA prints without constant manual adjustment.
Look for Easy Bed Leveling and First Layer Setup
Choose a printer with automatic leveling if you want a simpler PLA workflow. Bed leveling controls the nozzle distance from the build surface, which directly affects adhesion and first layer smoothness.
The Flashforge Adventurer 5M is a good fit for users who want easier PLA printing because it uses Automatic Datum Management for real-time adjustments and auto-leveling. Flashforge describes this system as reducing manual calibration and helping reduce issues like warping and poor adhesion.
The Flashforge Adventurer 5M Pro is another strong choice for home, education, and small studio users who want a more enclosed workflow with full auto leveling, PEI build plate support, camera monitoring, and stable CoreXY motion.
Choose a PEI Build Plate for Better Adhesion
A PEI build plate is one of the easiest surfaces for PLA because it helps the first layer stick during printing and releases parts more easily after cooling.
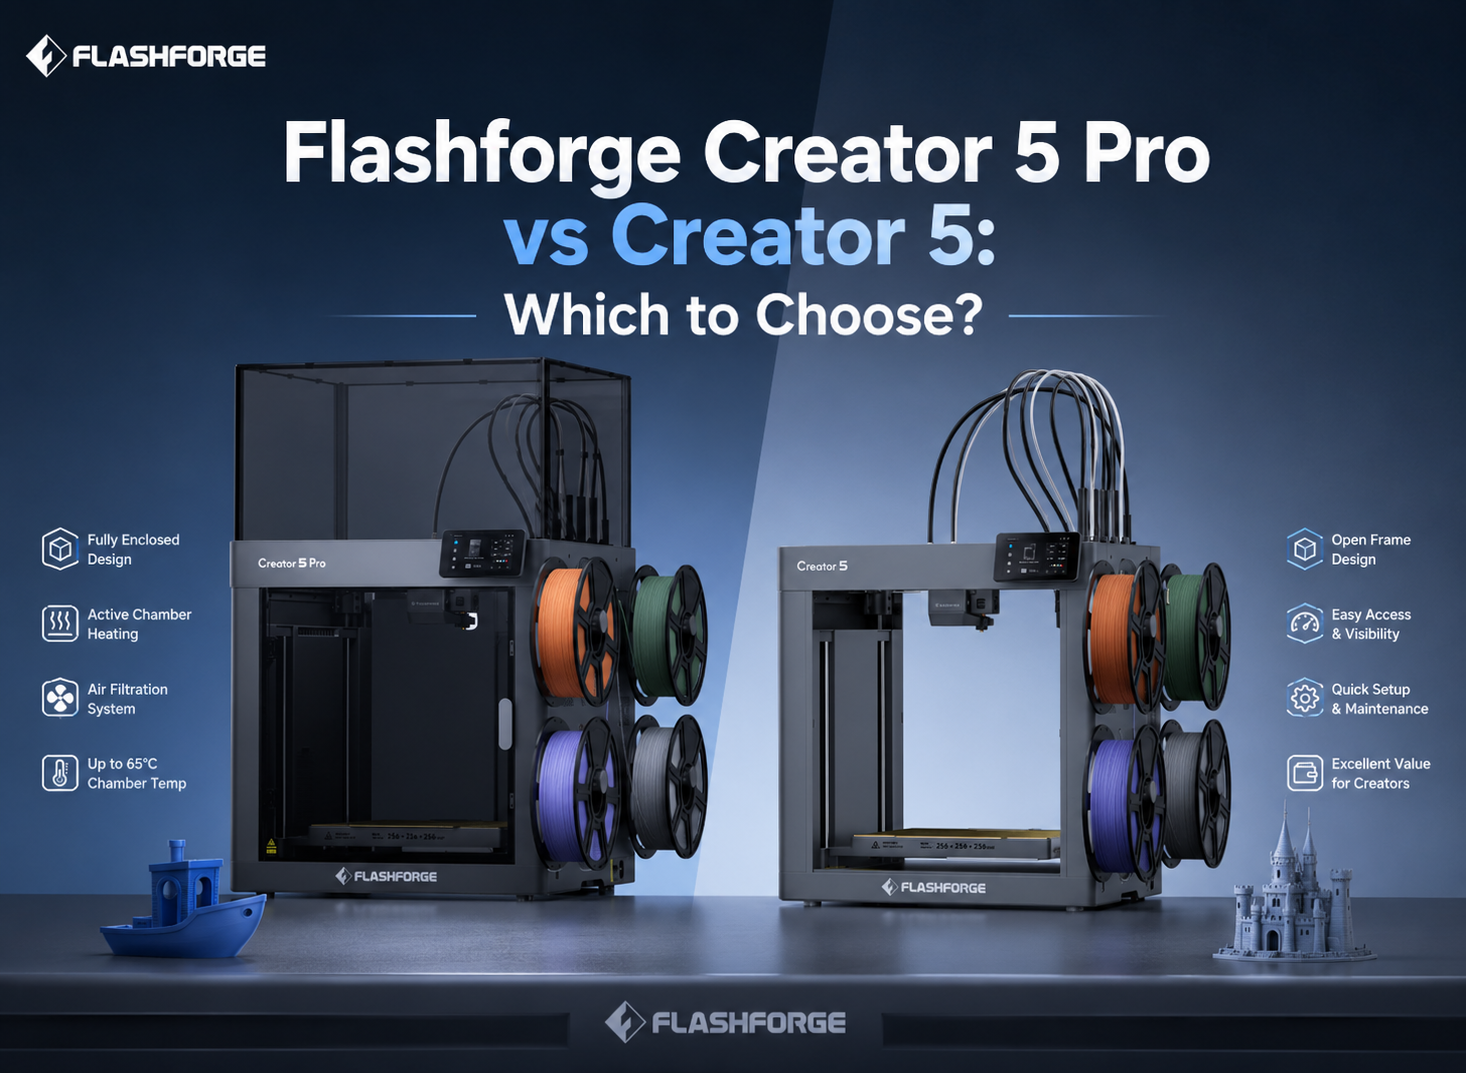
The Flashforge Creator 5 and Flashforge Creator 5 Pro both use a removable PEI flexible steel build plate. This fits PLA printing well because users can test bed temperature settings more easily, remove finished parts after cooling, and reduce the need for glue or other adhesion aids.
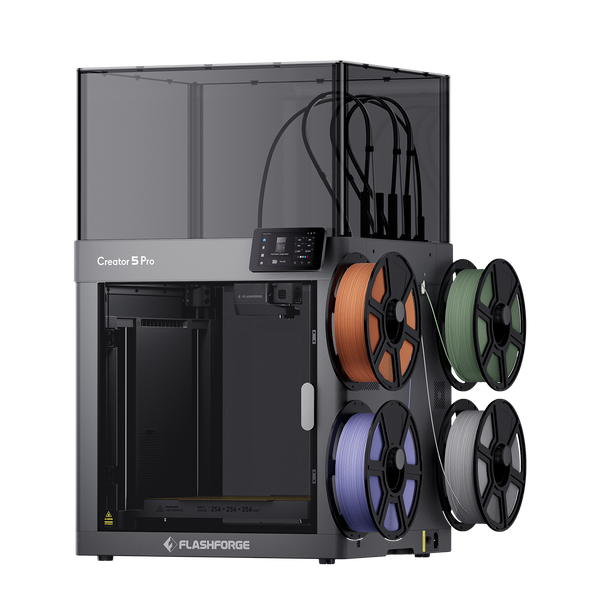
Flashforge Creator 5 Pro 4-Toolheads Enclosed Multi-Color 3D Printer | 500% Faster, Zero Purge Waste
Match Build Volume to Your PLA Projects
Build volume should match the parts you actually print. A 220 × 220 × 220 mm printer is enough for many PLA models, toys, organizers, school projects, and small functional parts.
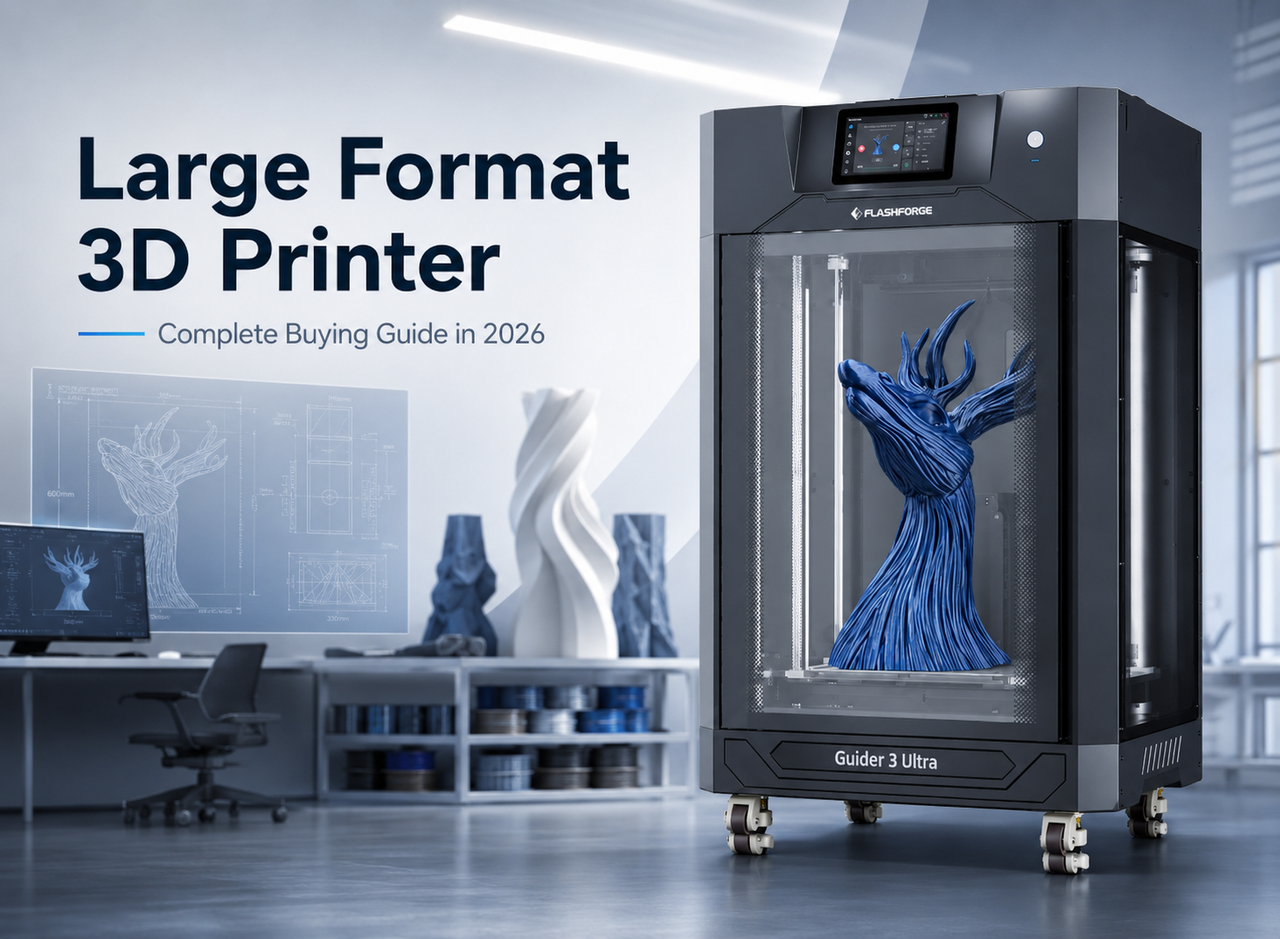
The Flashforge Guider 3 Ultra is a better choice when users need a larger build volume for tall PLA models, workshop samples, and larger printed parts. Its large build area is useful when a standard desktop printer would require splitting the model into several pieces.
Consider Multi-Color PLA Printing Needs
If you want PLA prints with multiple colors, choose a printer designed for multi-color workflows instead of relying only on manual filament swaps.
The Flashforge AD5X supports four-color printing and lists PLA among its supported filaments. This makes it suitable for decorative PLA models, labels, creative projects, toys, and personalized prints where color is part of the final design.
For more advanced multi-material workflows, the Creator 5 Series uses four independent toolheads, which can help users print more complex color or material combinations.
Check Cooling, Speed, and Print Stability
PLA prints best when cooling, speed, and extrusion stay balanced. A printer should have stable motion, a reliable cooling system, and clear slicer profiles for PLA.
Fast printing can work well with PLA, but speed should not be the only deciding factor. First layer reliability, bed surface, cooling performance, and filament flow all affect print quality.
Common PLA Bed Temperature Mistakes
Most PLA bed temperature problems come from overcorrecting. Small adjustments work better than changing temperature, Z offset, speed, cooling, and flow all at once.
Setting the Bed Too Hot
A bed that is too hot can make PLA soft near the bottom. This may cause elephant foot, rough bottom layers, or parts that are harder to remove cleanly.
If PLA sticks too strongly or the bottom edge looks swollen, lower the bed temperature before changing more advanced slicer settings.
Ignoring Z Offset and First Layer Height
Many PLA adhesion problems are actually first layer height problems. If the nozzle is too high, the filament will not press into the build surface. If the nozzle is too low, the first layer may be over-compressed.
Before raising PLA bed temperature, check leveling and Z offset. A correct first layer often solves adhesion issues without extra heat.
Printing on a Dirty Build Plate
A dirty build plate can make PLA fail even at the right temperature. Finger oils, dust, old glue, and filament residue can weaken adhesion.
Flashforge’s guide on how to clean a 3D printer bed explains that users should reinstall a clean, dry build plate and confirm that no dust, filament pieces, or debris remain underneath it. The guide also notes that leveling may be needed after changing or reinstalling a removable surface.
Changing Too Many Settings at Once
Do not change bed temperature, nozzle temperature, first layer speed, Z offset, cooling, and adhesion settings all at the same time. If the next print improves or fails, you will not know which change caused it.
Use one test print and one adjustment at a time. This makes PLA tuning faster and more reliable.
Conclusion
For most PLA prints, the best starting bed temperature is 50°C to 60°C. Start at 50°C when using a clean PEI plate and a well-levelled bed. Raise the bed temperature by 5°C only when adhesion is weak, corners lift, or the print releases during a long job.
PLA is forgiving, but good first layer setup still matters. Use the right build surface, keep the plate clean, tune Z offset carefully, and avoid overheating the bed. For users who want an easier PLA workflow, Flashforge printers such as the Adventurer 5M Series, Creator 5 Series, AD5X, and Guider 3 Ultra provide different options for beginner PLA printing, multi-color PLA projects, and larger PLA models.
FAQ
How hot should my bed be for PLA?
For most PLA prints, set the bed temperature to 50°C to 60°C. Start at 50°C on a clean PEI plate. Raise it to 55°C or 60°C if the first layer does not stick well or corners start lifting.
Is 65C too hot for PLA?
65°C is not always too hot for PLA, but it is higher than many PLA prints need. If you use 65°C and see elephant foot, soft bottom layers, or difficult part removal, lower the bed temperature to 55°C or 60°C and test again.
What type of printer prints PLA?
Most FDM 3D printers can print PLA because PLA uses relatively low printing temperatures and does not usually require an enclosed chamber. Printers such as the Flashforge Adventurer 5M and Flashforge Adventurer 5M Pro are practical choices for PLA users because they include automatic leveling and removable PEI build plates. If you are comparing current models or discounts, the Flashforge 3d printer for sale page is a better place to check live offers before buying.
Is PLA filament toxic when printing?
PLA is generally considered one of the lower-odor and easier-to-use FDM filaments, but 3D printing can still release ultrafine particles and VOCs. The EPA notes that 3D printing research has examined ultrafine particle emissions and possible exposure concerns from filament-based printing, and NIOSH recommends controls to reduce exposure in makerspaces, schools, libraries, and small businesses.
Is it safe to print PLA in the house?
PLA can be printed at home when used responsibly. Place the printer in a well-ventilated area, avoid breathing directly over the printer, keep it away from sleeping areas, and follow the printer and filament manufacturer’s guidance.
For homes, classrooms, and shared spaces, an enclosed or monitored printer can make the workflow easier to manage. Good ventilation is still recommended, even when printing PLA.