


Table of Contents
Whether you’re a newcomer or a seasoned maker, dealing with a clogged nozzle is an inevitable rite of passage. In the world of FDM/FFF 3D printing, nozzle jams are arguably one of the most frequent and frustrating setbacks. When it happens, your printer fails to extrude enough filament, resulting in under-extrusion, incomplete layers, or a total halt in production.
A jammed nozzle doesn't just waste precious time and material; it derails your project momentum and can shake your confidence in the technology. The good news is that most clogs are preventable. Even when they do occur, they can be resolved quickly if you have the right toolkit and techniques.
In this guide, the 3D printing experts at Flashforge provide a comprehensive roadmap to help you master this challenge. We’ll cover everything from identifying the early warning signs and understanding root causes to mastering five proven clog-clearing methods and implementing proactive maintenance to keep your prints flawless.
Signs You Have a Clogged 3D Printer Nozzle
The Extruder Motor Makes a Clicking Sound
The first warning sign of a clog is often an audible one: a rhythmic "clicking" or "ticking" coming from the extruder motor. This sound indicates that the extruder gears are trying to push the filament, but the resistance at the nozzle is too high. As a result, the gears lose their grip and "skip" over the filament, which often leads to filament grinding. This sound is a clear distress signal from your printer. Ignoring it can lead to permanent wear on the drive gears, eventually requiring a full replacement of the extruder assembly. If you hear this clicking, it’s best to pause the print immediately and investigate.

Thin or Underextruded Layers
Another common red flag is seeing layers that look unusually thin or "wispy." In this scenario, the printer is still moving, but the volume of plastic exiting the nozzle isn't enough to fill the paths correctly—a classic case of under-extrusion. You’ll notice visible gaps, small holes, or a "Swiss cheese" texture in areas that should be solid plastic. This usually points to a partial clog, where filament can still flow, but the volume is restricted. These are often harder to diagnose than total blockages because the printer continues to work, albeit with severely compromised print quality.

Filament Curls Away from the Bed
When a nozzle is partially obstructed, the filament may curl or "snake" upward toward the heat block instead of laying down flat and even on the build plate. This happens because the blockage forces the molten plastic through a smaller, off-center opening, creating uneven internal pressure. This phenomenon is particularly destructive during the initial layer (first layer), which serves as the foundation for your entire project. If the filament is curling or failing to stick because of its shape, it's time to check for debris inside the nozzle.
No Material Comes Out at All
This is the most obvious sign of a total blockage. The printer goes through all the motions, and the extruder gears might even make a loud grinding noise, but absolutely no plastic exits the nozzle. This is known as "air printing." It indicates that a filament plug has completely sealed the nozzle orifice. When this happens, the print is essentially over unless you can clear the obstruction or perform a nozzle swap.
Common Causes of Nozzle Jams
Dust and Debris on Filament
One of the most frequent culprits behind a jam is simple environmental contamination. When filament is left exposed or stored improperly, airborne dust and debris can cling to its surface. As the filament enters the hotend, these particles mix with the molten plastic and accumulate inside the nozzle tip, gradually constricting the flow. This buildup can start as a minor partial clog and quickly escalate into a full blockage, which is why proper, airtight
Heat Creep and Cooling Issues
Heat creep is a notorious cause of persistent nozzle jams. It occurs when heat from the heater block travels upward into the cold end (the heat sink) of the extruder. This causes the filament to soften prematurely in the transition zone—where it should remain solid. This is usually triggered by an inefficient or failing heatsink cooling fan. When the filament swells and softens in the wrong area, it creates a "plug" that increases friction, restricts material flow, and eventually leads to a complete jam.
Switching Between Material Types
Transitioning between different materials without a proper purge can lead to internal residue buildup. For example, if you switch from a high-temperature material like ABS to a lower-temperature one like PLA filament, any leftover ABS inside the hotend won't melt at PLA temperatures. This creates a "composite clog"—a hardened mass of old material that acts as a physical barrier to the new filament. To avoid this cross-contamination, many experienced makers use dedicated nozzles for specific material types or perform a thorough cold pull during every material change.
Preparation Before Unclogging Your Printer
Required Tools for Unclogging
Before attempting to clear a jam, ensure you have the right tools on hand. A standard 3D printing maintenance kit should include:
-
Brass wire brushes for scrubbing residue off the exterior of the nozzle.
-
Nozzle cleaning needles (often acupuncture needles) or thin guitar strings for breaking up internal clogs.
-
Cleaning filament (specialty purge material) for deep-cleaning the internal hotend path.
-
A heat gun to help loosen stubborn, solidified plastic.
-
Acetone (specifically for ABS residue) or other appropriate solvents.
-
Compressed air or a small brush to clear out dust and debris from the extruder gears.
-
Wrenches and Hex keys (Allen keys) for removing and reinstalling components if a teardown is necessary.

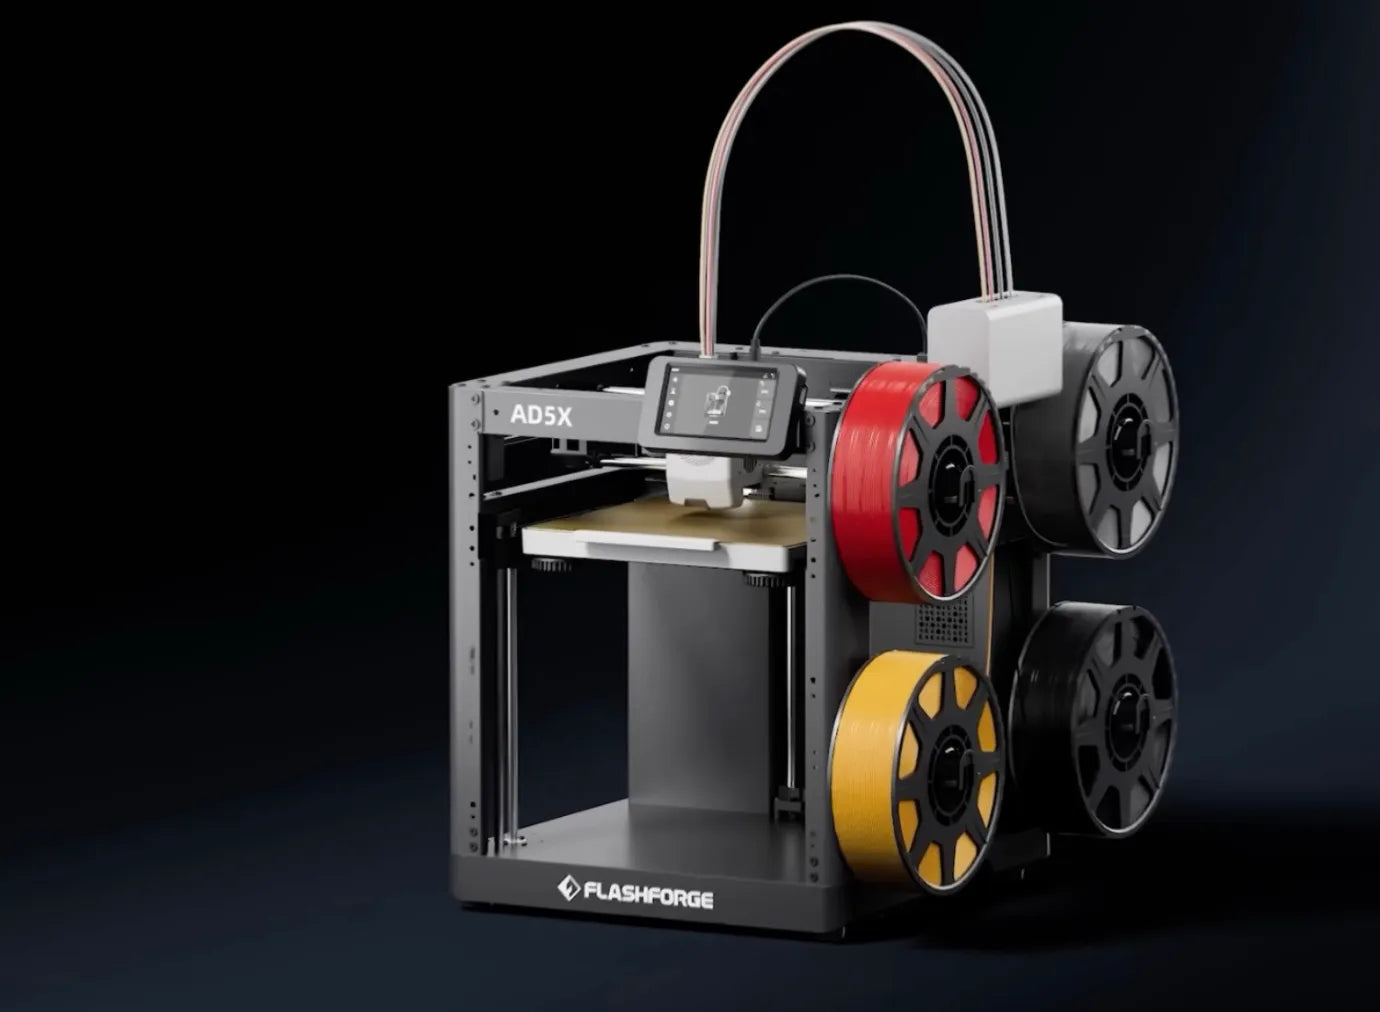
The Flashforge product lineup is engineered with maintenance and accessibility in mind. For instance, the Flashforge Adventurer 5M features an optimized hotend design and a user-friendly interface for routine cleaning. Its modular architecture means that if a clog is too severe to clear manually, the Flashforge nozzle assembly can be swapped out quickly and easily, eliminating the need to disassemble the entire hotend carriage.
Safety Precautions for Hot Nozzles
When performing any nozzle maintenance, safety is paramount. The hotend reaches temperatures high enough to cause severe burns. Always adhere to these safety protocols:
-
Cool Down: Whenever possible, wait for the nozzle to cool to room temperature before handling components.
-
Protective Gear: If you must work while the nozzle is hot, wear heat-resistant gloves and use tools like tweezers or pliers to manipulate parts. Never touch the heater block or nozzle with bare hands while it is powered on or cooling down.
-
Ventilation: If using a heat gun or chemical solvents like acetone, work in a well-ventilated area away from flammable materials.
-
PPE: Wear appropriate Personal Protective Equipment (PPE), including safety glasses, when working with solvents or pressurized air to protect against splashes or flying debris.
5 Simple Fixes for 3D Printer Nozzle Clogs
Method 1: Using a Brass Wire Brush or External Cleaning
For basic external maintenance, a brass wire brush is your best friend. Brass is firm enough to scrub away stubborn, burnt-on gunk but soft enough that it won't scratch or damage the delicate finish of your nozzle. Flashforge recommends this for routine maintenance to prevent melted plastic from accumulating around the tip and eventually causing an internal blockage.
Heat your nozzle to the standard printing temperature for the material currently loaded (e.g., 200°C for PLA). Once the plastic is molten and tacky, gently scrub the nozzle from multiple angles. This is most effective for removing exterior buildup and should be part of your post-print cleanup routine.
Method 2: The Acupuncture Needle Technique
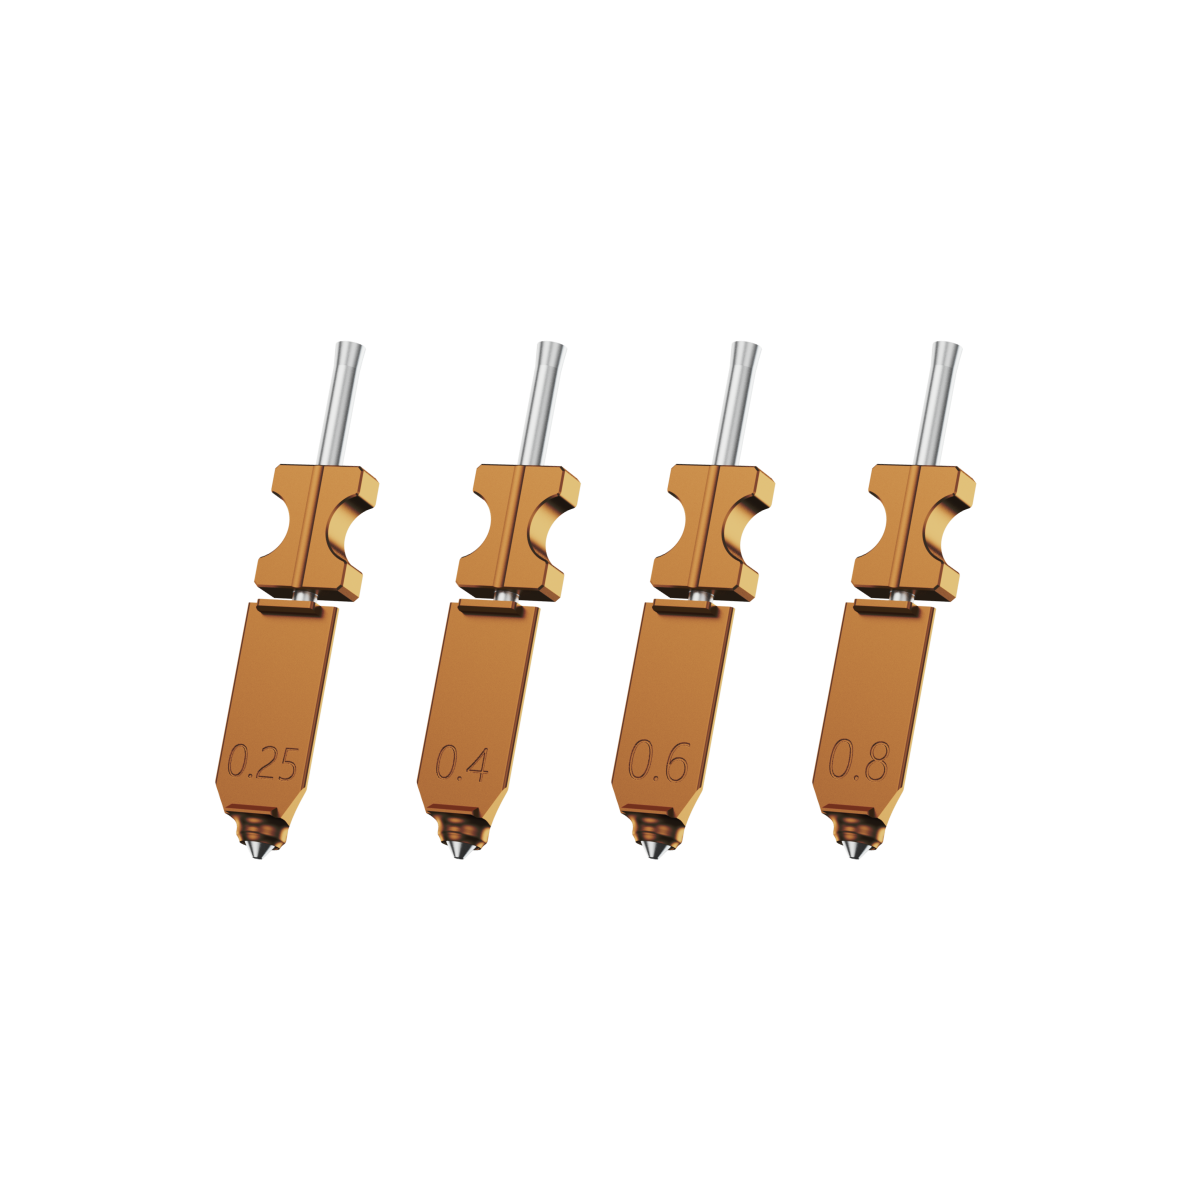
For partial clogs or small debris lodged near the tip, the acupuncture needle technique is a quick and surgical fix. This involves using a very thin wire to break up the obstruction.
Heat the nozzle to your printing temperature. Carefully insert a fine needle (usually 0.35mm or 0.4mm, depending on your nozzle size) into the nozzle orifice about 1 cm deep. The key is to be gentle—do not force it, as you might push debris further into the cold side. Use a light up-and-down motion to break apart the carbonized plastic. Afterward, try to extrude filament to see if the flow has been restored.

Method 3: Manually Pushing Filament Through
Sometimes, the extruder motor simply lacks the raw power to clear a minor obstruction. In these cases, a manual push can do the trick.
The Process: With the nozzle heated, disengage the extruder tensioner (or press the release lever) and manually feed the filament into the hotend with your hand. Applying steady, firm pressure can often "force through" a soft clog that the motor's gears were slipping on.
Warning: Be careful not to over-apply force, as you don't want to bend the mounting hardware or damage the hotend assembly.
Method 4: The Cold Pull or Atomic Method
The Cold Pull, or Atomic Method, is the industry-standard technique for deep cleaning. It is arguably the most effective way to remove "invisible" debris from inside the nozzle without disassembling the printer. To learn more about the technical nuances, you can check out this guide on how to clean your 3d printer nozzle efficiently.
The Process:
-
Heat the nozzle to the material’s melting point (around 250°C if using cleaning filament).
-
Manually feed the filament until it starts to extrude.
-
Turn off the heater and let the temperature drop to the "sweet spot" (90°C–110°C for PLA/Nylon).
-
Once reached, the filament will be semi-solid. Give it a quick, firm tug upward. If done correctly, the tip of the pulled filament will show a perfect mold of the nozzle's interior, often covered in dark, burnt residue.

Method 5: Using Dedicated Cleaning Filament
Specialized cleaning filament (typically nylon-based) is engineered specifically for purging. It has a much wider working temperature range and is "stickier" when semi-molten, allowing it to grab onto carbonized bits that standard PLA would leave behind.
The steps are identical to a Cold Pull, but because cleaning filament is more resilient, it can withstand higher temperatures and more forceful pulls. Many makers perform 3–5 cycles of cleaning filament purges when switching from a high-temp material (like PETG) back to a low-temp one (like PLA) to ensure zero cross-contamination.
How to Prevent Future Nozzle Clogs
Use High Quality Filament
The first and most critical step in clog prevention is using premium-grade filament. Budget-friendly filaments often contain impurities, inconsistent diameters, and low-quality blends that are a recipe for nozzle jams. Reputable manufacturers maintain a strict diameter tolerance, usually within a range of +/- 0.03 mm, and implement rigorous quality control to filter out debris. Using high-quality material not only slashes the risk of clogging but also produces superior print quality and more reliable results.
Store Filament in Dry Boxes
Filament is highly sensitive to humidity. When material absorbs moisture from the air, it becomes brittle and prone to snapping, which sends tiny fragments into the nozzle. The key to preventing this is storing your filament in airtight containers, such as dedicated dry boxes or sealed plastic bins. Many experienced makers use large containers with rubber gaskets or specialized filament dryers equipped with desiccant packs. Keeping your filament bone-dry ensures a smoother extrusion process and significantly lowers the chance of a blockage.
Our 3D printer users frequently report that switching to airtight storage drastically improves print performance. This is particularly important for professional-grade machines that utilize high-precision nozzles, which are more sensitive to material inconsistencies caused by moisture.

Regular Cold Pull Maintenance
Instead of waiting for a failure to occur, treat the cold pull as a routine preventative maintenance task. Many professionals recommend performing a cold pull every 20 to 50 print hours to clear out carbonized residue or the early signs of a partial clog. This proactive approach keeps your hotend in peak condition, ensuring that a total blockage never has a chance to form. Regular maintenance is also a great way to spot developing hardware issues, such as heat creep or a weakening cooling fan, before they turn into major headaches.
Additionally, make it a habit to give the nozzle a quick 30-second scrub with a brass brush after every print. This simple step prevents external gunk from building up and hardening, which makes future deep-cleaning much easier.
Frequently Asked Questions About Nozzle Jams
Can I unclog a nozzle with acetone?
Yes, acetone can be an effective cleaning agent, but only if used carefully and with specific filament types. Acetone is particularly efficient at dissolving ABS residue, which tends to be tougher and more adhesive than other materials. To perform an acetone soak, you must first remove the nozzle from the hotend. Once removed, submerge the nozzle in a container of acetone for several hours or overnight to soften the bonded ABS. Afterward, use a small needle or brush to clear out the softened debris and rinse the nozzle thoroughly with water.
However, do not use acetone for PLA or PETG clogs, as it does not effectively dissolve these materials and you risk damaging certain nozzle coatings. Additionally, since acetone is a strong solvent, always work in a well-ventilated area and wear proper personal protective equipment (PPE), including gloves and safety glasses.
How often should I change my nozzle?
Nozzle longevity depends on your print frequency, the types of filament you use, and how well you maintain your machine. As a general rule of thumb, many makers replace their nozzles every three to six months. However, if you frequently print with abrasive materials like carbon fiber, glow-in-the-dark, or wood-filled filaments, your brass nozzle will wear down much faster.
Common signs that it is time for a nozzle swap include frequent clogs even after cleaning, a noticeable drop in print consistency, or visible irregularities and rounded edges at the nozzle tip. If you notice the nozzle aperture has physically widened, it is definitely time for a replacement.
Does heat creep cause permanent clogs?
Heat creep can cause severe blockages, but they are rarely permanent if caught early. They can be cleared depending on where the filament has solidified. If heat creep causes filament to melt inside the cold end—the portion of the hotend that should stay solid—it creates a hardened plug that is difficult to remove with a simple cold pull. In these cases, you may need to perform a deep clean or even a full hotend rebuild.
The best strategy is prevention. To avoid these issues, ensure your cooling fan is providing adequate airflow and keep your print temperatures within the recommended range for your material. For more detailed troubleshooting, you can learn how to fix heat sink issues on your 3d printer nozzle to keep your thermal performance in check.
How do I unclog a 3D printer tube?
If the blockage is located within the Bowden tube or PTFE liner rather than the nozzle itself, the troubleshooting process changes. A clear sign of a tube clog is when you cannot manually push filament through the feed path, even when the nozzle is removed. This often happens if the filament is being crushed and jamming before it even reaches the melt zone.
To diagnose this, disconnect the Bowden tube from the extruder and try to feed the filament through the tube manually. If it catches, the obstruction is inside the tube. You can attempt to clear it by pushing a cleaning filament through or by using a thin wire to dislodge the stuck piece. If the internal PTFE lining is charred or deformed, the quickest and most reliable fix is to replace the tube entirely, which is a low-cost maintenance task.
Conclusion
Nozzle jams might be the single most frustrating hurdle in 3D printing, but they don't have to be a deal-breaker. By mastering these five core techniques—the brass brush, acupuncture needle, manual force, the cold pull, and dedicated cleaning filament—you ensure that a minor clog never stands in the way of your creativity. More importantly, by choosing premium filament, utilizing dry boxes for storage, and staying ahead of the game with regular cold pull maintenance, you can stop most jams before they even start.
High-quality 3D printers from brands like Flashforge are designed to make this journey smoother. Models such as the Flashforge Adventurer 5M feature optimized hotend designs and easily accessible components, meaning that even if a blockage occurs, it is a quick fix rather than a major teardown. Whether you are a beginner or a veteran, the key is to stay patient, use the right tools, and act quickly. Most clogs can be resolved in 10 to 20 minutes, getting you back to what matters most.
By understanding the mechanics of your machine, recognizing the early warning signs, and staying proactive with your maintenance, you will keep your printer running at peak performance. After all, 3D printing should be about the joy of bringing your ideas to life, not worrying about the hardware. Happy making!