


Table of Contents
Une buse propre est essentielle pour obtenir des impressions 3D homogènes et de haute qualité. Avec le temps, même les meilleures imprimantes peuvent développer des problèmes d'obstruction et de sous-extrusion, ce qui peut bloquer votre travail ou produire une impression de mauvaise qualité. Quel que soit votre niveau d'expérience, savoir nettoyer efficacement les pièces de la buse de votre imprimante 3D vous permettra d'économiser du temps et de l'argent, et d'éviter de devoir réimprimer la même impression inadéquate à plusieurs reprises. Dans ce guide, nous vous expliquerons comment détecter l'obstruction de la buse, comment la nettoyer, comment éviter qu'elle ne se reproduise et quand la remplacer.
Identifier une buse d'imprimante 3D obstruée
Il est toujours préférable de vérifier que votre buse est obstruée avant d'utiliser les outils. Les symptômes les plus fréquents sont les suivants :
Sous-extrusion ou pas d'extrusion
Lorsque votre imprimante commence soudainement à extruder un minimum ou aucun filament, c'est un signe assez courant d'un colmatage partiel/complet.
Sauter ou cliquer sur l'extrudeuse
Un cliquetis ou un cognement provenant du moteur de l'extrudeuse indique qu'il essaie de pousser le filament à travers une buse obstruée. N'ignorez pas ce bruit, car il peut endommager gravement votre imprimante.
Mauvaise qualité d'impression
Des interruptions dans les impressions, une couche décalée ou des lignes d'extrusion irrégulières sont souvent causées par une buse bouchée.

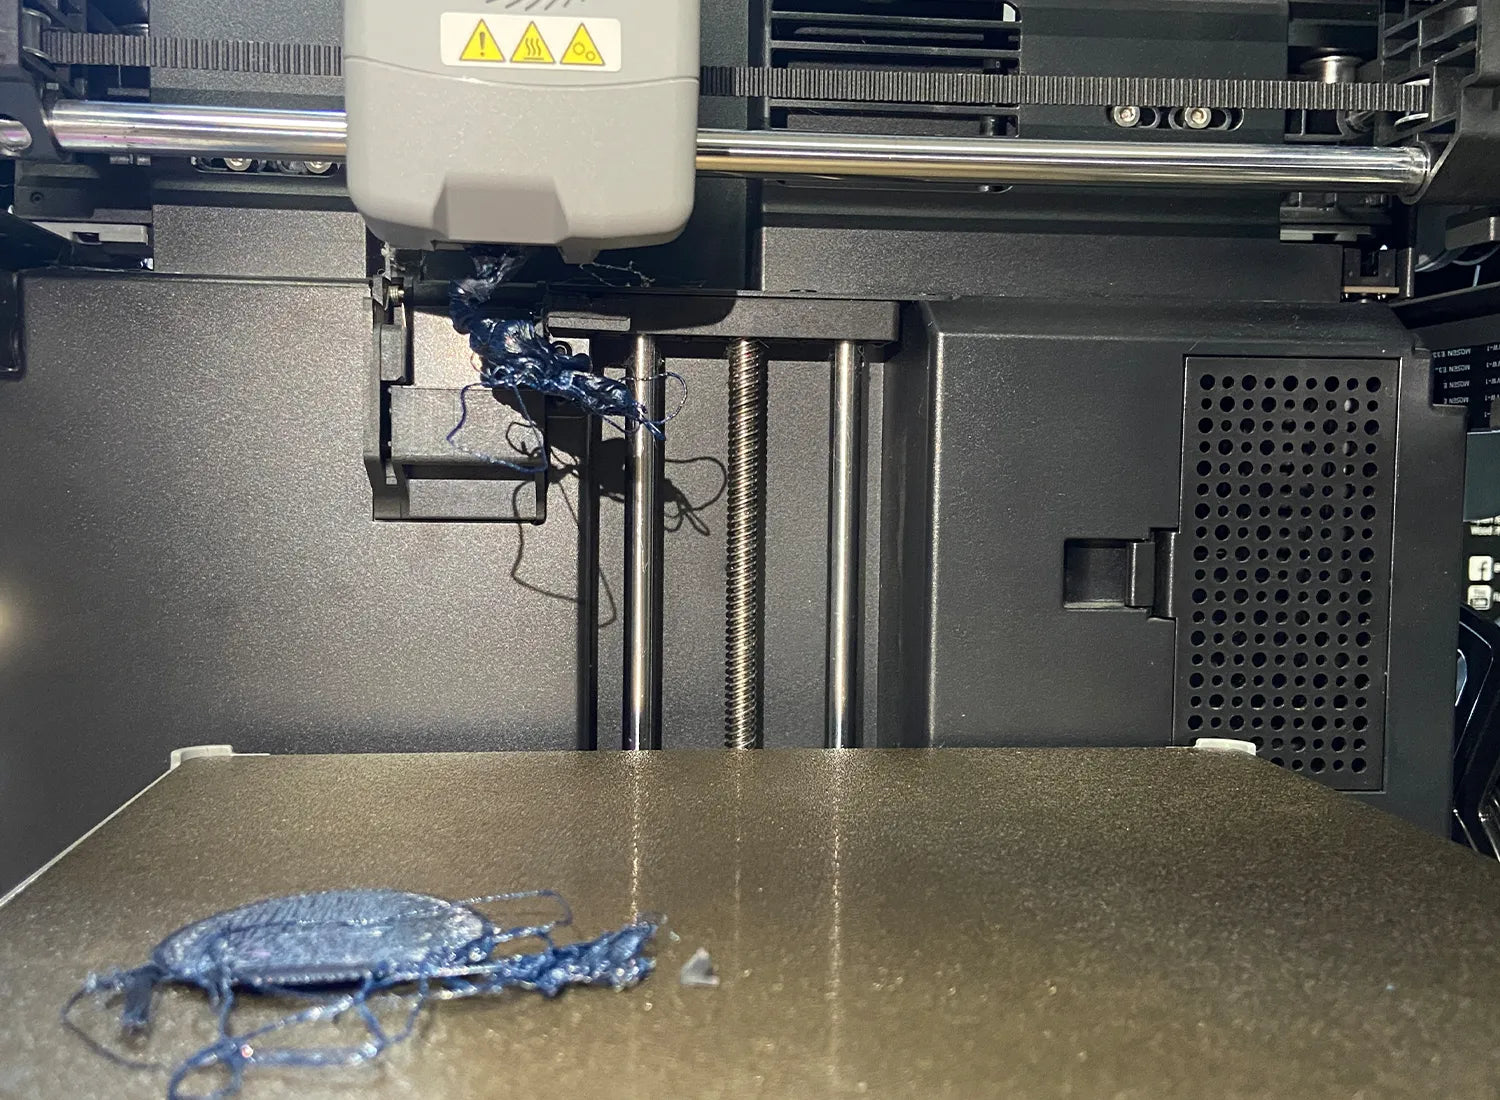
Enfilage ou blobs
Des brins de filament entre les mouvements d'impression ou des gouttes aléatoires sur la surface d'impression peuvent être la preuve d'une extrusion incohérente, qui est le résultat d'une buse semi-obstruée.
Broyage de filaments
Lorsque votre filament semble dénudé ou mâché, en particulier autour de l'engrenage d'alimentation, il est probable que l'extrudeuse elle-même ne reçoive pas suffisamment de traction pour traverser un bouchon.
Quelles sont les causes d’une buse bouchée ?
En connaissant les causes des obstructions, il est possible de les prévenir dès le départ. Voici quelques-uns des problèmes qui peuvent en être la cause :
Débris étrangers
À l'intérieur de la tête d'impression, de la poussière, de la saleté ou des résidus de fabrication qui se déposent sur le filament peuvent s'accumuler et créer des blocages.
Fluage thermique
Lorsque la chaleur se propage trop loin perpendiculairement à la tête chauffante, elle peut commencer à faire fondre le filament plus tôt que prévu et obstruer les zones qui ne devraient pas contenir de plastique fondu.
Paramètres de rétraction incorrects
Une rétraction longue ou rapide peut provoquer des obstructions en tirant le filament fondu vers la zone froide.
Filament de mauvaise qualité
Un filament de mauvaise qualité ou peu fiable peut être impur ou avoir des diamètres incompatibles, de sorte que les buses peuvent souvent s'en trouver obstruées.
Filament ancien ou dégradé
Au fil du temps, le filament absorbe l'humidité de l'air, ce qui le fait bouillonner et couler de manière irrégulière lors de l'impression, ce qui entraîne des obstructions.
Impression trop froide
Un filament dont la température est insuffisante risque de ne pas fondre complètement, obstruant ainsi les buses.
Accumulation de particules
Au fil du temps, des dépôts se forment sur des matériaux initialement propres dans le filament, ce qui entraîne une diminution du débit.
Espace entre les extrémités chaudes des tubes en PTFE
Lorsque le tube PTFE n'est pas fermement appuyé contre la buse, le filament fondu s'infiltre dans les crevasses, s'y solidifie et bloque le passage.
Problèmes d'espacement de buse incorrect/de première couche
La buse ne doit pas être trop proche du lit, car cela pourrait gêner une bonne extrusion et provoquer des reflux et des obstructions.
Outils essentiels pour le nettoyage des buses
Avant de commencer le nettoyage, il est important de se munir des bons outils. Un équipement adapté rend l'entretien des buses plus sûr, plus propre et plus efficace.

Kit de nettoyage de buse : Comprend des aiguilles fines et de petits forets dimensionnés pour nettoyer l'intérieur de la buse sans l'endommager.
Gants résistants à la chaleur : évitez les brûlures lors de la manipulation d'une buse chaude.
Essuie-tout ou chiffons : utiles pour essuyer l'excès de filament et pour le nettoyage général.
Brosse en laiton : idéale pour éliminer les filaments brûlés ou les matériaux carbonisés sur l'extérieur de la buse.
Coupe-filaments : pour couper les filaments anciens ou coincés pendant le nettoyage.
Acétone (pour ABS uniquement) : Peut dissoudre chimiquement les sabots à base d'ABS lorsqu'il est utilisé en toute sécurité.
Four/Pistolet thermique (en option) : Utile pour tremper et chauffer les buses à l'extérieur de l'imprimante.
Comment nettoyer une buse d'imprimante 3D (étape par étape)
Vous avez constaté la présence d'un bouchon et récupéré vos outils ; laissez-nous vous guider dans le processus de nettoyage. Chaque étape est conçue pour intensifier vos efforts, de la simple augmentation de pression jusqu'au blocage complet.
Étape 1 : Traitement des débris extérieurs
Commencez par nettoyer toute accumulation de filament ou toute trace de brûlure à l'extérieur de la buse avec une brosse en laiton lorsque celle-ci est chaude (environ 180-200 °C). Cela permet d'éliminer les éventuels blocages à l'extrémité et de mieux visualiser l'ouverture de la buse.
Étape 2 : Élimination des obstructions partielles
Réglez ensuite la buse à la température d'impression habituelle de votre filament. Insérez une aiguille de nettoyage de buse, insérez-la délicatement et poussez-la à travers les obstructions. Si l'obstruction n'est pas grave, cette méthode rétablit généralement le flux instantanément.
Vous pouvez également essayer un tirage à froid :
Lorsque la tête d'impression atteint une température d'impression, insérez un filament de nettoyage ou du nylon.
Retirez-le ensuite brusquement, une fois qu'il a refroidi à environ 90°C.
Étape 3 : S'attaquer aux sabots complets
Si rien ne sort de la buse, retirez-la complètement à l'aide de gants résistants à la chaleur. Ensuite :
Nettoyez la buse en la trempant dans de l'acétone (dans le cas de l'ABS) ou en la chauffant dans un four pour ramollir la crasse à l'intérieur.
Éliminez le blocage manuellement à l’aide de micro-forets ou d’aiguilles de nettoyage.
Lorsque la buse est fortement bouchée ou endommagée, il est conseillé de changer la buse.
Comment éviter les obstructions des buses d'imprimante 3D
Après avoir nettoyé votre buse, l'étape la plus importante est d'éviter tout problème futur. Voici quelques mesures préventives que vous pouvez prendre :
Utilisez des filaments de bonne qualité
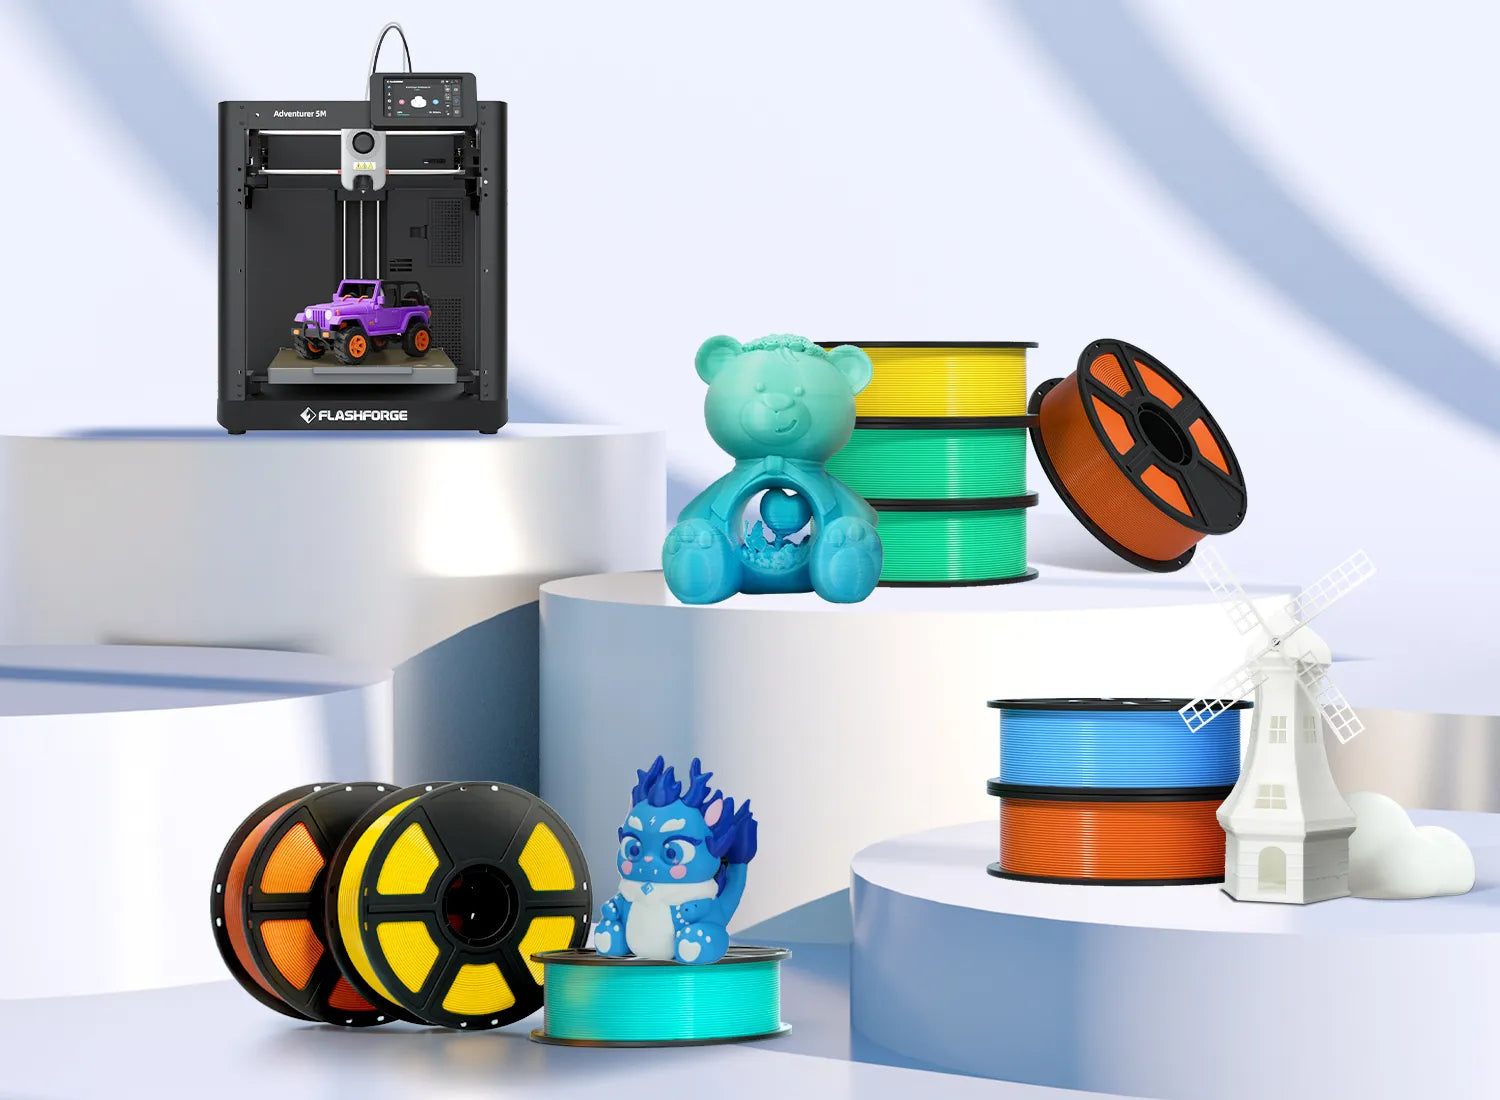
Les filaments bon marché sont généralement salissants et peuvent contenir des impuretés. Privilégiez des marques fiables comme Flashforge pour une fiabilité optimale.
Stocker correctement les filaments
Conservez le filament dans des bocaux sous vide remplis de dessiccant ou dans des boîtes sèches pour éliminer le risque d'absorption d'humidité.
Mettre en œuvre une routine de nettoyage des buses
Nettoyez fréquemment l'extérieur de la buse et effectuez des tirages à froid après des travaux d'impression prolongés ou simplement lors du remplacement d'un autre type de matériau.
Entretenez votre ensemble Hot End
Assurez-vous que le tube PTFE est correctement installé, recherchez toute usure et maintenez le bloc chauffant propre.
Optimiser les paramètres d'impression
Ajustez la température, la rétraction et la vitesse d'impression en fonction du type de filament afin de réduire le risque de colmatage.
Nettoyez régulièrement votre imprimante 3D et son environnement
Il existe un risque que la poussière contamine le filament et les surfaces imprimées. Gardez votre zone de travail et le corps de l'imprimante propres.
Utiliser un filtre/essuie-glace à filament
Ces petits dispositifs nettoient et lubrifient le filament avant qu'il n'entre dans l'extrudeuse, réduisant ainsi l'usure et les débris.
Considérations et remplacements des buses
Choisir la bonne buse et savoir quand la remplacer peut affecter considérablement la qualité et la fiabilité de l'impression.

Matériaux des buses
Laiton : Standard ; convient à la plupart des filaments, mais s'use rapidement avec les matériaux abrasifs.
Acier trempé : durable ; idéal pour la fibre de carbone ou les filaments phosphorescents.
Acier inoxydable : Idéal pour les impressions de qualité alimentaire ou médicales.
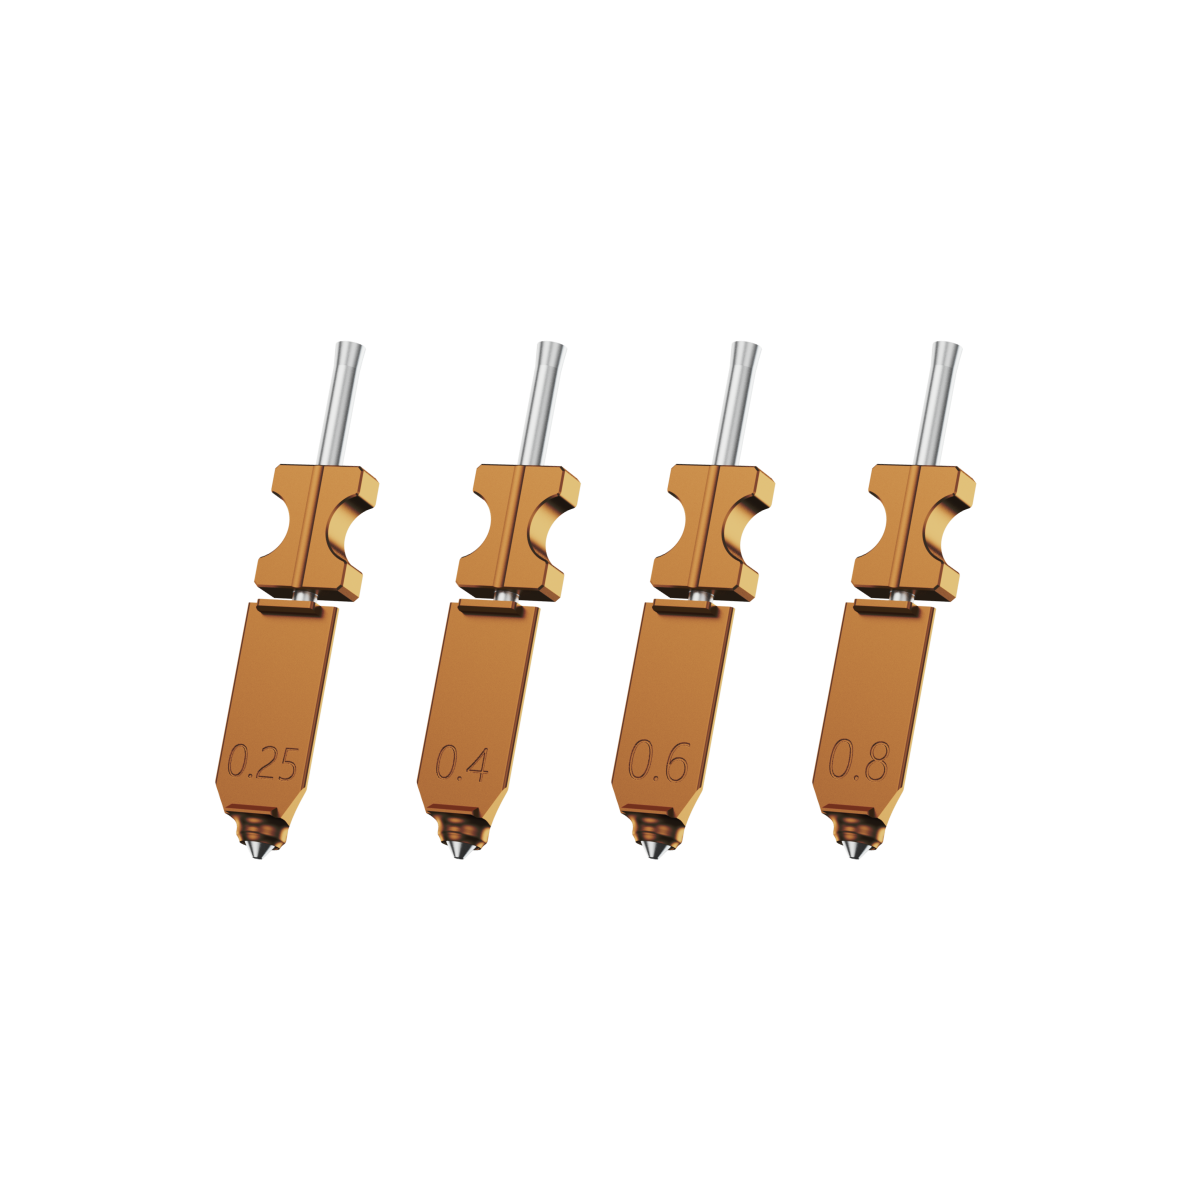
Diamètres des buses
0,4 mm est la norme de l'industrie pour une bonne résolution et un bon équilibre de vitesse.
Les diamètres plus grands (0,6 à 1,0 mm) impriment plus rapidement avec moins de détails.
Les diamètres plus petits (0,2 mm) offrent une grande précision mais sont plus sujets au colmatage.
Quand remplacer votre buse
Remplacez votre buse si :
Les obstructions se produisent fréquemment malgré le nettoyage.
Vous remarquez une déformation ou une érosion à la pointe.
La qualité d’impression se détériore sans autre raison apparente.
Découvrez les options de remplacement de haute qualité chez Flashforge ici.
Conclusion
Savoir nettoyer la buse de votre imprimante 3D est une compétence essentielle pour toute personne impliquée dans l'impression 3D. Identifier les indicateurs de colmatage, utiliser le bon équipement et les bonnes méthodes de nettoyage, et assurer un entretien régulier vous permettront de gagner du temps, d'éviter les échecs d'impression et d'améliorer vos impressions. Un entretien régulier et l'utilisation de produits adaptés, comme ceux proposés par Flashforge, vous garantissent une longue durée de vie à votre imprimante.
Questions fréquemment posées
Comment déboucher la buse de l'imprimante 3D ?
Nettoyer la buse avec des aiguilles de nettoyage ou la réchauffer à froid. Pour ne pas gêner la charge, démonter la buse, laver et retirer les paliers extérieurs, ou les remplacer.
Comment retirer le PLA durci d'une buse ?
Pour nettoyer les buses obstruées, chauffez la buse à la température d'impression PLA (~200 °C), où les broches de nettoyage peuvent être insérées ou commencez à utiliser une traction à froid sur la buse pour remédier à la situation.
Un kit de nettoyage des buses d’imprimante 3D est-il nécessaire ?
Bien que non essentiel, un kit de nettoyage simplifie les procédures de nettoyage des buses, les rend plus sûres et très efficaces.
À quelle fréquence dois-je nettoyer la buse de mon imprimante 3D ?
Il est toujours préférable de nettoyer votre buse fréquemment, après 5 à 10 impressions ou chaque fois que vous remarquez des problèmes d'extrusion.