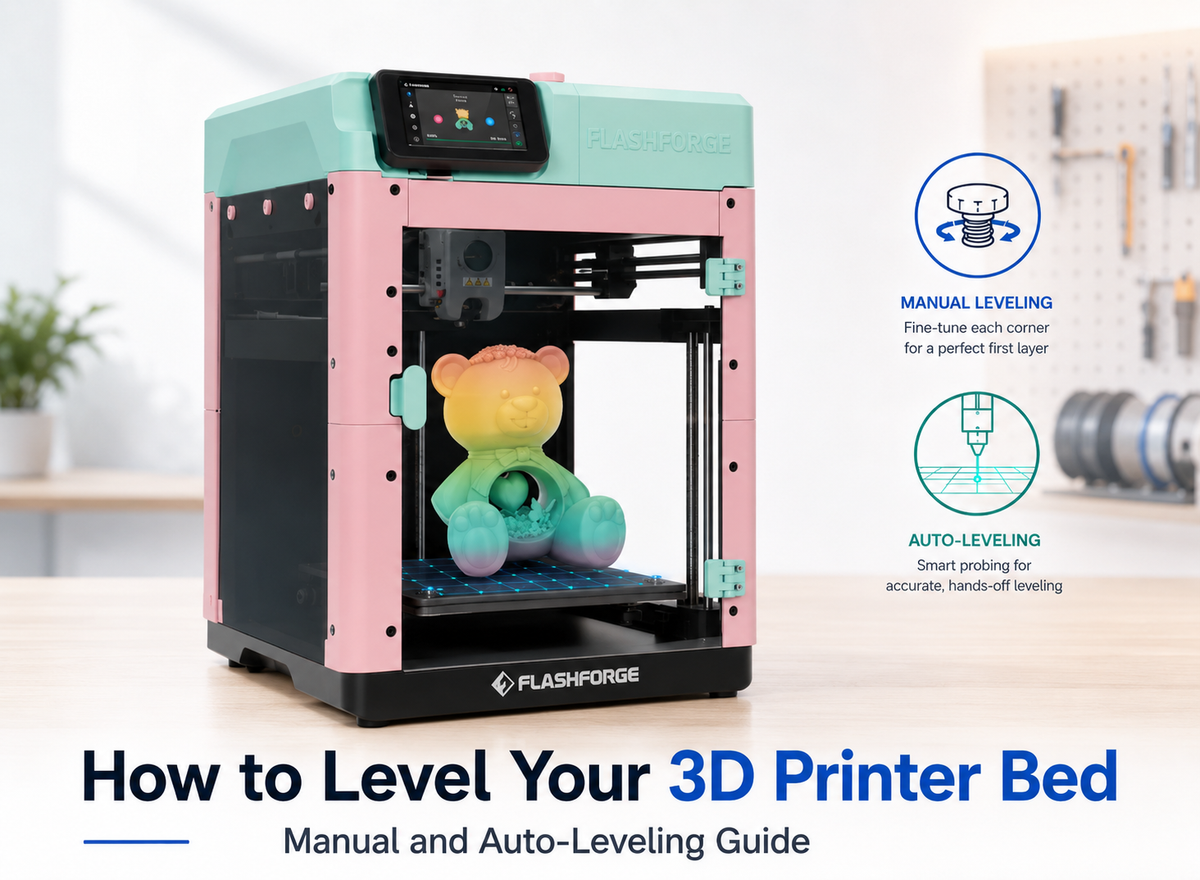



Repeated horizontal lines on a 3D print are not always caused by layer height or slicer settings. Z banding is often linked to Z-axis lead screw alignment, synchronization belt tension, or nozzle temperature fluctuations.
The pattern itself can provide an important clue. Horizontal bands that repeat at similar heights across different prints are more consistent with Z banding, especially when the spacing is regular. Random or uneven lines are more likely to justify checking nozzle temperature and extrusion stability first.
What Causes Z Banding in 3D Printing?
Z banding usually comes from uneven Z-axis movement or inconsistent extrusion. The pattern of the horizontal lines can often help identify which system is causing the problem.
Bent or Misaligned Z-Axis Lead Screws
A bent or misaligned Z-axis lead screw can make the gantry shift slightly as it rises, creating horizontal bands at regular intervals. Understanding how 3D printer parts work together can also make mechanical troubleshooting easier. If the same spacing appears on multiple prints, the lead screw, Z nut, and coupler should be among the first mechanical components you inspect. Dirt, poor lubrication, or binding around these parts can create similar symptoms.
Loose or Uneven Z-Axis Synchronization Belts
On printers that use multiple Z lead screws with a synchronization belt, loose or uneven belt tension can cause the two sides of the gantry to move out of sync. If your printer uses this Z-axis design, check belt tension, pulley alignment, and set screws before replacing larger motion components.
Nozzle Temperature and Extrusion Fluctuations
Unstable nozzle temperature or extrusion flow can create horizontal lines that resemble mechanical Z banding by changing how much 3D printer filament is deposited from layer to layer. If the lines do not repeat at a consistent interval, check actual nozzle temperature and extrusion stability before assuming the lead screw is responsible.
How to Identify Z Banding in 3D Prints
Before adjusting hardware, confirm that the horizontal lines are actually Z banding. Repeating patterns and their direction are often the clearest clues.
Common Signs of Z Banding
Use this quick checklist for an initial assessment:
-
Horizontal bands repeat across the print.
-
The spacing between bands is relatively consistent.
-
Similar lines appear on different models.
-
Changing the layer height does not remove the pattern.
-
The bands repeat at different heights along the Z axis rather than shifting entire layers along X or Y.
-
Printing is accompanied by unusual Z-axis movement or noticeable temperature fluctuations.
Note: This checklist is only for preliminary troubleshooting and does not replace a complete mechanical or electrical diagnosis. If the printer shows severe binding, unusual noises, damaged parts, or sudden temperature swings, stop printing and contact official support or a qualified technician.
Z Banding vs Similar Print Defects
Z banding is most often recognized by horizontal bands that repeat as the print rises. Comparing the pattern, direction, and spacing of the defect can help distinguish Z banding from normal layer lines and other print-quality problems.
|
Print Defect |
Typical Appearance |
Key Clue |
|
Z Banding |
Repeating horizontal bands around the print |
Bands often appear at similar intervals or heights |
|
Layer Shift |
Entire layers move sideways |
Visible displacement along the X or Y axis |
|
Normal Layer Lines |
Fine, evenly spaced horizontal lines |
Spacing follows the selected layer height |
|
Extrusion or Temperature Lines |
Irregular bands or changes in surface thickness |
Pattern does not repeat consistently and may follow flow or temperature changes |
A line that appears only at one specific height, especially where the model geometry changes, may be related to cooling, layer time, or extrusion behavior rather than true Z banding.

How to Diagnose Z Banding Step by Step
The fastest way to diagnose Z banding is to use a controlled test and change only one factor at a time. This helps separate mechanical Z-axis problems from extrusion or temperature instability.
Step 1: Print a Simple Z Banding Test Model
Start with a tall model that has smooth, straight walls. Simple geometry makes repeating horizontal lines easier to see and gives you a clear baseline for later comparisons.
Step 2: Check Whether the Bands Repeat at Regular Intervals
Regularly spaced bands are a strong clue that the problem may be mechanical, especially around the lead screw, Z-axis belt, or pulleys. If approximately the same spacing returns on different test prints, prioritize the Z-axis motion system. Random or uneven bands are more likely to justify checking extrusion flow and nozzle temperature stability first.
Step 3: Inspect the Z-Axis Motion System
Check the Z-axis components in order: lead screw → Z nut → coupler → guide rail → Z-axis belt → pulley. Look for a bent or dirty lead screw, binding around the Z nut or guide rail, a loose coupler, uneven belt tension, and pulleys that are loose or out of alignment.
Step 4: Monitor Nozzle Temperature During Printing
Watch the actual nozzle temperature during the test print, not just the target setting. Repeated temperature swings that coincide with visible bands are a reason to check heater and temperature-control stability. If your printer supports PID calibration, rerunning it can help determine whether temperature regulation is contributing to the problem.
Step 5: Change One Variable and Reprint
Adjust only one suspected cause at a time, then print the same test model again. Keeping the model and slicer settings unchanged makes it much easier to tell whether a specific adjustment actually reduced the Z banding.
How to Eliminate Horizontal Lines from Your Prints
Fix the confirmed mechanical issue first, then move to temperature and extrusion stability if the bands remain.

Clean, Lubricate, and Realign the Z-Axis Lead Screw
Start with the lead screw if the bands repeat at regular intervals. Clean away dust and old grease, apply the recommended lubricant, and check that the screw runs straight without visible wobble or sideways pressure.
Check the Z Nut, Coupler, and Guide Rail for Binding
The Z axis should move smoothly through its full travel. Inspect the Z nut, coupler, and guide rail for debris, looseness, or misalignment that could create resistance and uneven vertical movement.
Adjust Z-Axis Belt Tension and Pulley Alignment
Stabilize Nozzle Temperature and Extrusion Flow
Irregular horizontal bands often make nozzle temperature and extrusion stability the next things to check. Temperature swings or inconsistent filament flow can change line width from one layer to another, making some sections of the surface appear thicker or thinner.
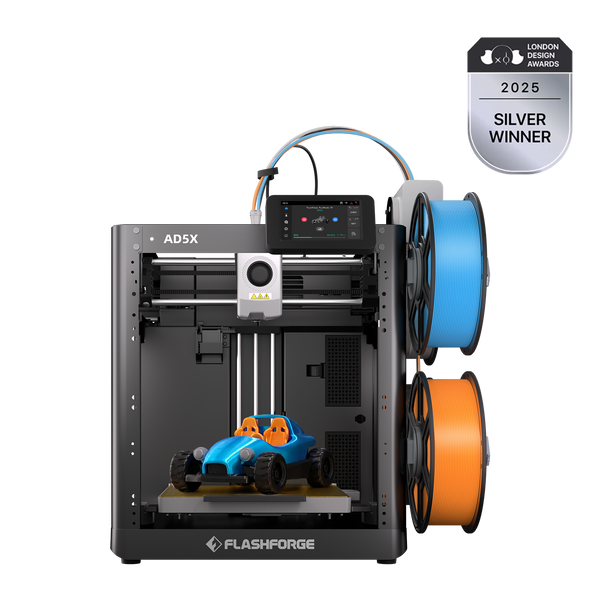
For users who want to reduce manual setup, the Flashforge AD5X supports automatic leveling and vibration compensation, helping maintain more consistent motion during high-speed printing. If horizontal lines remain after the Z-axis system has been checked, nozzle temperature and extrusion stability should still be evaluated separately.
Reprint the Test Model and Compare the Surface
Use the same test model and slicer settings after each adjustment. Compare the spacing and visibility of the horizontal lines; if the pattern remains unchanged, move to the next suspected cause rather than changing several settings at once.
Tips to Prevent Horizontal Lines in 3D Prints
Preventing horizontal lines is mostly about keeping Z-axis motion and extrusion conditions consistent. Regular maintenance can reduce the chance of Z banding returning over time.
Keep the Z-Axis Clean and Lubricated
Keep lead screws and guide components free of dust and old grease. Apply the lubricant recommended for your printer at appropriate intervals so the Z axis can move smoothly without binding.
Check Z-Axis Belt and Pulley Tension
Inspect the Z-axis belt and pulleys periodically for looseness or uneven tension. Proper alignment helps multiple Z lead screws stay synchronized and prevents small height differences from developing during a print.
Keep Nozzle Temperature Stable
Stable nozzle temperature helps maintain consistent filament flow from layer to layer. For materials such as ABS, using the correct ABS print temperature can help avoid unnecessary temperature-related print issues.
For ABS, ASA, PC, PA, and other temperature-sensitive materials, stable nozzle temperature is only part of the equation. Changes in the surrounding print temperature can also affect how consistently each layer cools.
For these materials, the Flashforge Creator 5 Pro uses an enclosed structure and active chamber heating up to 65°C to maintain a more controlled printing environment during longer prints. This can reduce temperature-related variation, but it will not correct Z banding caused by a bent lead screw, synchronization belt, or other Z-axis mechanical problem.
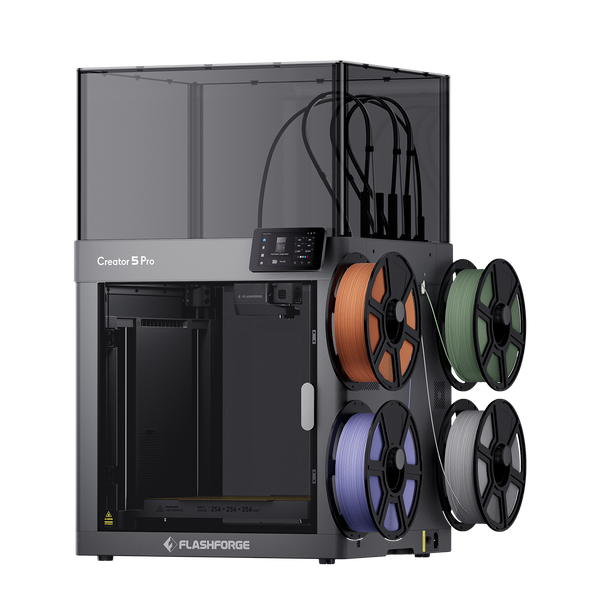
Flashforge Creator 5 Pro 4-Toolheads Enclosed Multi-Color 3D Printer | 500% Faster, Zero Purge Waste
Recalibrate After Maintenance or Part Changes
If you are using a 3D printer, rerun the available calibration routines after replacing a nozzle, adjusting the Z-axis system, or changing motion components. Recalibration helps ensure that the printer is ready for the next test print.
After repairing or adjusting the Z-axis, follow a complete 3D printer calibration process to verify bed setup, extrusion stability, dimensional accuracy, and vibration compensation.
Conclusion
Regularly spaced horizontal bands are usually worth checking from the Z-axis outward: lead screw alignment, synchronization, and smooth movement come first. If those components check out, look at nozzle temperature and extrusion stability.
After each adjustment, reprint the same test model. A cleaner surface tells you far more than changing several settings at once.
FAQ
Is Z Banding the Same as Z Wobble?
Not exactly. Z wobble describes unwanted side-to-side motion in the Z-axis system and can produce repeating banding on the print. Z banding refers to the repeating surface pattern commonly associated with inconsistent Z-axis motion, while extrusion or temperature instability can create similar horizontal lines that should be diagnosed separately.
Can Print Speed Make Z Banding More Visible?
Yes. Higher print speeds can make existing mechanical or extrusion problems easier to see. Increased vibration and faster extrusion changes may exaggerate horizontal bands, even if speed is not the original cause. Reducing print speed can be useful as a diagnostic test, but if the same periodic bands remain, inspect the Z-axis system instead of treating speed as the root cause.
Does Layer Height Affect Z Banding?
Layer height can change how noticeable Z banding looks, but it usually does not fix the underlying problem. If similar bands remain after changing layer height, check the Z-axis motion system and extrusion stability instead.
Why Is Z Banding More Visible on Tall Prints?
Tall prints give periodic Z-axis errors more opportunities to repeat, so the pattern becomes easier to recognize over a larger surface. Smooth vertical walls also make horizontal bands much more visible than short or heavily textured models.
Can Z Banding Affect Dimensional Accuracy?
Yes, especially when the problem comes from inconsistent Z-axis movement. Severe Z banding can affect surface geometry and vertical dimensional accuracy, while mild cases may be mainly cosmetic.
Can Z Banding Appear on Only One Side of a Print?
Yes, but lines that appear mainly on one side are less likely to be classic mechanical Z banding. Check cooling direction, seam placement, wall speed, and local geometry first. If the pattern also repeats at similar heights on other surfaces, then inspect the Z-axis system.