


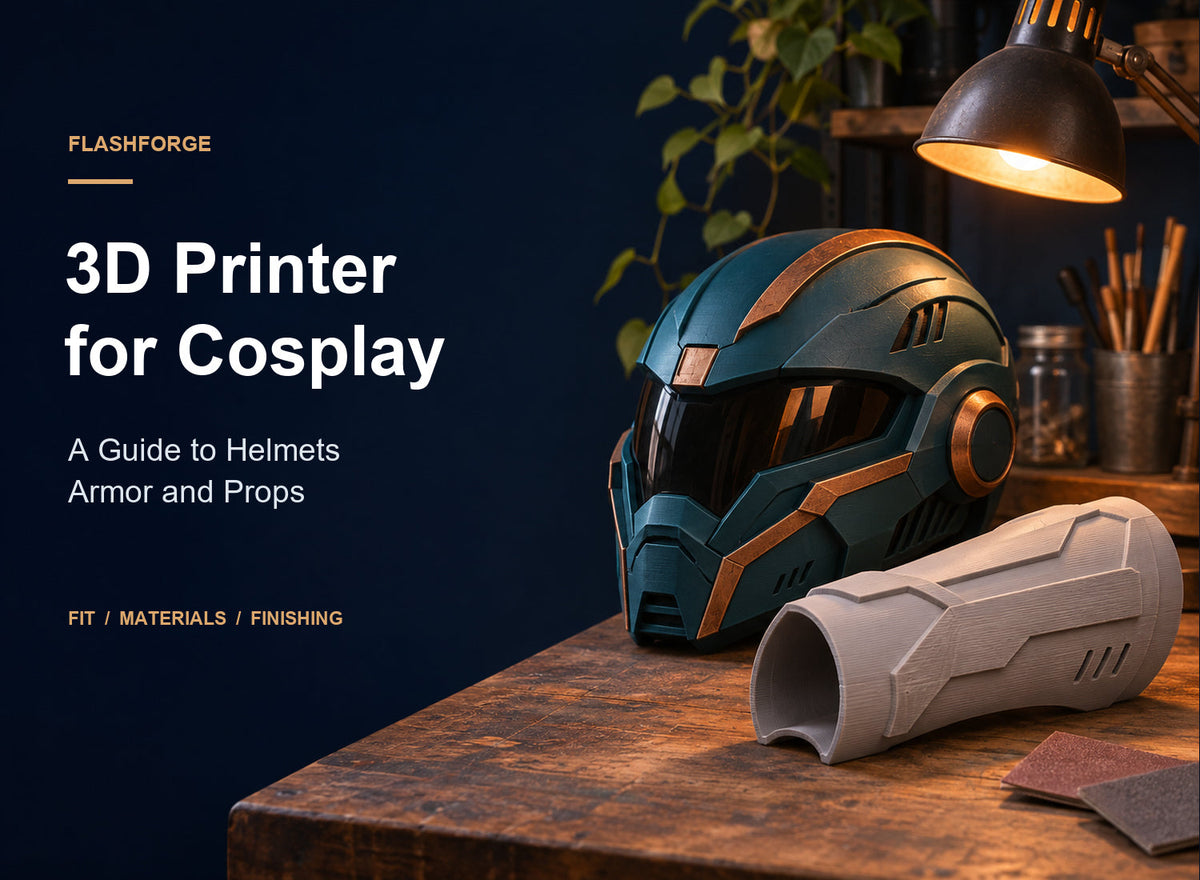
A convincing costume starts with parts that fit your body and survive assembly. For most large helmet shells, armor panels, and costume props, a filament-based FDM printer is a practical starting point. It builds plastic parts layer by layer, giving you a rigid base to assemble, sand, and paint.
The right 3D printer for cosplay depends on your largest planned part, your material, and how much finishing you can do before the event. A larger machine can reduce seams, while a smaller machine can work well with carefully divided models. Start with one real costume file rather than choosing from headline specifications alone.
Start With Fit and Build Volume
Build volume describes the space available for a print. When comparing a desktop 3D printer, check all three dimensions against your scaled model. A tall machine may still be too narrow for a shoulder plate or helmet opening.
Import the file into slicing software, which turns a model into printer instructions. Set the wearable scale first, then inspect the full arrangement with supports and any brim, the extra outline sometimes used to improve bed adhesion. Rotating a part can help, but it may increase support use or place marks on visible surfaces.
As a hypothetical example, a helmet occupying 280 × 260 × 300 mm in its intended orientation exceeds a 256 × 256 × 256 mm build volume. You would need a validated alternative orientation, a larger machine, or a split model. The file preview must confirm the complete setup fits; a diagonal measurement alone cannot establish that.
Test the Opening Before Printing the Shell
Head circumference is only one measurement. The opening must pass over your head, and the interior needs room for padding, hair, glasses, and any planned hardware. Print a narrow section through the tightest area and check it before committing to the complete shell.
For armor, check the fit while bending your elbow, raising your arm, or sitting down. Allow for the clothing underneath. A static mannequin fit can miss movement problems. This small prototype is one of the most useful early steps in 3D printing a wearable costume.
Save the scaled project and record its units before exporting separate pieces. Label the panels consistently so a later replacement matches the original costume instead of accidentally using a different scale or an earlier revision.

Choose Filament for the Costume and Workspace
Material choice affects printing, assembly, and the finished costume. When buying 3D printer filament, read the specific grade's technical guidance instead of assuming every spool with the same material name behaves identically.
| Material | Useful cosplay starting point | What to check |
|---|---|---|
| PLA | Decorative shells, rigid armor panels, painted display props | Heat exposure, impact demands, and the intended coating system |
| PETG | Parts where the selected grade's toughness is useful | Support removal, surface preparation, and adhesive compatibility |
| ABS or ASA | Parts with requirements that justify these materials | Enclosure, temperature control, ventilation, and the grade's properties |
| TPU | Flexible details, bumpers, or selected inserts | Required flexibility, feed compatibility, and attachment method |
PLA is a sensible starting point for a first painted costume because it keeps the material workflow relatively straightforward. Before switching materials for a whole suit, print a representative joint and try the planned glue, filler, primer, and paint on it. A combination that looks good on one plastic may bond poorly to another.
Plan where the printer will operate as well. NIOSH's guide to safe 3D printing discusses ventilation and source controls such as ventilated enclosures or local exhaust. A closed door or built-in filter alone does not establish that a particular room has adequate emission control. Follow the printer and material instructions for the actual workspace.
Prioritize Reliable Parts Over Headline Speed
A cosplay project needs repeatable parts and predictable assembly. Look for a workflow you can maintain: accessible cleaning procedures, documented material profiles, and compatible replacement parts. Check available 3D printing accessories before a long project, particularly build plates and nozzle assemblies for your exact model.
Budget for the costume process as well as the machine. Filament, adhesive, filler, abrasives, coatings, straps, and padding all contribute to the finished project. A printer that consumes the entire budget can leave you without the supplies needed to assemble and wear the result. Compare those costs using your actual parts list rather than a generic price per helmet.
Also check where the machine and spool holders will sit, including clearance for access and moving components. Leave a separate assembly area so sanding dust and paint overspray do not contaminate the printer. Practical workspace planning matters when a costume occupies the bench for several weeks.
Balance Walls Supports and Orientation
Walls form the shell around the print; infill is the internal pattern. Increasing infill does not automatically fix a thin strap mount or a weak glue joint. Review local wall thickness around attachment points, add reinforcement where the design permits, and compare sliced versions before choosing a heavier print. Flashforge's guide to infill in 3D printing explains the settings behind that tradeoff.
Layer bonding also matters. NIST research on weld strength in extrusion 3D printing describes how thermal conditions influence bonding between deposited layers. Follow a suitable material profile rather than assuming a faster setting preserves the same strength. Print a sample of a stressed feature in its intended orientation before making every matching part.
Support placement deserves similar attention. Keep support contacts away from prominent decorative faces when practical, but do not sacrifice a stable print simply to hide marks. Compare total print time, support removal, and repair effort. A slightly longer print can still make the costume easier to finish.
Which Flashforge 3D Printer Fits Your Cosplay Workflow
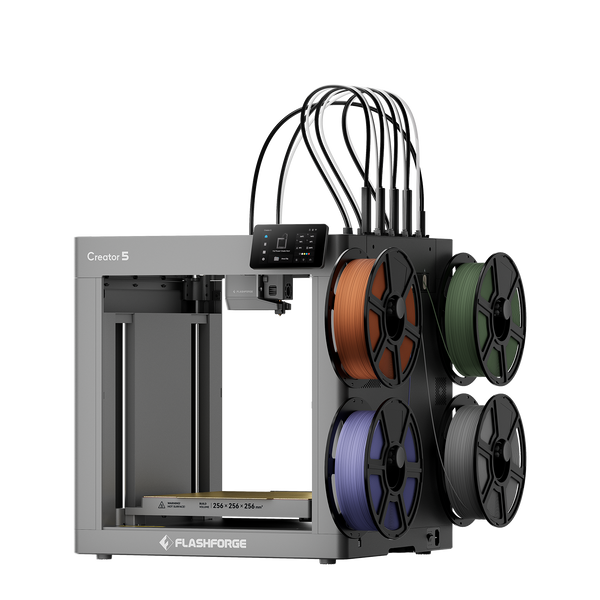
Two relevant choices are Creator 5 and Creator 5 Pro. Both provide a 256 × 256 × 256 mm build volume and four independent toolheads. Their main distinction for cosplay is the build environment and resulting material options, rather than a difference in maximum part size.
Creator 5 for Modular Armor and Decorative Parts
The Flashforge Creator 5 suits makers building costume components from supported materials such as PLA and PETG. Its open frame gives direct access during setup and maintenance. For pieces that exceed its volume, design the costume around printable panels and accessible assembly seams.
Four independent toolheads allow prepared materials or colors to use separate nozzles. That can be useful for separate color accents or a validated support-material combination. However, extra toolheads are optional for a costume that will be fully painted; they should solve a specific project need. Initial loading and compatible profiles still require preparation.
Creator 5 Pro for Materials Needing More Thermal Control
The Flashforge Creator 5 Pro adds an enclosed build environment and active chamber heating up to 65°C. That specification refers to chamber temperature. Its support for materials including ABS and ASA makes it worth considering when a part's requirements justify those materials and you can provide the appropriate workspace.
Choose the Pro for a material workflow that benefits from controlled conditions, while checking the exact filament and profile. It does not increase the 256 mm cube available for a helmet. If your priority is an intact oversized shell, compare larger build envelopes separately instead of expecting an enclosure upgrade to solve fit.
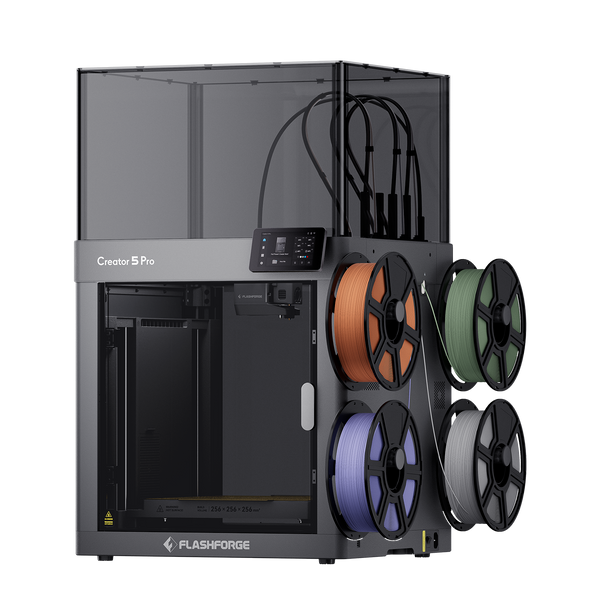
If your design calls for distinct printed colors or materials, a multi filament 3D printer offers useful flexibility. If the decisive requirement is a controlled build environment, consider an enclosed 3D printer. Keep those requirements separate when deciding what deserves your budget.
Plan Assembly and Finishing Before the First Full Print
A printer produces the starting surface. The finished appearance depends on seam placement, preparation, and coating. Decide early whether a seam can follow a natural armor edge or hide beneath a trim piece; this is easier than trying to disguise an arbitrary cut afterward.
Divide Parts Around the Assembly Method
Use alignment features where appropriate, and make joints accessible for adhesive application. Print a small joint sample to check clearances and the chosen adhesive before making the full panels. Avoid assuming that a nominally matching peg and hole will fit without testing.
Dry-fit the full assembly before gluing. Check symmetry and wearable clearance, then follow the adhesive manufacturer's preparation and cure instructions. Plan how straps or padding will attach before closing off internal surfaces. A replaceable strap mount can be more convenient than rebuilding a finished shell after a repair.
Work From Seams to the Final Finish
Remove supports carefully, level obvious defects, fill seams, and sand as appropriate for the material. Use a compatible primer to reveal remaining imperfections before applying color. Follow coating instructions for preparation, ventilation, and cure times. Flashforge's guide to smoothing 3D prints provides further finishing context.
Make a finish sample alongside the costume. It lets you check color, texture, and coating compatibility without experimenting on the helmet. Work backward from the event date, including printing, possible reprints, assembly, coating cure time, and a final wear test. The slicer's print estimate covers only part of that schedule.

Frequently Asked Questions
Is Resin Better for Every Cosplay Detail
No. Resin printing can suit small, detailed ornaments, while filament printing is a practical route for larger shells and armor. Compare the detail needed with part size, assembly, and the complete processing workflow. You can also combine separately made details with a filament-printed base.
How Much Filament Will a Costume Use
Slice every component at the final scale and settings, including supports. Add those estimates, then allow for your own test pieces and reprint plan. There is no useful universal spool count for a helmet or suit because geometry, wall thickness, and support strategy vary substantially.
Do I Need Multicolor Printing if I Will Paint Everything
Usually not. One material and color can provide the base for a painted costume. Multiple colors are more useful when you want visible printed accents without painting, while multiple materials need a clear purpose and validated compatibility. Decide from the intended finish rather than the number of colors available.
Can a Printed Helmet Be Used as Protective Equipment
A decorative cosplay helmet should not be treated as impact-rated protective equipment. Design it for visibility, comfort, ventilation, and easy removal, and keep its intended use decorative. Check event rules for costume accessories before traveling with them.
Is a One Piece Print Always the Better Choice
No. It removes some assembly work, but a divided model can simplify orientation, transport, repairs, and replacement of damaged panels. Compare the whole workflow. A well-planned seam may be a better compromise than buying a larger machine for one project.
Start With One Wearable Test Part
Print one representative part, test its fit and finish, and use those results to select your printer before committing to the full costume.