


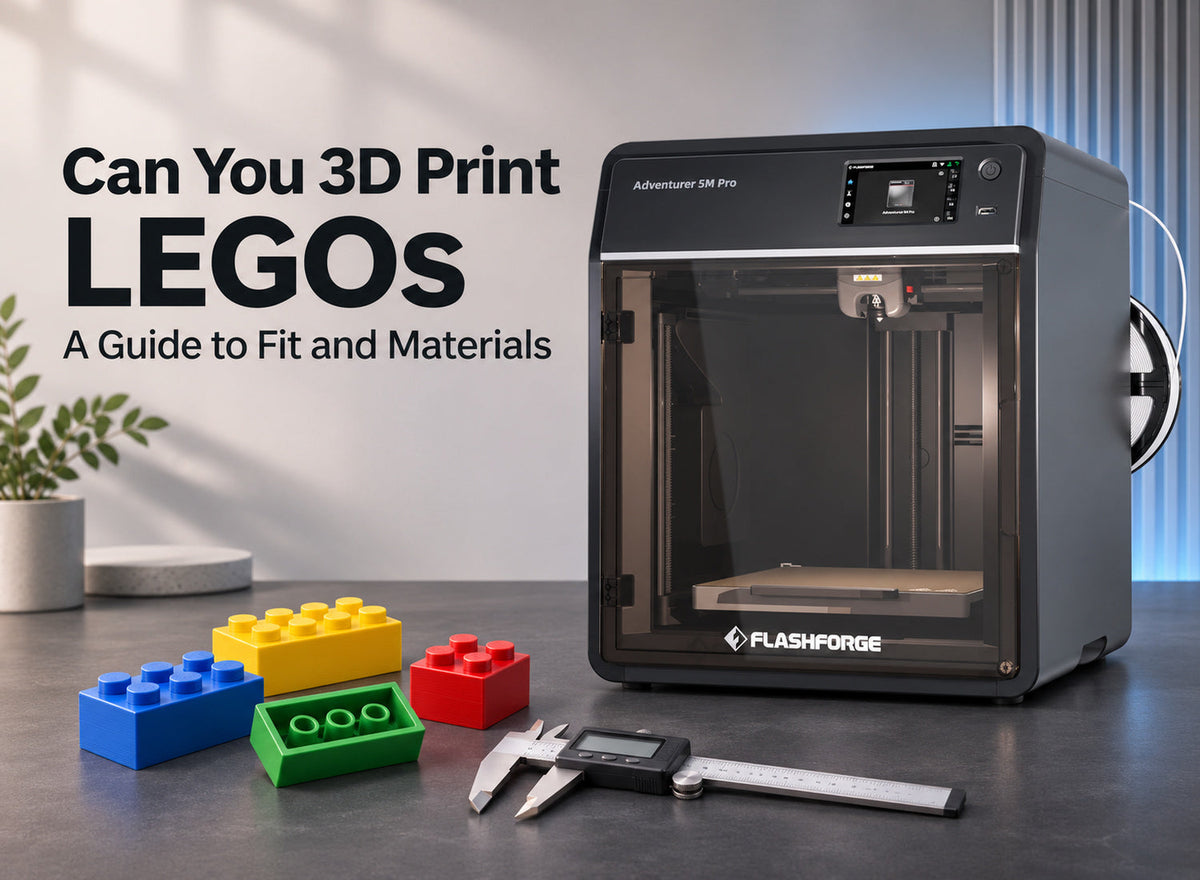
A missing connector or a custom display base can stop a building project halfway through. If you are asking, “can you 3D print LEGOs,” the practical answer is yes: you can print independently designed parts intended to connect with LEGO® bricks. Getting a reliable fit, however, takes more work than downloading a file and pressing Print.
Home-printed parts are not genuine LEGO products. Their dimensions, surface finish, and durability depend on the model, material, printer, and settings. This guide explains which projects make sense, how to test connections, and how to avoid wasting a full build plate on pieces that do not fit.
Can You 3D Print LEGOs That Fit Existing Bricks
You can produce compatible connections, but compatibility must be tested on the finished print. The raised studs, underside tubes, wall thickness, and spacing all influence how firmly two pieces grip. Builders often call this grip “clutch.” A part can look correct while its studs are slightly oversized or its underside is too tight.
With FDM 3D printing, a nozzle deposits melted plastic in layers. Those layers introduce surface texture, while extrusion and cooling affect dimensions. Choosing a desktop 3D printer with repeatable motion and adjustable profiles helps, but it does not guarantee factory-like connections.
Start with a simple connector, display mount, or custom scenery piece. Tiny clips, hinges, and flexible catches are harder because their fit also depends on material behavior and print orientation. For a standard replacement brick, buying the original piece may be more practical than tuning several prototypes.

Choose a Material for Your First Test
Begin with a material you can print consistently. Matching the material name used in a manufactured part will not reproduce the manufacturing process or its tolerances. Choose 3D printer filament for the intended use and test it with your connection geometry.
| Material | Useful starting application | Main limitation to test |
|---|---|---|
| PLA | Indoor display bases and initial fit prototypes | Thin clips may break; heat can deform parts |
| PETG | Connections that need more toughness | Stringing and surface buildup can affect fit |
| ABS | Projects requiring its material properties and suitable printing conditions | Shrinkage and warping complicate dimensional tuning |
PLA is usually the simplest starting point for learning the process. PETG may suit a tougher connector, but its different stiffness can change how the connection feels. ABS requires appropriate temperature control and ventilation; it is not an automatic route to original-brick performance. Flashforge's PETG vs PLA comparison explains the material tradeoffs in more detail.
Avoid switching filament type or brand while solving an initial fit problem. Even another color may justify a fresh test before you print a batch.
Prepare the Model and Printer Before Slicing
Use your own design or a file whose license permits your intended use. Check that it is designed for the connection you need rather than being a decorative brick-shaped model. Confirm the units and intended size in the slicer, which converts a model into printer instructions.
Inspect the machine and build surface before adjusting dimensions. A partly blocked nozzle, loose component, or damaged plate can undermine repeatability. Suitable replacement 3D printing accessories should match the exact printer model.
Run the printer's recommended leveling routines, then check extrusion flow and the first layer. Flashforge's guide to calibrating a 3D printer explains why bed leveling alone cannot resolve every dimensional problem. Keep the filament, nozzle, and baseline profile unchanged while establishing a reference print.
Print and Test a Compatible Part Step by Step
A controlled test gives you more useful information than a large batch. Save the original model and settings so each change can be compared with a known starting point.
Start With One Small Connection
Choose a simple piece with a few studs and a representative underside. Print one sample first. Use a clean, undamaged original brick as a reference, and check both the top connection and the underside connection if your part needs both.
For an original CAD design, measure the reference with calipers and verify the spacing across several studs, not just one. Edit the relevant mating feature when possible. Scaling an entire model also changes stud spacing, wall thickness, and height, so it can fix one problem while creating another.
Use a Conservative Starting Profile
For an ordinary brick-sized PLA test with a 0.4 mm nozzle, a 0.16–0.20 mm layer height is a reasonable trial range. These are suggested starting settings, not a validated compatibility recipe. Begin with the filament manufacturer's temperature profile and use a moderate outer-wall speed while evaluating corners and studs.
Preview the sliced layers. Make sure thin walls and underside tubes actually generate toolpaths rather than disappearing. A supported smaller nozzle may help with finer features, but it cannot compensate for incorrect geometry. Inspect walls and layer bonding instead of assuming that maximum infill guarantees a strong connection.
Protect the Mating Surfaces
For a simple rectangular brick, printing with the studs upward is a useful first orientation to test. Check the underside bridges in the preview; more complex adapters may need a different orientation. Keep supports away from connection surfaces where practical because removal can leave bumps or damage edges.
Watch the first layer. An excessively flattened base can spread outward, a defect commonly called elephant's foot. That wider rim can stop a part from seating even when its upper dimensions are acceptable. Correct the first layer before making the entire model smaller.
Check the Fit After Cooling
Let the print cool before removal and measurement. Remove loose strings and inspect for sharp edges or cracks. Press the sample onto the reference gently; stop if either part bends, cracks, or needs excessive force. Do not use pliers or a hammer to make a tight connection seat.
Check whether the connection sits flush, holds during normal handling, and separates without damage. Repeat the connection several times and look for loosening, stress whitening, or broken edges. A successful first click is not enough to establish durability.
Change One Variable and Repeat
If the geometry needs clearance adjustment, print a small labeled series. For example, compare otherwise identical versions with 0.00, 0.05, and 0.10 mm changes to a specific mating feature. This is an experimental range, not a universal brick tolerance; the useful direction and amount depend on your design and measurements.
Keep the reference brick and test orientation consistent. Once a version works, print another copy to check repeatability before filling the plate. Save the successful model, material, nozzle, and slicer profile together.
Diagnose Loose or Tight Connections
Separate problems caused by the first layer from problems that affect the whole part. The location of the interference usually tells you where to investigate first.
| Symptom | Area to inspect | Useful next action |
|---|---|---|
| Base will not seat | Flared bottom edge or underside debris | Check first-layer compression and clean loose material |
| Stud connection is uniformly tight | Stud size, surface buildup, or excessive extrusion | Measure features and verify flow before changing geometry |
| Connection is loose | Undersized features or excessive clearance | Compare the printed dimensions with the model |
| Some positions fit but others bind | Warping, spacing errors, or toolhead alignment | Test flatness and spacing; check relevant calibration |
Avoid sanding every sample until it fits. Light cleanup can remove a stray strand, but repeated sanding changes the geometry unpredictably. Record the cause and correct the model or printing process when you want reproducible parts.
Choose a Printer for the Parts You Want to Make
Prioritize repeatability, accessible maintenance, and the materials you intend to use. When comparing a fast 3D printer, prioritize clean stud edges over its advertised top speed. When choosing the best home 3D printer for this project, consider your workspace and setup needs.

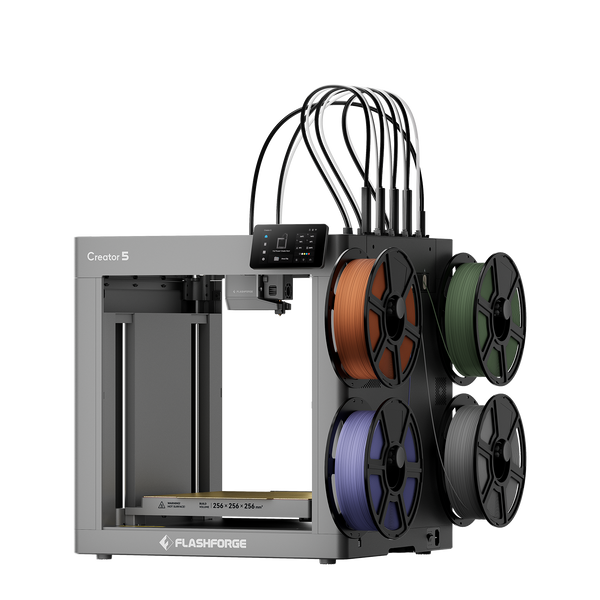
Creator 5 for Custom Multicolor Builds
The Flashforge Creator 5 has four independent toolheads and automatic calibration and leveling. It suits projects such as colored scenery or personalized display elements that benefit from several colors in one print. Start by proving the connection in one material and color, then verify toolhead alignment and fit after adding color changes. Multiple toolheads expand the design options; they do not eliminate dimensional testing.
Adventurer 5M Pro for Enclosed Desktop Printing
The Flashforge Adventurer 5M Pro combines an enclosed design, automatic leveling, and a CoreXY motion system. It is a practical option for testing single-color PLA or PETG connectors and display accessories. Use a material-appropriate profile and ventilation, and verify the first layer after maintenance. The enclosure does not certify printed parts as toys or make hot and moving components safe to touch.
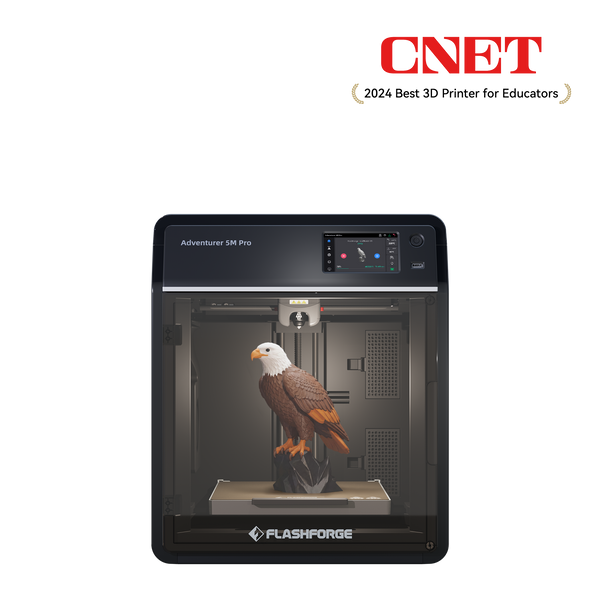
Flashforge Adventurer 5M Pro 3D Printer
Keep Safety and Design Rights in View
Small printed parts and fragments can be choking hazards. The CPSC guidance on small parts covers children's products intended for children under three and includes pieces that break off during testing. Keep small experimental prints away from young children, inspect for damage, and do not assume that choosing PLA makes a finished object child-safe.
Check model licenses and relevant rights before sharing files or selling prints. The LEGO Group's Fair Play guidance addresses its trademarks and misleading suggestions of affiliation. A downloadable file or a compatible connection does not establish permission to reproduce protected designs, logos, or branded characters. Describe independent work accurately without suggesting official approval.
For your first project, choose one simple adapter or display accessory, test it against your reference, and record the successful settings. That gives you a useful starting point for a custom build without committing to a full set of untested pieces.
FAQ
Will Every Downloaded Brick File Fit Original Pieces
No. Check the intended system, units, and printing instructions, then test a sample. A file's appearance or description cannot establish the fit of your finished print.
Do I Need a Resin Printer for Small Brick Parts
Not necessarily. FDM can work for suitably designed compatible parts. Greater detail from another printing process does not by itself establish a durable connection or suitability for handling; material behavior still matters.
Can I Print a Large Baseplate in One Piece
Possibly, if it fits the build volume, but flatness and accumulated spacing errors become more important over a larger area. Test a smaller section before committing to the full plate.
Is Printing Compatible Bricks Always Cheaper
No. Include setup time, test failures, electricity, and your labor, not just filament. Printing is often more useful for a custom shape or display accessory than for replacing a large quantity of standard bricks.
Can I Mix Several Materials in One Connecting Part
Only after testing their bonding and behavior in that design. A material combination that looks attractive may separate at its interface or change the connection's stiffness. Keep the first functional prototype in one material.