


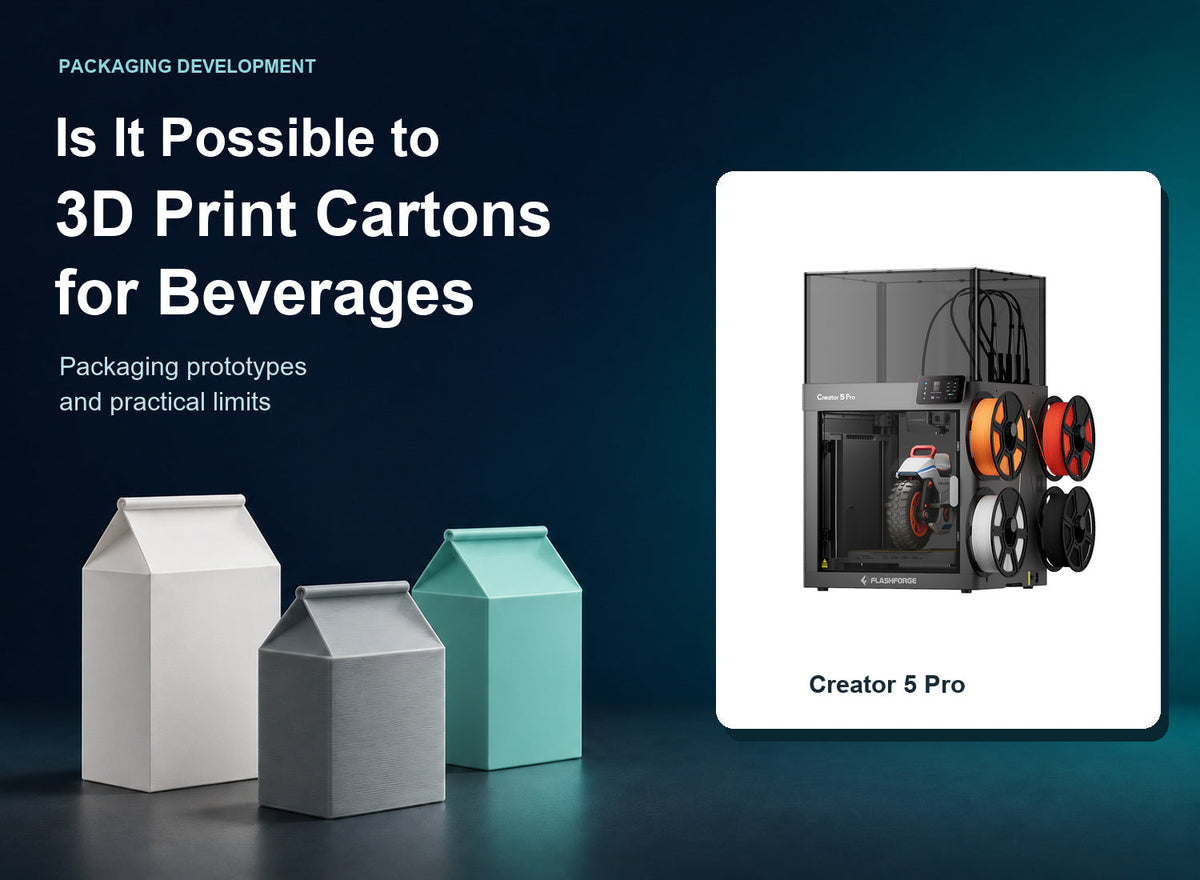
Yes, it is possible to 3D print carton-shaped prototypes and parts used in beverage-packaging development. An ordinary desktop filament printer, however, does not produce the laminated paperboard, barrier system, and validated seals of a finished beverage carton.
If you are asking, “is it possible to 3D print cartons for beverages,” first separate the design model from the package that will actually hold the drink. A printed mockup can help you compare proportions, handling, or cap placement. That does not establish suitability for direct beverage contact or commercial filling. This guide explains where printing helps and where packaging-specific manufacturing and testing are still needed.
Decide What You Need to Print
The useful answer depends on the part's purpose. A display model, a fixture, and a liquid-contact container solve different problems, even if they share the same outside shape.
| Intended result | Useful role for desktop 3D printing | What the print does not establish |
|---|---|---|
| Appearance mockup | Compare shape, size, and presentation | Beverage safety or shelf life |
| External accessory or fixture | Check positioning and mechanical fit | Suitability for contact with the drink |
| Finished beverage carton | Support early development studies | A validated carton material and filling system |
With FDM 3D printing, a nozzle deposits melted filament in layers. The result is a plastic object rather than a folded sheet of coated paperboard. A desktop 3D printer is therefore most useful when your immediate question concerns geometry or handling.
Define that question before choosing settings. For example, “Can someone grip this shape comfortably?” can be explored with a dry mockup. “Will this package protect juice for its intended storage period?” requires different evidence.
Understand What Makes a Beverage Carton Work
A beverage carton is more than a rectangular shell. Its construction combines structural material with layers and seals chosen for the beverage, processing method, distribution, and storage conditions.
Tetra Pak's explanation of carton packaging materials describes paperboard for structure, polymer layers for protection and sealing functions, and barrier materials used in relevant formats. Constructions vary; not every carton uses the same barrier system. Printing a plastic outline does not recreate those material layers or their production controls.
The package must also work with its closure and filling process. A model can show where a spout might sit, but it does not demonstrate seal integrity, oxygen protection, or compatibility with a processing line. Keep those questions separate from whether the model looks convincing on a desk.
If you only need to evaluate folding, a scored paperboard sample may provide more useful feedback than a rigid print. Combine the methods when the project involves both folded panels and a custom external component.
Choose Materials for Dry Packaging Prototypes
For early development, select 3D printer filament according to what you need to learn from the model. These choices concern prototype behavior, not authorization for beverage contact.
| Material | Useful dry-prototype task | Limitation to consider |
|---|---|---|
| PLA | Appearance studies, size comparisons, label mockups | A rigid print does not reproduce carton flexibility |
| PETG | External holders or repeatedly handled fit models | Surface finish and dimensions still need checking |
| ABS or ASA | Suitable engineering fixtures with controlled printing conditions | Shrinkage, warping, and ventilation requirements |
PLA is often a practical starting point for a model that stays on a desk. PETG may suit a component that needs more toughness. Flashforge's PETG vs PLA comparison explains the tradeoffs. Moving to another material changes the prototype's behavior; it does not automatically make the part suitable for holding a beverage.
Keep the machine and build surface in good condition. Replacement nozzles and build plates from the appropriate 3D printing accessories range should match the printer. A worn component or inconsistent first layer can undermine dimensional comparisons between revisions.
Develop a Carton Prototype Step by Step
A useful prototype answers a defined question and records its limitations. Flashforge's guide to prototyping with fast 3D printers provides broader context for planning iterations around geometry, material, and the required result.

Define the Decision the Model Should Support
Write down what reviewers need to compare: overall height, grip width, shelf footprint, label placement, or an external holder's fit. Identify the users and environment for the review. A presentation model and a workshop fixture do not need the same finish or material.
Mark the sample as a prototype and keep it out of the beverage-contact workflow. This makes its purpose clear when it moves between designers, marketers, and packaging engineers.
Model the Relevant Geometry
Create the outside shape in CAD, or computer-aided design software. Set the units and record the key dimensions. Include the shoulders, corners, or closure location that affect your decision, without adding details that will not be evaluated.
Do not calculate the intended beverage capacity from the outside dimensions alone. Usable internal volume depends on the production geometry, material thickness, closure, and required headspace. Confirm those details with the packaging supplier rather than assuming that a correctly sized silhouette has the correct filling volume.
For a closure-position study, use a dummy component or a separate fit model. The printed geometry can reveal interference, but functional seals and production tolerances must be evaluated with the intended materials and components.
Slice and Print a Controlled Version
A slicer converts the model into printer instructions. Begin with the printer's established profile for your chosen material, then preview the walls, overhangs, and supports. Ensure the shape fits the build volume without changing the intended scale accidentally.
For a dry appearance model, you can consider a hollow shell to reduce unnecessary material. Check that it remains stable enough for handling. Avoid placing supports on important presentation or mating surfaces when another orientation will work. Record settings so later versions can be compared fairly.
Review the Dry Model Against the Brief
Let the print cool, remove supports, and inspect edges before handling. Measure the features that matter rather than judging only the surface finish. Ask reviewers to compare the same attributes across versions, and record the changes they request.
A paper label wrap can help assess graphics on the printed shape. It does not show how ink, adhesive, or a barrier coating will behave on the production carton. Similarly, squeezing a rigid printed model will not reproduce the response of folded paperboard.
For an ergonomic review, check whether fingers have room around the proposed closure and whether the sample fits the intended shelf or refrigerator space. Record the dimensions and the specific interference observed. These findings are more actionable than a general comment that one version feels better.
Transfer Findings to Production Samples
Keep the approved dimensions, CAD revision, material, and review notes together. Share the findings with the packaging supplier so the next sample uses the intended board, barriers, closure, and converting process.
Physical packaging samples must then address the relevant filling, sealing, transport, storage, and product-contact requirements. Retain the print as a design reference rather than treating it as proof that the final package will perform the same way.
Separate a Leak Test From Food Contact Suitability
A printed shell might retain water during a short experiment without being suitable for drinking or storage. That observation answers only a narrow leakage question. Layer interfaces, surface condition, processing residues, coatings, and cleaning requirements may still matter for the intended use.
The FDA guidance on food-contact material components explains that regulatory status depends on the substances in the article and their applicable authorizations and conditions of use. A claim about the base polymer alone is not verification of the entire printed container, including additives or a coating.
For a real beverage-contact project, establish the beverage type, contact time, temperature, and processing conditions with the material supplier and qualified packaging specialists. Do not infer compliance, shelf life, or suitability for repeated cleaning from a printer specification or a successful water-holding demonstration.
Match the Printer to Your Development Work
Choose equipment for the prototype tasks you actually need. When evaluating a fast 3D printer, compare complete iteration time and usable results. An enclosed 3D printer becomes relevant when the selected prototype material needs more controlled printing conditions.

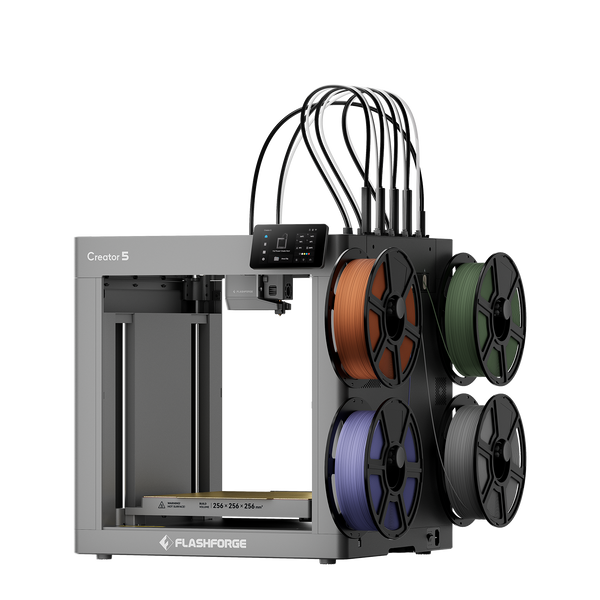
Creator 5 for Appearance and Multicolor Studies
The Flashforge Creator 5 uses four independent toolheads and supports automatic calibration and leveling. Its multicolor workflow can help distinguish sections of a dry packaging model or present visual design alternatives. Verify the fit and dimensions in a simple version first, then add the detail needed for review. Multicolor printing does not reproduce the barrier structure of a carton.
Creator 5 Pro for Engineering Prototype Work
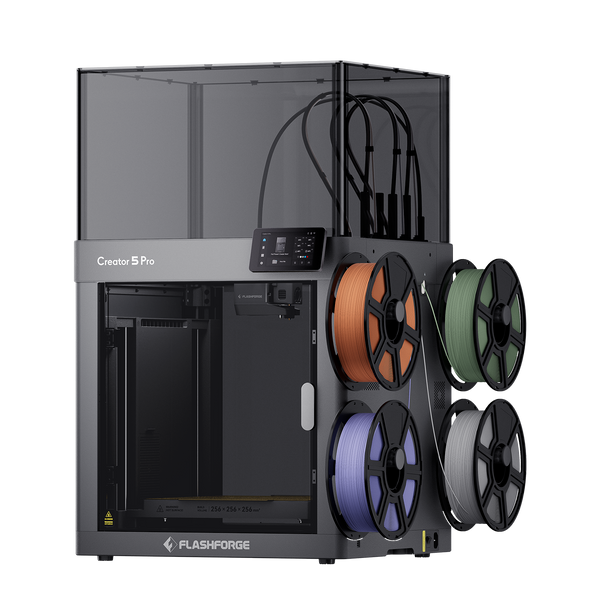
The Flashforge Creator 5 Pro combines four independent toolheads with an enclosed design and active chamber heating up to 65°C. That temperature control is relevant to compatible engineering materials used for dry fixtures and functional development parts. Match the profile and ventilation to the material, and measure the resulting part. Chamber heating is a printing feature, not food-contact certification.
Choose the Next Sample That Answers Your Question
Use a printed mockup to refine shape and an actual paperboard sample to evaluate folding and panel behavior. For a drink-ready carton, work toward samples made with the intended packaging construction and manufacturing process.
The most useful result is a clear handoff: approved geometry, identified materials, documented review findings, and a list of tests still needed. That lets 3D printing support beverage-packaging development without assigning a design prototype responsibilities it has not been tested to meet.
FAQ
These questions clarify common terms and decisions that arise when planning a beverage-packaging project.
Is Printing Graphics on a Carton the Same as 3D Printing It
No. Printing graphics applies an image to a surface. Additive manufacturing builds a three-dimensional object. A paperboard mockup with printed artwork may be enough when the task is graphic layout or folding.
Does a Food Grade Filament Claim Make the Finished Print Suitable
Not by itself. The complete article and its intended conditions matter. Check the scope of supplier documentation rather than extending a material claim to every printer, coating, beverage, and use.
Can a Coating Turn a Prototype Into a Beverage Container
A coating is not an automatic solution. Its own suitability, application, coverage, durability, and intended contact conditions need evaluation. Keep an unverified coated prototype out of drinking and storage use.
Will a Printed Model Feel Like a Filled Carton
Not necessarily. Weight distribution, panel stiffness, and the production construction affect handling. If those are the questions being studied, use a purpose-designed review sample and document the differences from the intended package.
Is 3D Printing a Cost Effective Way to Make Production Cartons
For conventional beverage cartons, desktop printing serves development rather than replacing the carton production line. Compare the time and material cost of iterations with the decision they support; do not assume prototype economics extend to mass production.