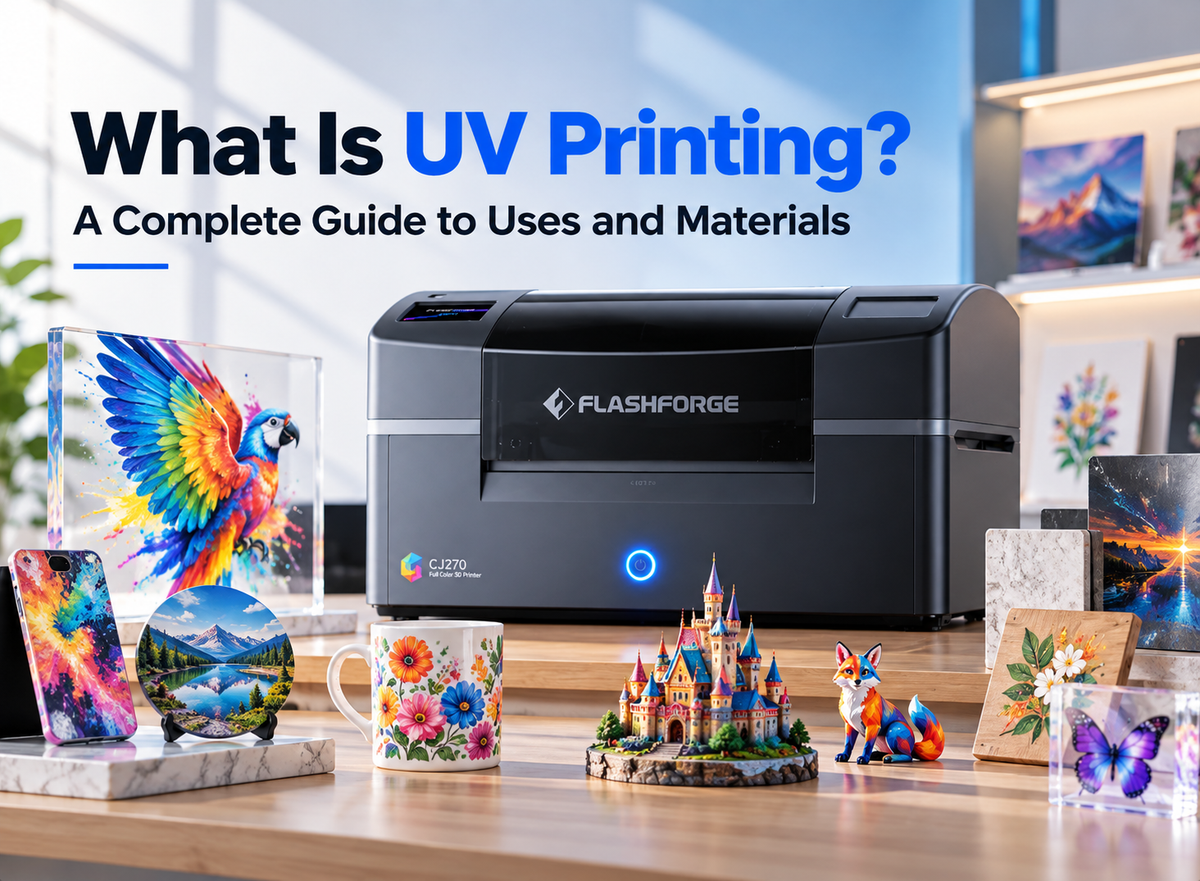



A portrait or pet photo can become a glowing lithophane, a wall plaque, or a freestanding figurine. Each needs a different 3D model. A photo records one viewpoint; a printer needs shape, dimensions, and, for full-color printing, usable color data. Here is how to prepare the image and build a printable file.
Can You 3D Print a Picture Directly?
You can start with a picture, but you generally cannot send an ordinary JPG or PNG straight to a 3D printer and expect a finished object. First, decide whether you want an image that appears when backlit, a shallow surface design, or a model you can view from every side.
Why a Photo Must Be Converted Into a Printable Model
An image contains pixels arranged on a flat plane. A printable model defines surfaces and physical dimensions. For a lithophane, software maps image brightness to a panel’s thickness. For a relief, it raises selected parts of the image above a base. A freestanding figure needs complete geometry, including areas that the source photo does not show.
You must also set a size and check thin sections, gaps, and supports. Flashforge’s guide to creating 3D models for printing explains these checks.
Lithophane, Raised Relief, or Full 3D Model: Which Result Do You Want?
| Result | What the photo becomes | Best starting image | Main limitation |
|---|---|---|---|
| Lithophane | A thin panel with varying thickness that reveals the image when lit from behind | A clear portrait, pet photo, or landscape | The effect depends on backlighting and is usually monochrome |
| Raised relief | A shallow design with areas lifted above a backing | A logo, silhouette, illustration, or high-contrast portrait | Depth is stylized rather than a faithful reconstruction |
| Full 3D model | A complete object that can be viewed from all sides | Multiple views of a real subject, or a reference photo for an artist | Hidden sides must be captured, modeled, or interpreted |
For a first project, a lithophane is usually simplest. A figurine requires considerably more modeling.

How to Prepare a Photo for 3D Printing
Better source images make the conversion easier. Keep an untouched copy, then edit a duplicate for the printing method you chose.
Choose a Clear Photo With a Distinct Subject
Select an image in which the face, animal, or object is in focus and large enough to show its defining features. Strong separation between subject and background helps a relief generator identify the important edges. For a pet figurine, look for visible ears, paws, and body contours; a cropped headshot cannot establish the shape of its back or tail.
Avoid blur, heavy filters, and shadows that hide the subject’s form. Upscaling cannot restore missing details.
Crop the Background and Improve Contrast
Crop away distractions before conversion. For a lithophane, test a grayscale preview: brightness determines how much light passes through the finished panel, so poorly separated tones can flatten the image. Adjust exposure and contrast gently enough to keep detail in both bright and dark areas.
For a relief, simplify the background so it does not become unwanted bumps. Keep an unedited copy.
Gather Multiple Views if You Want a Full 3D Model
One photograph only shows one side of a subject. To reconstruct a physical object, photograph it from several angles with overlapping views, steady lighting, and minimal movement. Include front, side, and back views where possible. Photogrammetry can use overlapping photos to infer a 3D surface for a desktop 3D printer, but the resulting mesh still needs inspection and repair. A moving pet or a person who cannot hold the same pose is harder to reconstruct this way; manual sculpting from reference photos may be more practical.
How to Turn a Picture Into a 3D Printable Model
The three methods below share an image as a starting point, but produce different physical results. Choose the workflow for the object you actually want.

Method 1 — Create a Lithophane From a Photo
Import the edited image into a lithophane generator. Start with a flat panel. Set its dimensions and thickness range so light passes through thinner areas while the panel remains sturdy. Preview the surface and export the model for a filament 3D printer.
Check orientation and supports in the slicer, then make a small test with suitable 3D printer filament. Backlight it evenly. If the image looks muddy, adjust image contrast or the thickness settings.
Method 2 — Convert an Image Into a Raised Relief
Start with a high-contrast image, trace or isolate its main shapes, and place them on a solid backing in a modeling tool. Give important regions distinct heights, then soften abrupt transitions if the subject needs a more natural appearance. A simple logo can work with only a few raised levels; a portrait needs more careful editing to keep facial features readable.
Inspect the side view: lines visible on screen may disappear at print size. Add a sturdy base, join disconnected elements, and print a proof.
Method 3 — Model a Freestanding Figure From Photos
For a pet or person, build or reconstruct the full shape first. A series of overlapping photos may support photogrammetry for a still object; otherwise, a modeler can sculpt the figure from reference views. Repair holes, remove stray surfaces, create a stable pose and base, and add features that were hidden in the photos. Then apply the surface colors or texture to the finished mesh if you want a color print.
An image-to-3D tool can provide a starting shape, but inspect its back, underside, face, and thin parts. A convincing front view does not guarantee printability.
How to Prepare the Model for Printing
Image conversion produces a digital shape; the next step is checking whether your chosen printer can reproduce it at the intended size.
Check the Shape, Thickness, and Fine Details
Look for open surfaces, intersecting pieces, floating details, and very thin features. A lithophane needs a continuous panel; a relief needs a solid backing; a figurine needs a closed, printable body and sensible support for projections. Check small items such as whiskers, glasses, or fingers at the final physical scale, because shrinking a model can make them unprintable.
If details vanish in the layer preview, thicken or simplify them. Test delicate areas before printing the full object.
Set the Print Size and Export the Model
Set dimensions in millimeters and verify them again after import. Position the model to limit visible support marks and to keep its base stable. Export a format that carries the information your workflow needs: STL is useful for basic geometry, while a color project needs a compatible format and its associated color or texture data.
Preview the final size, orientation, supports, and layers before printing.
Check Color and Texture Data for Full-Color Printing
A photo’s color does not automatically transfer to a mesh. Assign surface colors or map a texture, then check defining features in the slicer. For OBJ, keep the material and image texture files with the model.
Flashforge recommends OBJ and GLB for submitting full-color CJ270 models. A plain STL contains geometry but no photo texture. Check color after export and again in ColorPrint.
Which 3D Printing Method Should You Use?
Once the model is ready, choose a printing method based on the result you want. FDM works well for lithophanes and simple reliefs, while a color-mapped portrait or figurine may call for full-color printing.
FDM Printing for Lithophanes and Simple Reliefs
FDM deposits filament layer by layer and suits backlit lithophanes or simple raised plaques. A light-colored filament and even backlighting help a lithophane read clearly; a relief can use one color when shape and shadow are the point.
A home 3D printer can handle lithophanes and reliefs, while multi color 3D printing is useful when the model uses a few discrete filament colors.
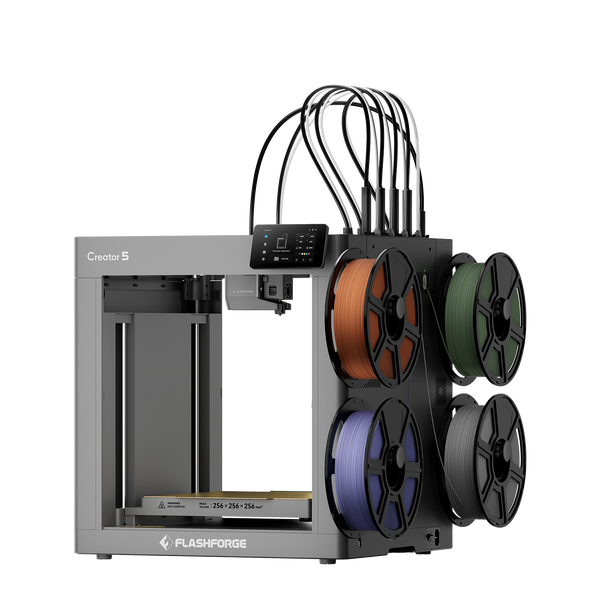
Flashforge Creator 5 4-Toolheads Multi-Color 3D Printer | 500% Faster, Zero Purge Waste
FDM can also print a modeled figurine, but a filament color change is not the same as reproducing all the subtle shades in the source photo. If you are choosing between discrete colors and photographic surface detail, Flashforge’s multicolor versus full-color 3D printing guide explains the distinction.
Full-Color Printing for Portraits, Figurines, and Display Models
For a pet figurine, first create the complete model, map the coat and eye colors, and check the mesh and print size.
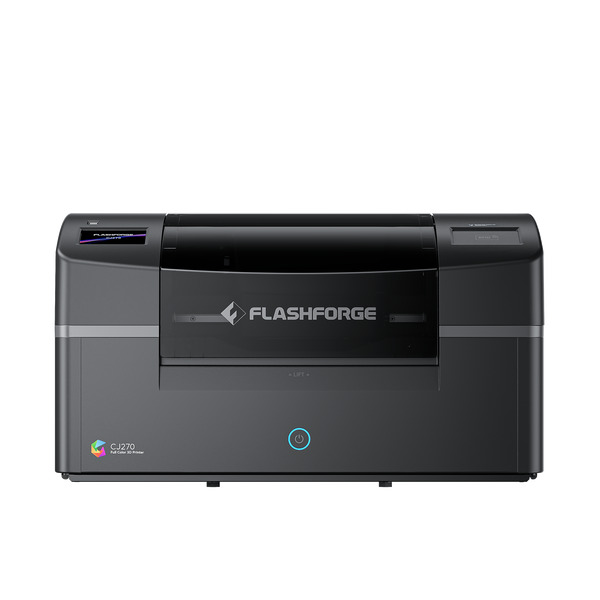
The Flashforge CJ270 uses MJP material jetting to build shape and color together from cyan, magenta, yellow, black, white, and clear materials, with water-soluble support. Its 180 × 120 × 100 mm build volume suits small display pieces, and Flashforge specifies a 7 μm layer thickness. ColorPrint arranges, slices, and previews the prepared model. The printer does not reconstruct missing geometry from a single photo.
Common Problems When 3D Printing a Picture
Whichever printing method you choose, the finished piece may look different from the photo or lose details along the way. The issues below show what to check in the image, model, and print file.
Why Does the Print Look Different From the Photo?
Uneven backlighting can wash out a lithophane; a relief may turn photo shadows into unwanted bumps; a figurine may have inaccurate geometry or texture mapping. Compare the edited image, model, and slicer preview. Screen and print colors can also differ under different lighting.
Why Are Small Details Missing?
Fine lines may disappear after resizing or mesh simplification. Enlarge the model, strengthen key features, or simplify the design; a high-resolution photo alone does not guarantee fine printed detail.
Why Did the Model Print Without Color?
The most common cause is exporting only geometry, such as an untextured STL. Another is a missing texture image, broken material link, or color assignment that did not survive import. Reopen the exported file and inspect it in the software used to prepare the print. If the color is already absent there, fix the model or export before printing again.
Conclusion
The easiest way to 3D print a picture is to make a lithophane from a clear photo. A raised relief takes more image editing, while a freestanding figure requires complete geometry and, for a photographic appearance, correctly mapped color. Decide what physical result you want first, then verify the image, model, file, and slicer preview in that order. For full-color keepsakes, CJ270 becomes relevant after the photo has been turned into a printable, color-ready model.
Frequently Asked Questions
Can One Photo Be Turned Into a Full 3D Model?
It can be used as a reference for a modeled or AI-assisted figure, but it does not reveal the unseen sides. The missing geometry must be inferred or created. Multiple views, or a manually refined model, usually give you more control over the likeness and printability.
What Is the Easiest Way to 3D Print a Picture?
Make a lithophane: choose a clear photo, adjust its crop and contrast, generate a thickness-based panel, check it in a slicer, and print a small test. Backlight the finished panel to see the image.
Can a 3D Printer Reproduce the Colors in a Photo?
Some full-color printers can reproduce a broad range of colors on a prepared 3D model, but the image’s colors must first be assigned or mapped to that model. The actual result depends on the source image, color data, printing process, material, and viewing light; an ordinary photo file alone is insufficient.
Do You Need a Special 3D Printer to Make a Lithophane?
No. A standard FDM printer can make a lithophane once the photo has been converted into a printable panel. Light-colored filament and even backlighting help reveal the image; you do not need a full-color printer for this effect.
What File Format Should You Use for a Full-Color Figurine?
Use a format that preserves the model’s color or texture data and works with your printing software. For CJ270 full-color model submissions, Flashforge recommends OBJ or GLB. If you export OBJ, keep its material and texture image files together, then confirm that the colors appear correctly in ColorPrint before printing.