1. Nozzle leakage
The nozzle of the 3D printer leaks material mainly because the nozzle, heating block, and the throat are not tightened, and the melted material will leak out from the thread gap. If material leakage occurs after replacing the nozzle, heat the filament first to melt it and then tighten the nozzle. If the pipe has been replaced, clean the leaked material and reinstall the pipe.
2. The printing platform is not appropriately heated.
The main reason the 3D printer platform does not heat properly is that there is a problem with the heating cable or the heating plate is short-circuited. The solution is first to check whether the cable is burned or loose and reconnect or replace the cable according to the situation. If there is no problem with the wiring, you need to check whether there is a short circuit on the heating plate and re-solder or replace the heating plate according to the short circuit condition.
3. The nozzle cooling fan or model cooling fan does not rotate.
The main reason is that the circuit is disconnected or the fan is damaged. First, check whether foreign objects stick to the fan. If not, check whether the circuit is disconnected or the interface is loose. If there is no problem with the circuit, the fan should be replaced.
4. The nozzle heating is abnormal.
The main reason for the abnormal heating of the 3D printer nozzle is a problem with the thermistor or heating block circuit. Use a multimeter to check whether the circuit is disconnected. If the circuit is disconnected, replace the circuit. If there is no problem, you need to check whether the interfaces at both ends of the line are loose, which can be removed and reconnected. If there is no problem with the above, then the thermistor is most likely damaged and needs to be replaced.
5. Limit switch failure
If the 3D printer nozzle or platform is still moving in a specific direction (X, Y, Z axes) and causing impact when reset to zero, then there is a problem with the limit switch in that direction. There are three possible reasons for the problem: ① The limit switch is not triggered; ② The limit switch device is damaged; ③ There is a problem with the limit switch circuit.
The solution is:
First, move along the axis corresponding to the direction of the problem to keep the 3D printer platform or nozzle away from the zero position, then select this direction to return to the position and manually touch the limit switch during the movement.
If the movement stops, it is due to reason ①. At this time, you need to adjust the position of the limit switch after returning to the position or add an object to the corresponding limit piece of the nozzle or platform to increase the length.
If movement does not stop, the limit switch assembly may be damaged, or there may be a problem with the wiring. In this case, first, check whether the line is standard and eliminate problems such as disconnection of the line and loose interface. (This time, consider the forward and reverse connection when reconnecting the interface. If the connection is reversed, the home position will move in the opposite direction). If there is no problem with the circuit, the limit switch device is damaged and needs to be replaced.
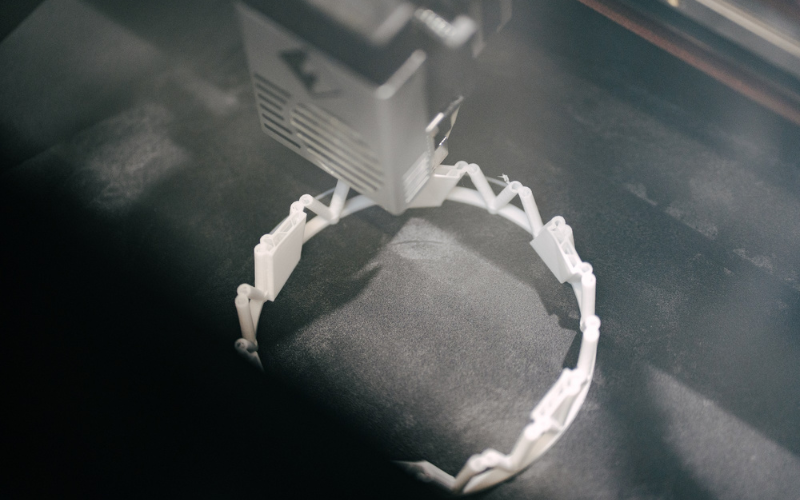
6. Printing is suddenly interrupted
If the memory card is removed during 3D printing, it will cause interruption. If this is not the case, you need to check whether there is a loose line from the motherboard to the memory card and reconnect the loose line.
7. Operation screen failure
If the file cannot be read, it is mainly because the card slot fails to read, and the card slot needs to be replaced. If the file is garbled, first check whether the file name contains a Chinese name. If it is not compatible, the screen and motherboard are not compatible, and the screen or corresponding firmware needs to be replaced.
If the screen touch does not respond or other commands are executed, the action performed does not correspond to the clicked command. There is a problem with the screen touchpad, and the screen needs to be replaced.
If you still have other questions about 3D printing, please do not hesitate to contact our support team, and they will support you as soon as possible.
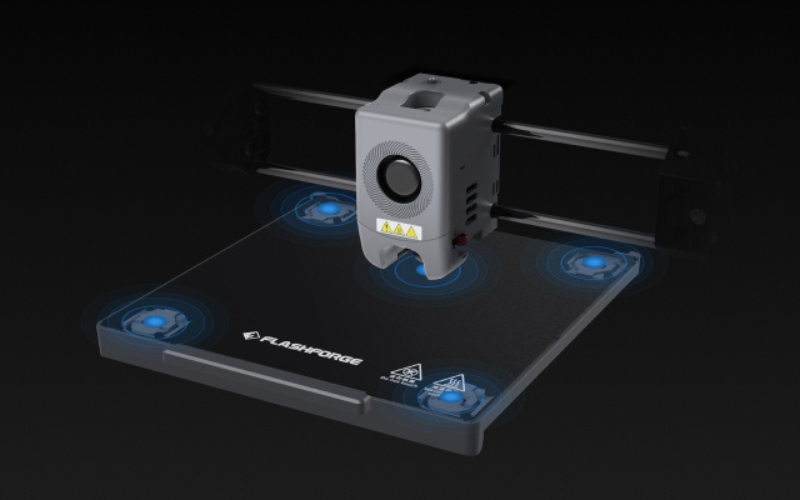
Flashforge Adventurer Series 3D Printers
When working with the new generation high-speed nozzle kit, The Falshforge Adventurer 5M 3D printer can achieve a running speed of up to 600 mm/s while maintaining steady operation.
Auto Leveling: An advanced auto-leveling system can measure the nozzle height relative to the build plate, automatically compensating for any discrepancies without effort and providing a flawless first layer. There is no need for leveling tools or manual calibration and adjustment of the Z-axis. Start auto-leveling with a click of your finger and quickly begin printing, ensuring a perfect first-layer quality.
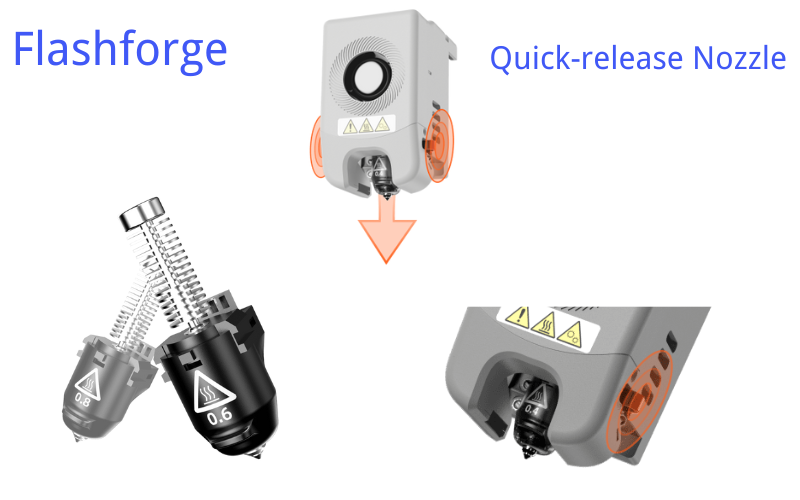
Quick-release Nozzle: Switch printing modes with quick-release nozzles in multiple diameters (0.25/0.4/0.6/0.8) to inspire your originality.
PEI build plate: Flexible magnetic printing platform, 1 second to remove bending and make the bottom of the model smooth and delicate.
The Flashforge Adventurer 5M Pro 3D printer utilizes a brand-new, sturdy design and consistently reliable materials to ensure high-speed printing while giving you high-quality work. The stable and smooth motion structure supports stable and low-noise printing in high-speed mode. Achieve a smooth surface on your models by eliminating ghosting in prints.
Thanks for subscribing to Flashforge; we will share more helpful knowledge about 3D printing. Please stay tuned!