Our premium 3D printing filament offers versatile options for designers at all levels, designed to free your imagination and deliver outstanding results.
Usually, we make stories and promotions. This time, we conduct this article for the machine fever. Sean Ho, the chief mechanical engineer of Flashforge FDM 3D printers, is invited by the content operator to participate in the writing work. Today Sean is going to introduce some detailed structure of Adventurer 4, one of the most popular 3D printers among all the Flashforge consumers. Here for more patterns about Adventurer 4. After many-time attempts, why did the users finally choose Adventurer 4 as their favorite helper?
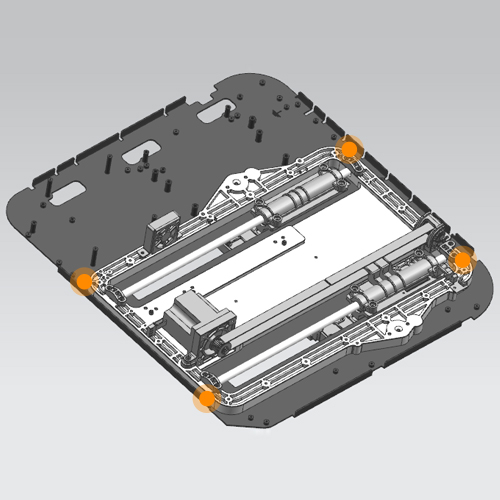
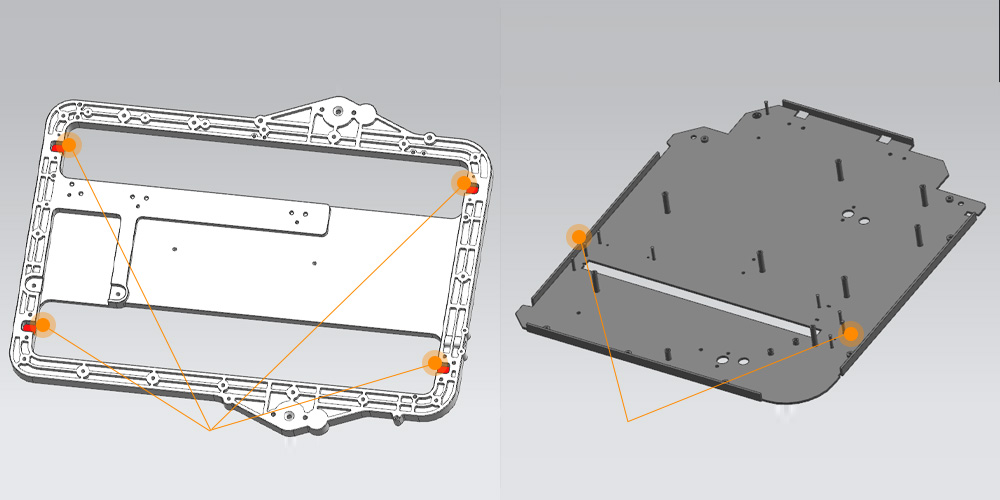
Y-axis optimization
On Y-axis, Adventurer 4 uses dual guides. The modules are fixed on the aluminum casting. The contact between Y-axis and aluminum casting is treated after CNC craft. The altitude difference between these two parts is strictly limited to 0.2mm.
To compare with other entry-level 3D printers, Adventurer 4 has 4 fixations. Every two fixations contribute a line to keep the Y motion steady.
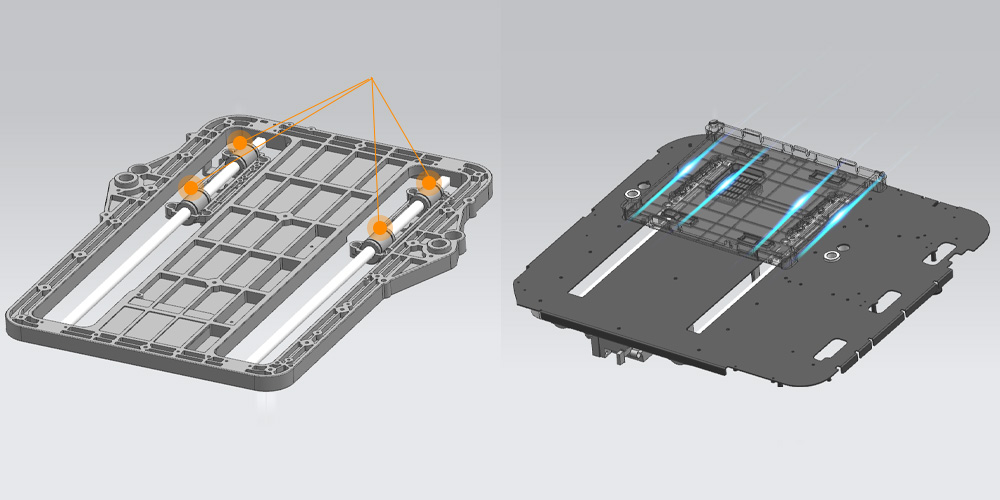
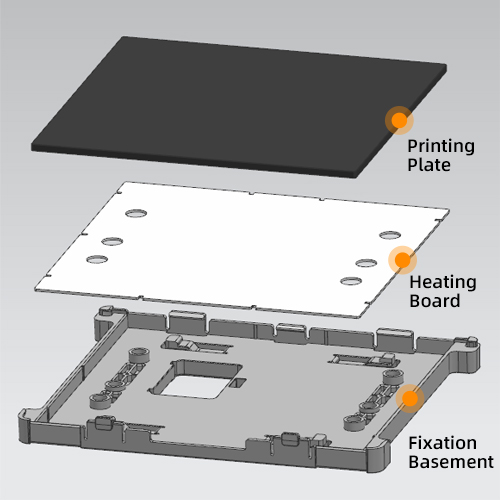
Printing platform update
Dual guides are fixed on the alumni casting at the same time, which supports a parallel motion in operating. Meanwhile, between the guides and platform, there are 4 linear bearing loads and make sure the motion is fluency. It avoids the negative influence of vibration and the inner force from the insides of the machine.
The fixation of the printing platform
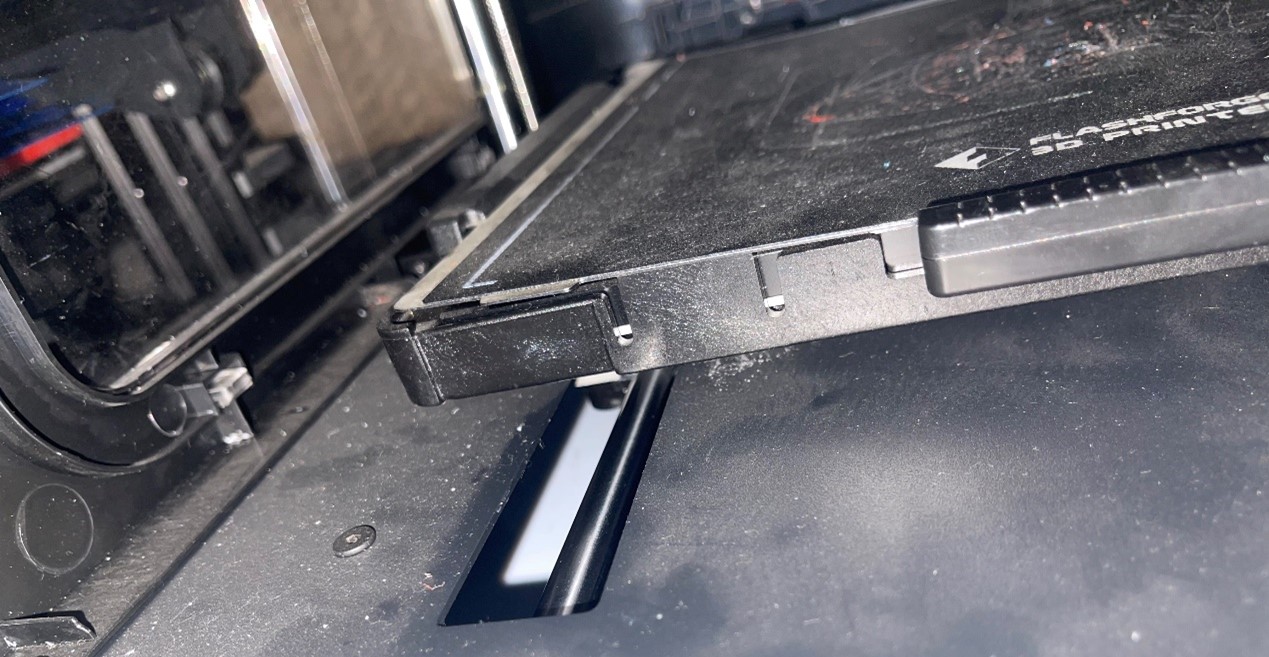
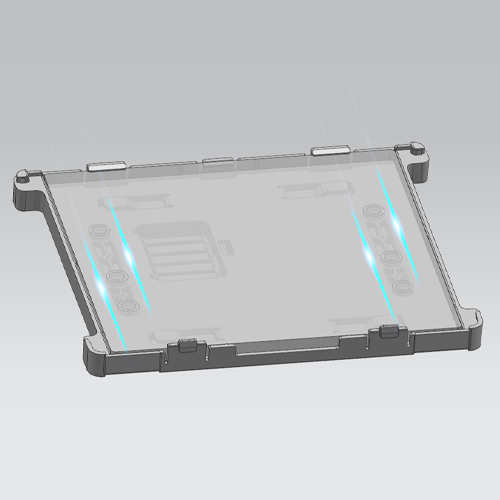
Extend Z-axis motion accuracy and usage
Unlike the design in the former generation of Adventurer Series, Adventurer 4 uses brass sheaths to avoid the stuck and noise. To compare with the former generation, Adventurer 4 controls the distance between brass bearing and sheaths precisely for long-term usage.
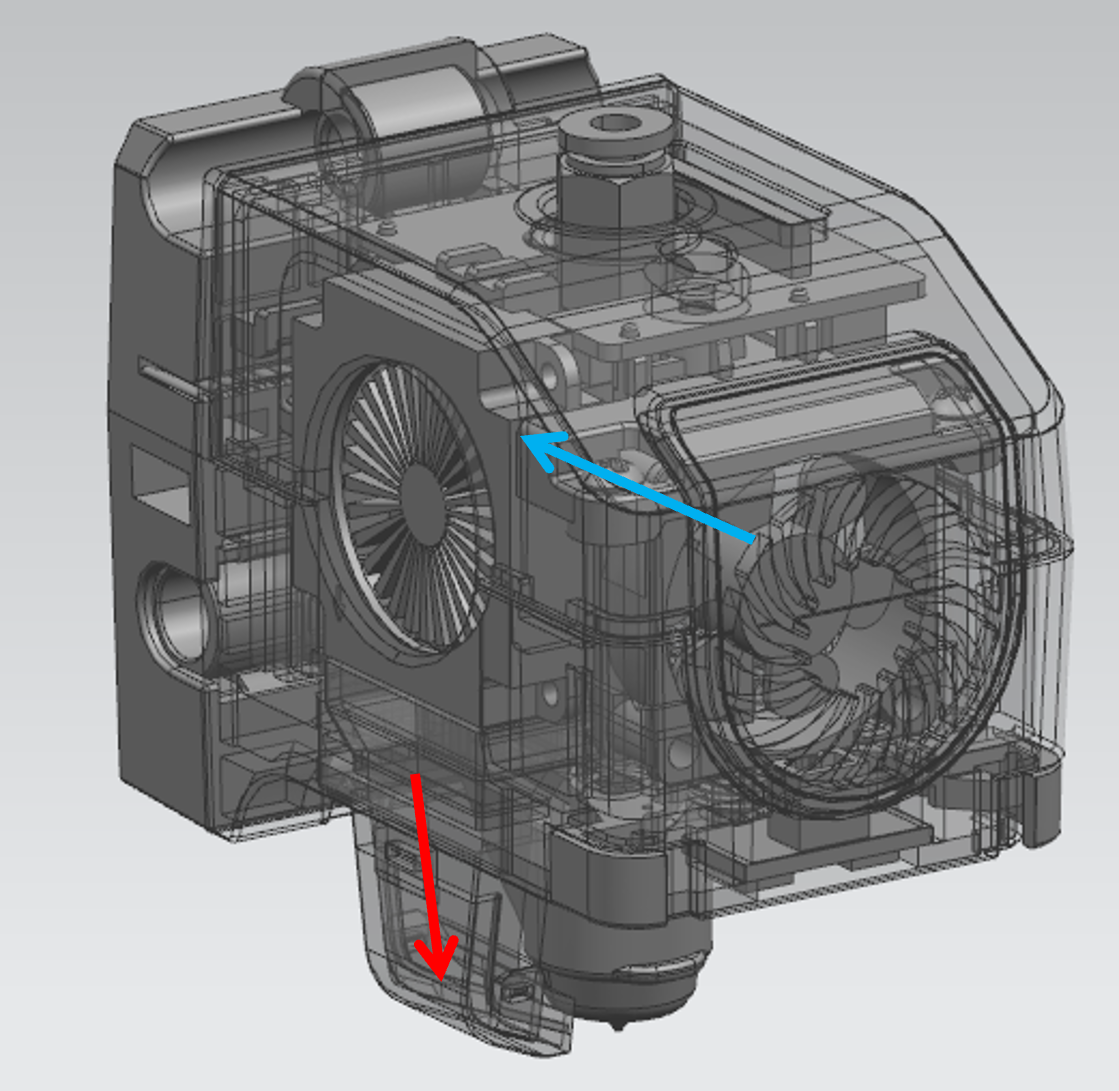
Better cooling down performance
Dual cooling fans: Axial fan and turbofan, are installed on Adventurer 4 for a stronger effect. These two fans work for cooling down the nozzle and model separately. Besides it, turbofan could be adjusted at any time due to the different temperatures, weather, and model condition. In the pic above, the red arrow presents the airflow direction made by the turbofan. The blue arrow presents the other fan and directly cools down the nozzle.
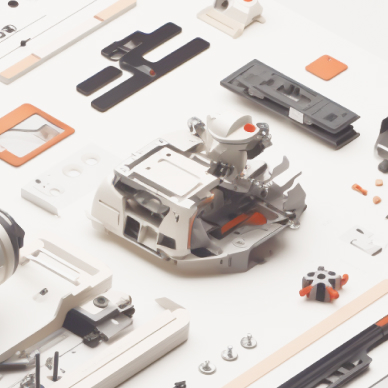
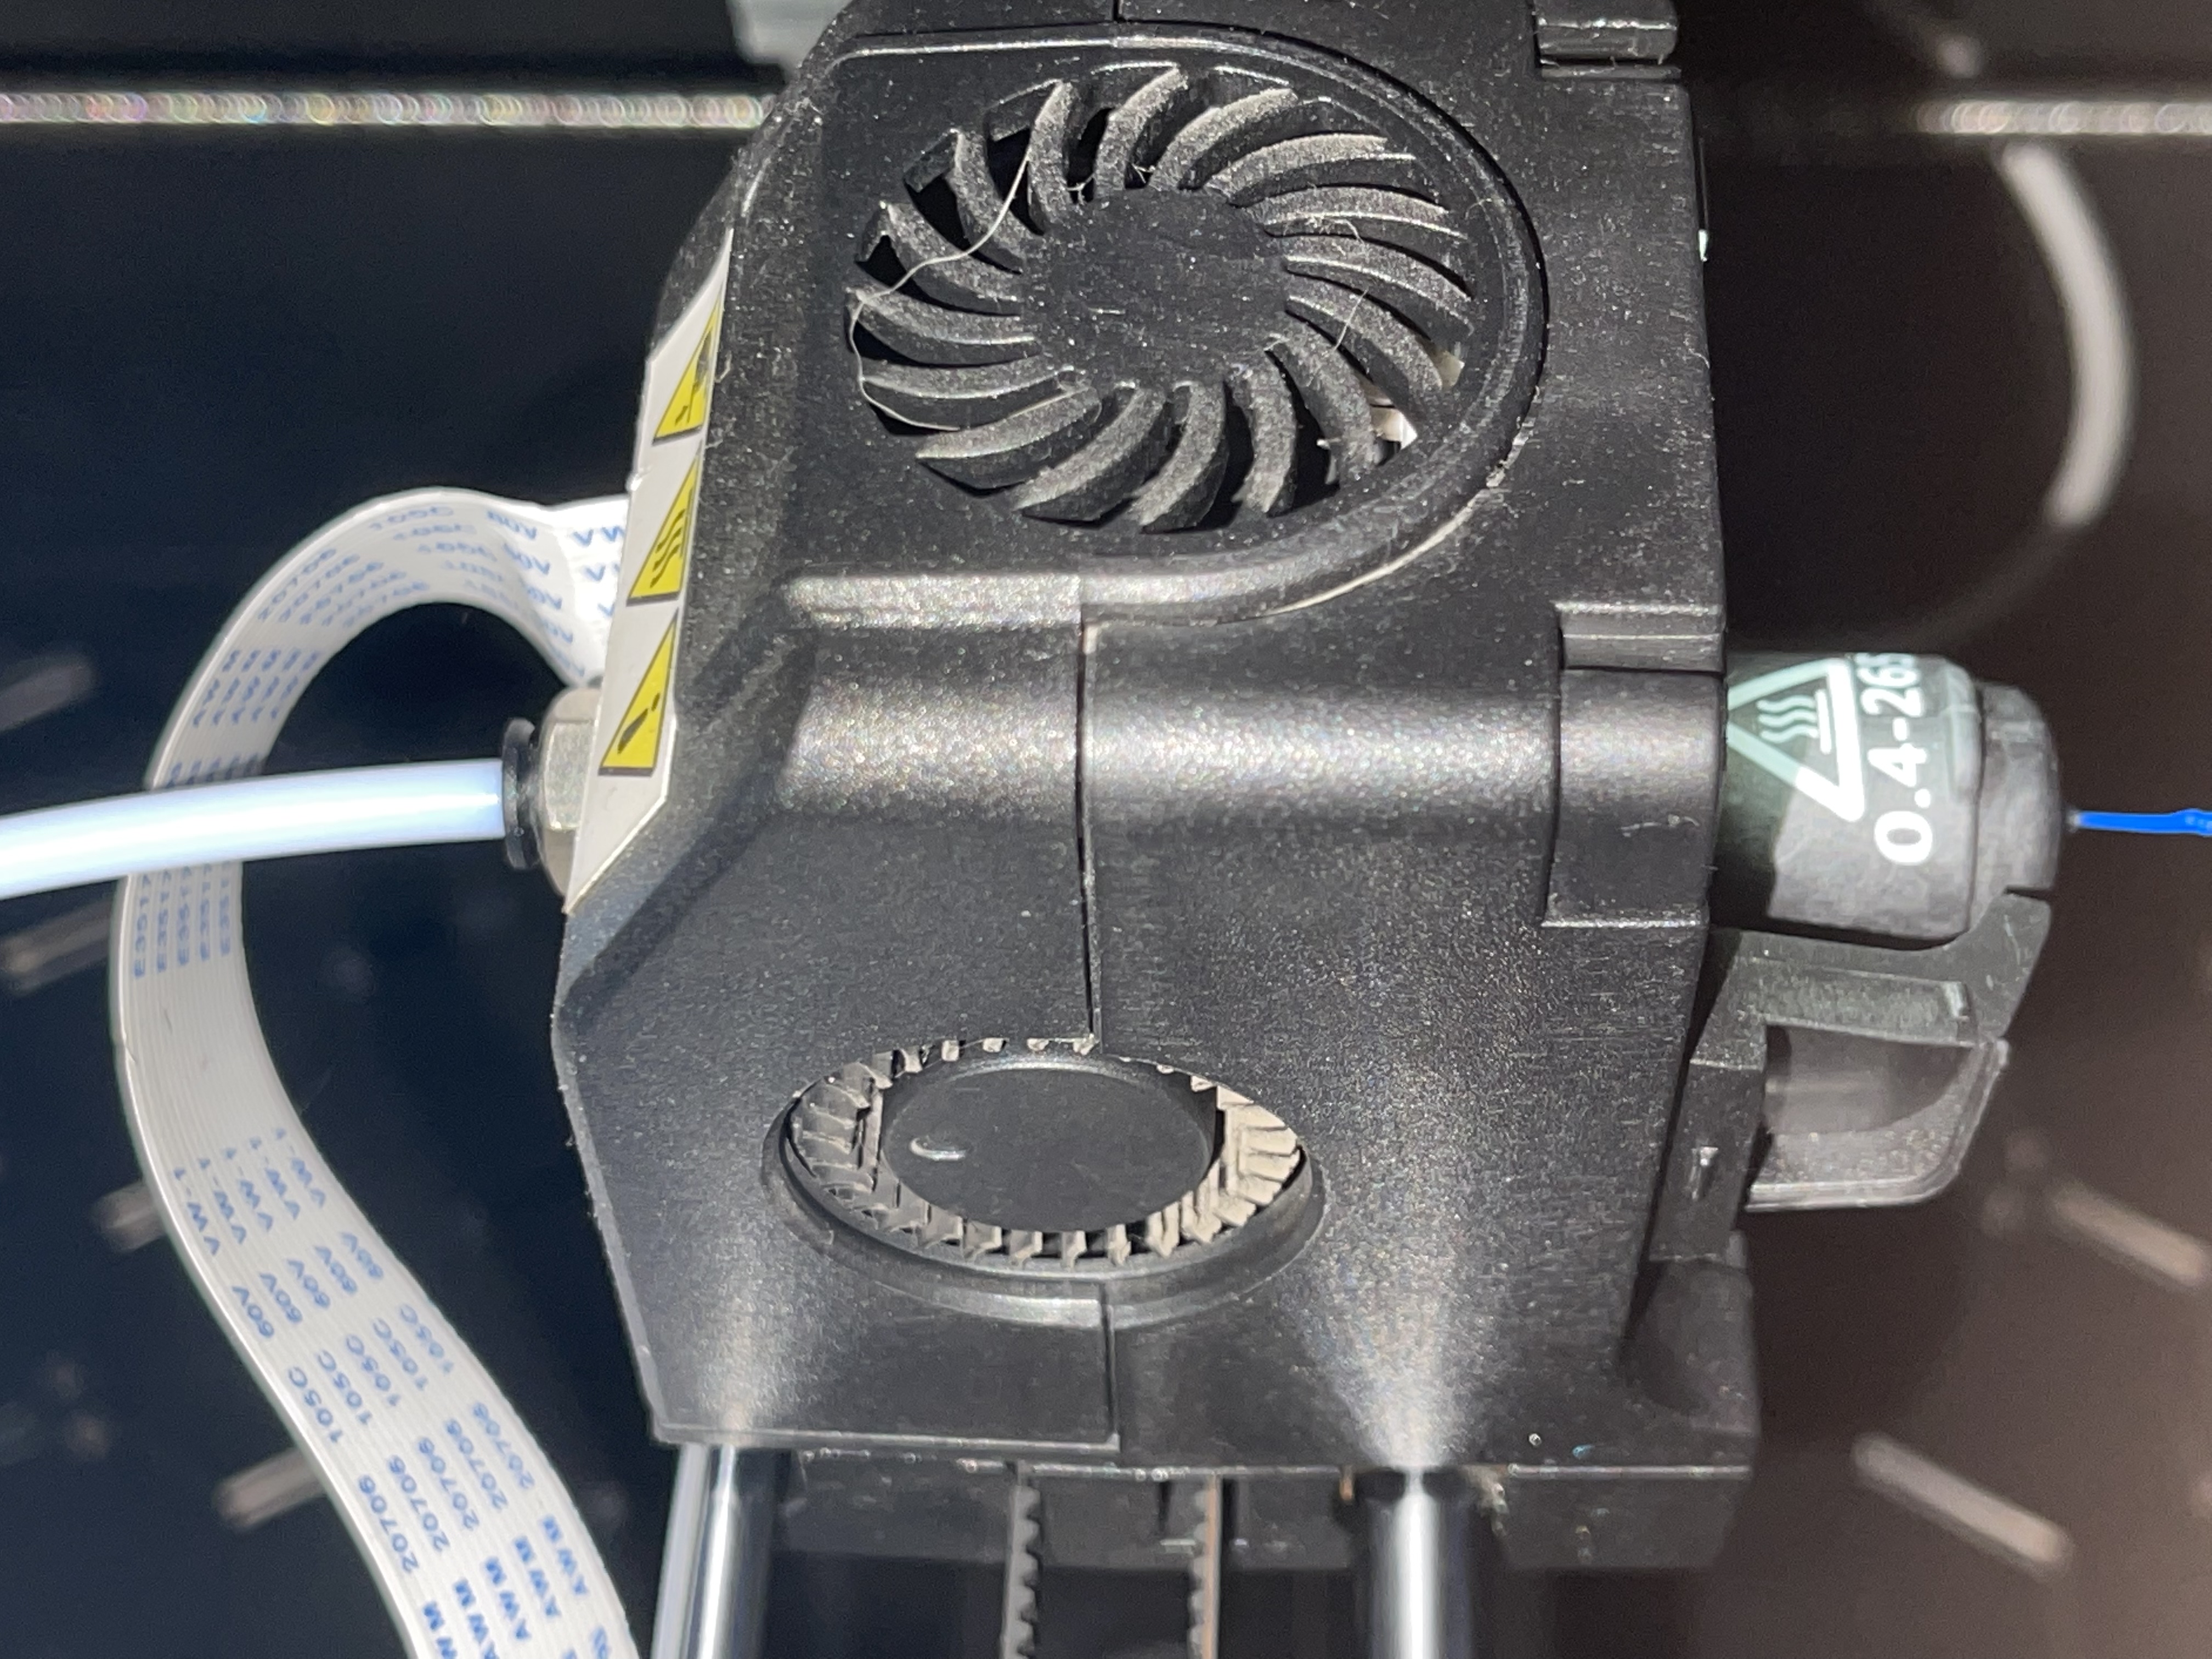
Here is Adventurer 4, see how these components are assembled and present the final complete production
In the end, the 5 technical progress is just a small part of the reason for the constant choice of Adventurer 4 . In fact, Adventurer 4, as a functional 3D printer, is friendly to beginners at the same time. Inner camera for remote monitor and control, convenient video can also be made, up to 265℃ nozzles capable of more filament, and wide-range application scenario.
For the further technical questions we have not mentioned in the article, just feel free to contact our engineers for a detailed answer. Flashforge is always happy to share 3D printing knowledge with all 3D printer fever, whatever your 3D printer is.